
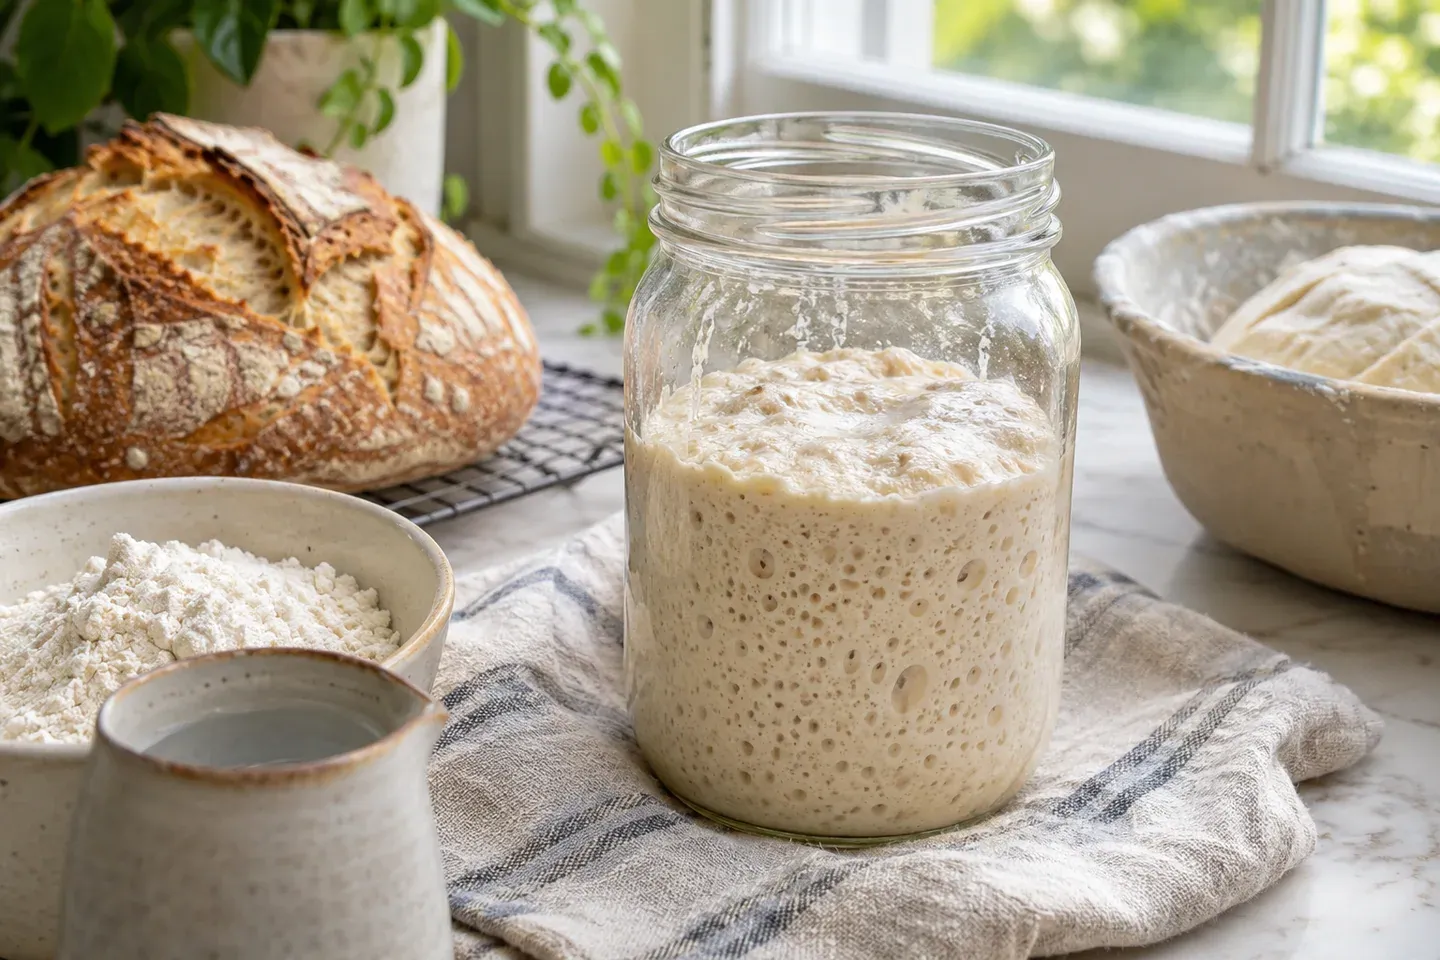
A sourdough starter is a regularly refreshed mixture of flour and water that supports fermentation. Starting one is simple in terms of equipment, but the useful skill is recognizing a repeatable pattern of expansion after feeding. A jar that bubbles once during its first few days is not necessarily ready to raise a loaf reliably.
Begin with small quantities, a clean container, and a consistent routine. This guide explains a workable starting process and the observations that help you adjust it. It does not promise that every starter will be ready on a particular day, and it does not treat a photograph of an active jar as evidence that a specific culture has been tested.
Set up a jar you can observe
Choose a clean, food-safe container with enough headroom for expansion. A straight-sided glass or clear plastic jar makes changes in height easier to see. A narrow neck can make stirring and cleaning awkward, so a reasonably wide opening is helpful.
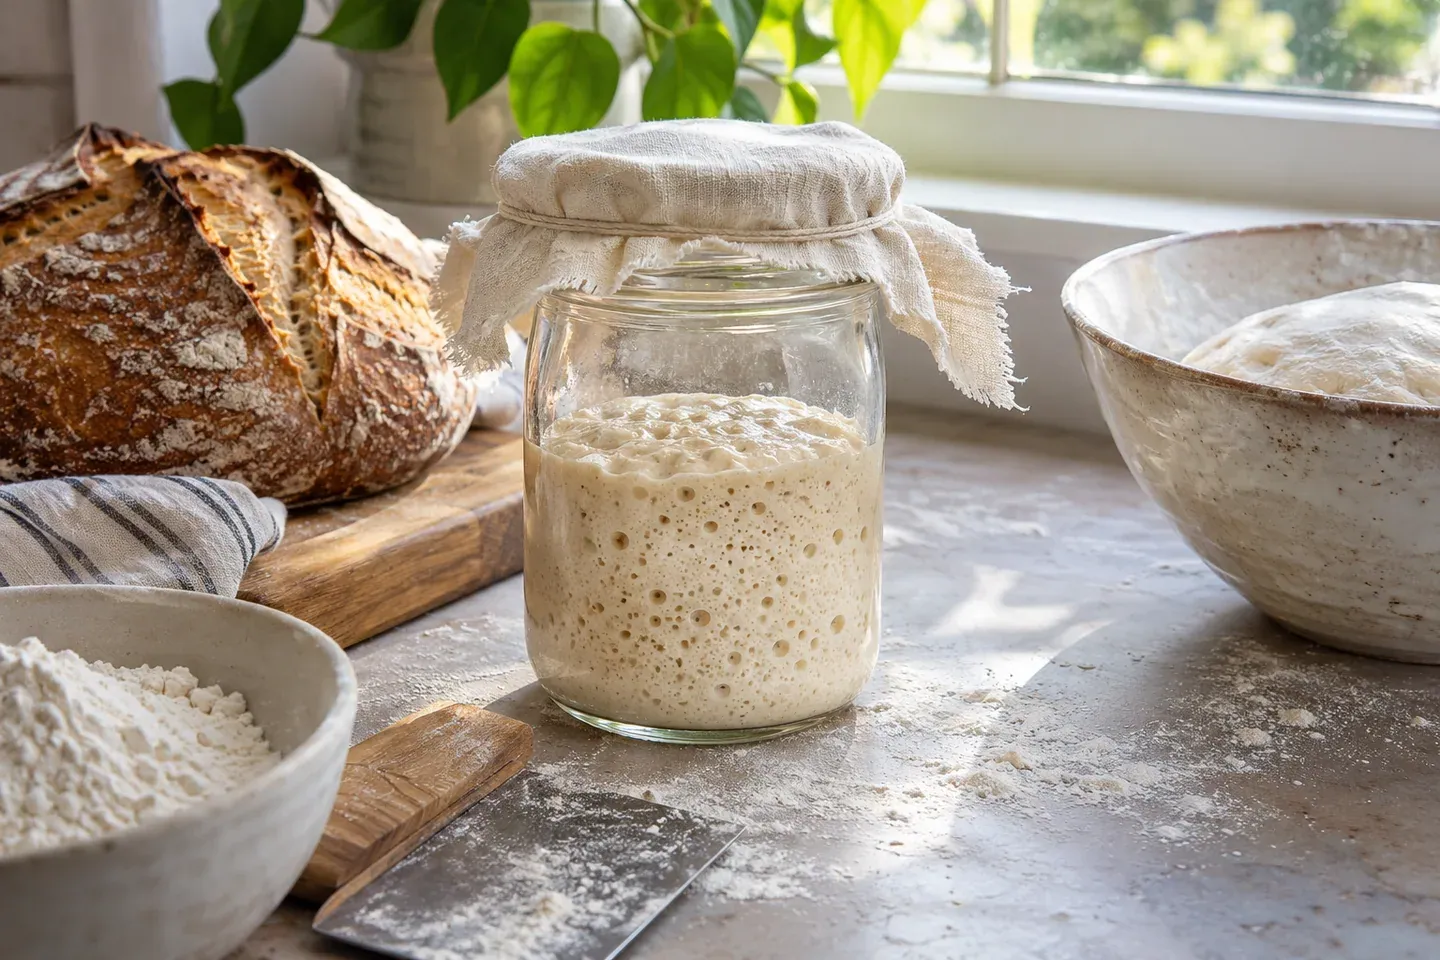
Use a cover that protects the mixture without creating a tightly sealed pressure vessel. Fermentation produces gas, and the jar needs an appropriate way for that gas to escape. Keep the container stable and away from accidental heat, direct sun, pets, and food preparation that could contaminate it.
A small digital scale simplifies the process because flour and water can be measured consistently. You also need a spoon or small spatula and a way to mark the mixture's starting level. A rubber band outside the jar is useful because it records height without adding anything to the starter itself.
Choose plain, potable water and a suitable wheat or rye flour. Whole grain flour is a common starting choice. Do not add fruit juice, sugar, commercial yeast, or other ingredients merely because the jar seems slow; those additions create a different process and make your observations harder to interpret.
Day one: make a small mixture
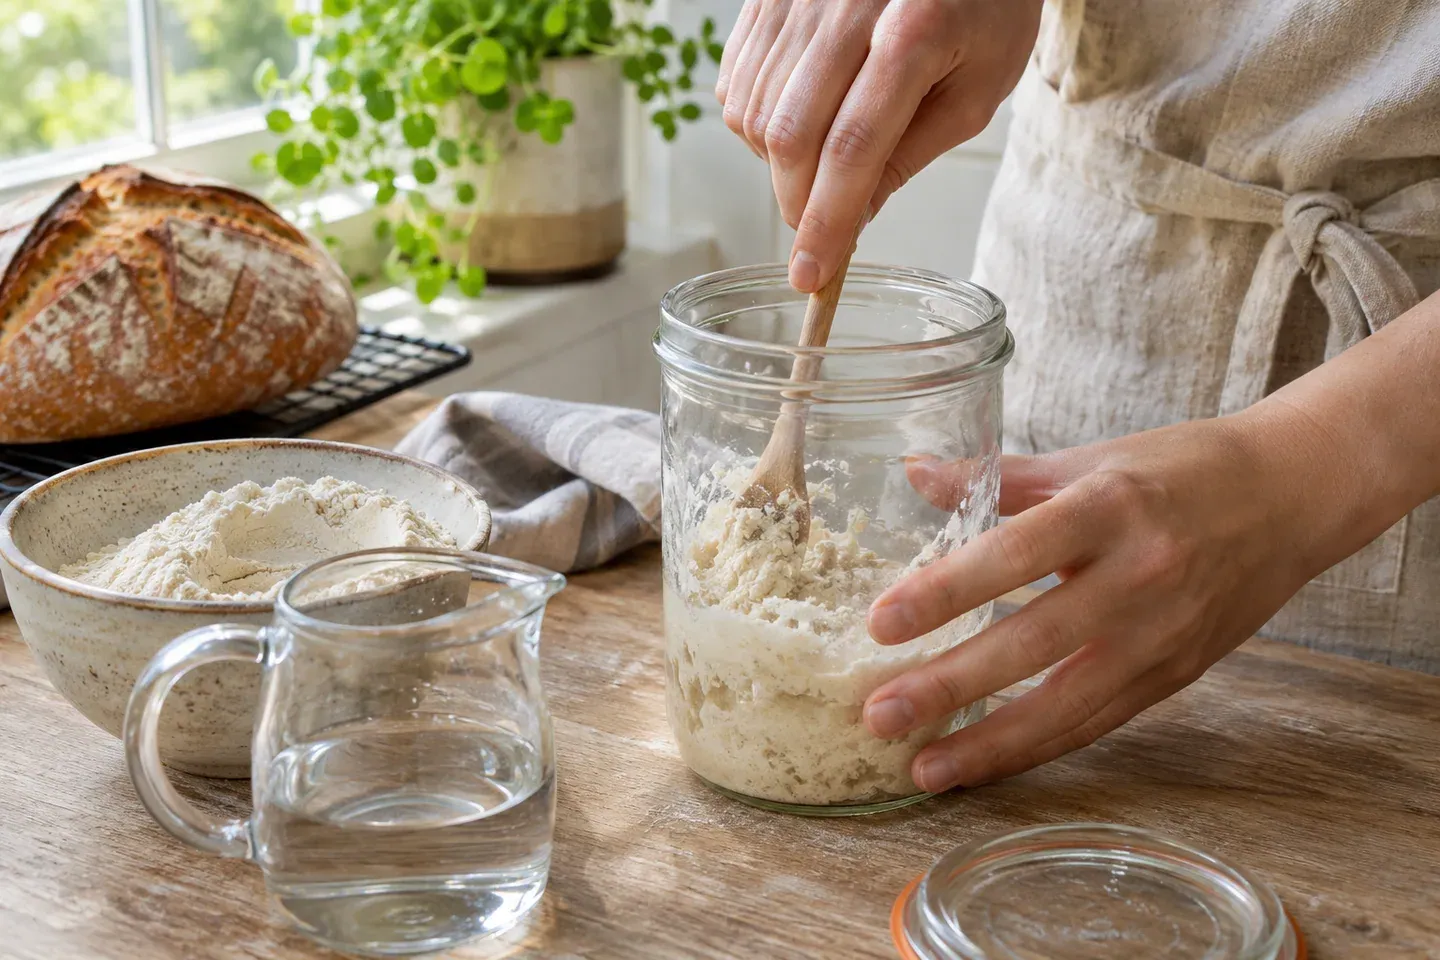
Combine 50 grams whole grain flour and 50 grams water. Stir thoroughly until no dry flour remains, scraping down the jar's sides. The mixture should be thick but stirrable. Use weights rather than equal cup measures, because equal flour and water volumes are not equal weights.
Mark the level, cover appropriately, and note the time. Place it in a comfortably mild room rather than trying to create intense warmth. A rough room range of about 70–75°F (21–24°C) is a useful observation context, not a guarantee of identical fermentation in every home.
Leave room above the mixture. Even a small starter can expand more than expected during an active period. Beginning with a very large jar full of flour and water adds waste without removing the uncertainty that comes with a developing culture.
Record what you see over the next day: whether bubbles appear, whether the surface changes, and whether the mixture expands or separates. Do not taste it. Flour is a raw ingredient, and a new starter is not a ready-to-eat fermented food merely because bubbles are visible.
Establish a small daily refreshment
After about a day, retain 50 grams of the mixture and add 50 grams flour and 50 grams water. Stir well, mark the new level, and cover. This is a 1:1:1 feeding by weight: one part retained starter, one part new flour, and one part new water.
The refreshed jar now contains 150 grams total. You do not need to keep all of it at the next feeding. Keeping a measured portion controls the scale of the project and provides a consistent relationship between the culture and its new food.
Repeat a consistent daily routine while observing development. Some guides use a different starting schedule, and a warmer, more active starter may eventually need more frequent feeding. The important principle is to follow a coherent method instead of switching quantities and intervals every time the jar looks unfamiliar.
Remove discarded starter from the working area and keep the jar's rim reasonably clean. Do not let old dried residue accumulate indefinitely above the fresh mixture. Moving the retained amount into another clean jar can make the new cycle easier to observe.
Expect early activity to change
A developing starter can become bubbly, quiet down, and then build a more predictable pattern later. That does not mean that every quiet jar is healthy, but it explains why one dramatic early expansion should not be treated as proof of baking readiness.
Watch a whole feeding cycle rather than checking only when it suits your schedule. A starter may rise, reach its highest point, and fall before you return. A mark of dried mixture above the current level can indicate that it was more active earlier than the surface now suggests.
Temperature, flour, feeding proportions, and timing all affect the observations. Keep those factors reasonably consistent while learning. If you change the jar location, flour, water quantity, and feeding ratio at once, you lose the ability to identify which change affected the result.
Patience is more useful than adding commercial yeast to force an early rise. A starter intended to maintain its own fermentation culture needs to demonstrate that it can respond repeatedly to refreshment. A yeast-assisted mixture would answer a different question.
Decide when it can raise bread
Look for repeated, substantial expansion after feeding, a visibly aerated interior, and a predictable rise-and-fall cycle. A mature starter often doubles or more under suitable conditions, but the specific timing depends on its feeding ratio and temperature. Record the pattern over several refreshments rather than relying on one photograph.
The aroma should be recognizably fermented rather than clearly spoiled. Appearance and smell cannot prove the absence of every hazard, so treat obvious signs of contamination seriously. Do not taste the raw starter as a readiness test.
The float test is not a universal pass-or-fail check. Whether a spoonful floats can depend on hydration, trapped gas, and how it was handled. A starter's demonstrated behavior across feeding cycles is more informative than one small sample's buoyancy.
When you plan the beginner sourdough loaf, use a starter that has established dependable activity. A calendar target such as “day seven” is not a substitute for that evidence. Some cultures take longer to become useful in a particular kitchen.
Adjust the feeding routine as activity builds
If the starter reliably rises and falls well before the next daily feeding, the interval or feeding ratio may need adjustment. Two approximately twelve-hour refreshments can suit an active room-temperature routine, but the jar's behavior should guide the decision rather than a rule imposed before it shows activity.
Feeding a larger proportion of flour and water relative to retained starter changes how much fresh food is available. It also changes the schedule. Do not compare a 1:1:1 jar directly with a 1:4:4 jar as if the same peak time should be expected from both.
The separate starter feeding guide explains those ratios and planning decisions. Use this first guide to establish the culture; use the feeding guide to refine an already observable cycle and fit it to a baking routine.
Move a mature starter into maintenance
Once the starter is established, choose a maintenance routine that matches how often you bake. Frequent baking may suit a room-temperature schedule with regular refreshments. Less frequent baking may suit refrigeration, followed by enough refreshments to restore dependable activity before mixing a loaf.
Do not assume that a long-refrigerated starter can move straight from a cold jar into any recipe without affecting fermentation. Observe it after feeding and allow the culture to demonstrate useful activity. The number of refreshments needed depends on its condition and storage history.
Keep a modest reserve instead of building a large quantity for every day of the week. Before a planned bake, calculate how much starter the recipe needs and how much you want left afterward. That avoids discovering that the entire jar disappeared into the mixing bowl.
Recognize when to discard and restart
Visible mold or pink or orange discoloration is a reason to discard the culture rather than scraping off the surface and continuing. King Arthur Baking's sourdough FAQ specifically identifies those warning signs. Use a clean container and fresh ingredients if you restart.
A layer of liquid or an alcoholic aroma can occur in a hungry established starter, but do not use that possibility to dismiss a mixture that otherwise looks contaminated. A new baker does not need to recover every questionable jar. When the condition is clearly abnormal or uncertain, replacing a small amount of flour and water is preferable to inventing a rescue method.
Do not serve raw starter or raw discard. Follow FDA flour-handling guidance and clean the tools and surfaces used for preparation. A long fermentation is not a general exemption from safe handling of uncooked flour mixtures.
Questions during the first weeks
Must I use an expensive special flour?
No particular premium brand is necessary for starting the process. Use a suitable fresh flour and a consistent method. Changing flour can change the culture's behavior, so record the change rather than assuming the jar should behave identically afterward.
Why keep only a portion at feeding time?
Retaining a measured portion controls the amount of starter and the relationship between old mixture and new food. If you kept everything and added the same feeding indefinitely, the culture would grow in size and its feeding proportions would shift.
What should I write down?
Record retained starter, new flour and water, approximate room conditions, feeding time, and the highest observed rise. Those notes help you decide whether the next useful change concerns temperature, ratio, or scheduling. A simple repeatable record is more helpful than chasing a different online trick every day.