
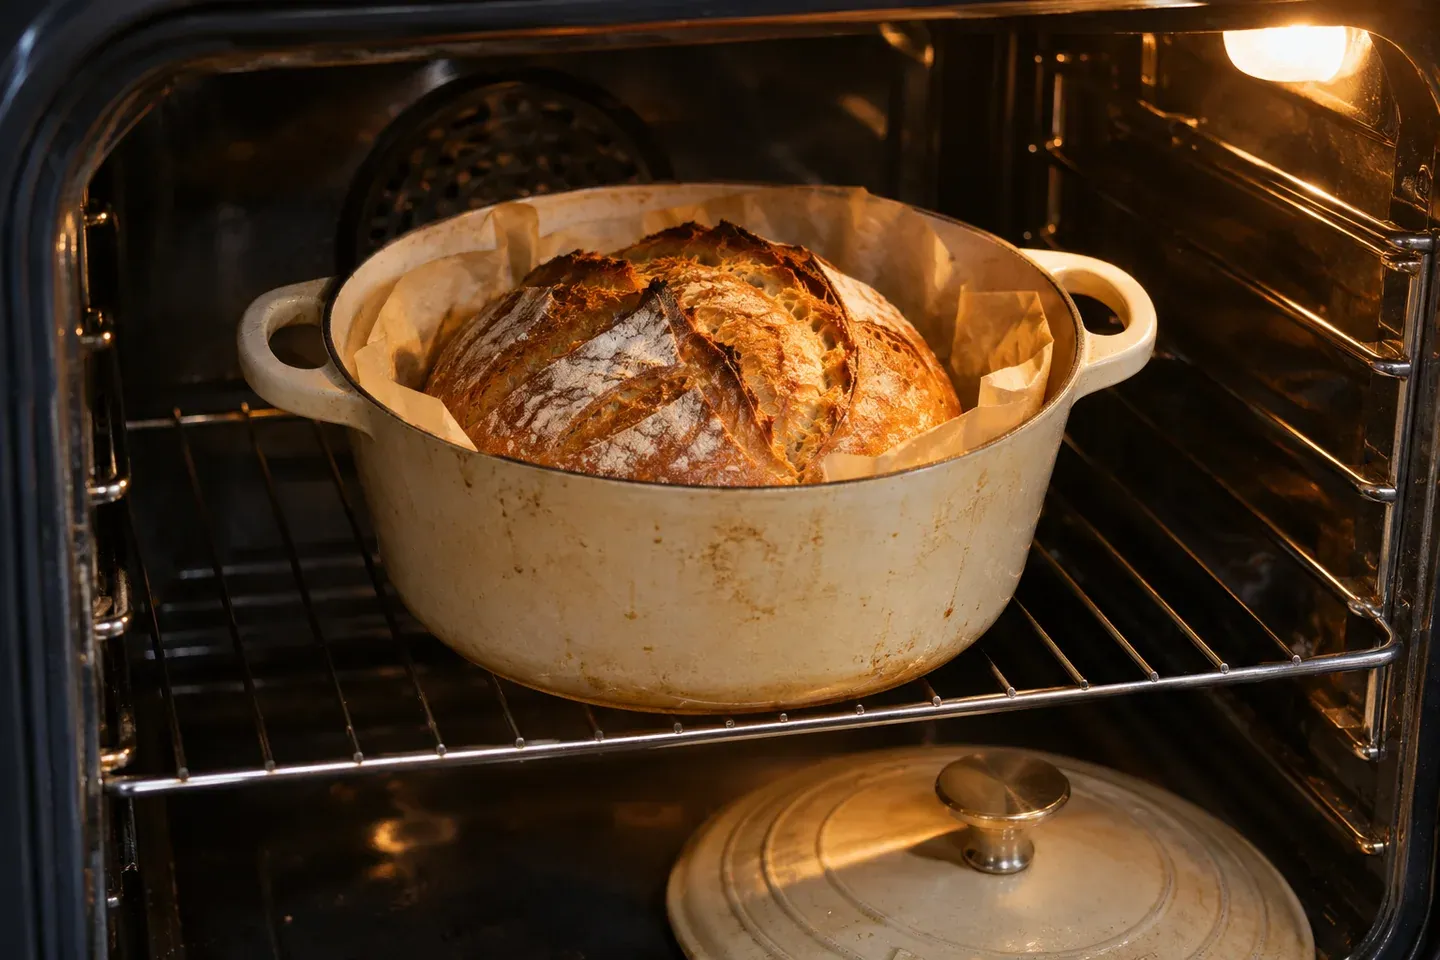
The best temperature for baking bread is the one suited to its formula, size, and baking setup. A soft enriched pan loaf often uses a more moderate oven than a lean crusty loaf. As a broad starting comparison, many everyday pan breads bake around 350–375°F (175–190°C), while some lean artisan methods use roughly 425–450°F (220–230°C). Use a specific recipe rather than applying either range to every bread.
Temperature controls how the outside and inside develop together. Raising the setting can color the crust faster without guaranteeing a finished center. Lowering it can extend moisture loss and change the crust. The practical goal is a loaf whose structure has set and whose crust matches the style you intend.
Distinguish oven setting from bread temperature
The number selected on an oven is a target for its heating system. It is not the bread's internal temperature, and it may not equal the air temperature at every location throughout baking. Heating elements cycle, and different parts of the oven can behave differently.
The bread warms gradually from its surroundings. A small roll and a large loaf placed in the same oven will not necessarily finish together. Shape, dough composition, pan material, and how much moisture must leave the bread all influence the process.
Keep those measurements separate in your notes. “Baked at 375°F” describes an oven setting. “The center measured 195°F” describes an internal reading at a particular moment. Confusing them makes it difficult to understand both recipe instructions and thermometer advice.
Match the setting to the bread style
Soft pan bread usually seeks a tender interior and a relatively thin crust. A moderate oven gives the center time to set without taking the top far beyond the desired color. Milk, sugar, and enrichment also affect browning, so a darker top is not automatically a sign that the interior has finished.
Lean artisan loaves often use a hotter environment for expansion and crust development, sometimes with a covered vessel or another recipe-designed steam arrangement. That does not mean maximum heat is the goal. The vessel and loaf size must support the chosen method.
Small rolls bake differently from large loaves because heat has a shorter route to the center. Their exposed area and spacing also matter. A pan of touching rolls and separately spaced rolls can develop different side crusts at the same oven setting.
Quick breads, flatbreads, rye-heavy breads, and very rich doughs should follow their own recipes. A skillet flatbread has a different heat source and thickness from a pan loaf, so an oven-temperature chart cannot substitute for its cooking method.
Use a simple temperature map responsibly
| Bread style | Common recipe starting range | Main observation |
|---|---|---|
| Soft wheat pan loaf | About 350–375°F / 175–190°C | Center sets before excessive top browning |
| Lean crusty loaf | Often about 425–450°F / 220–230°C | Expansion and developed crust, with the recipe's vessel method |
| Dinner rolls | Often around 375°F / 190°C | Evenly baked center pieces without dry edges |
These ranges summarize common approaches, not validated settings for every formula. A recipe may intentionally begin hotter and then reduce the heat, or use a lower setting for a particular pan and dough. Follow its full sequence rather than selecting a single row and discarding the rest.
If you want a concrete first project, compare the white pan loaf with the no-knead artisan loaf. Their different settings belong to different formulas and setups, not to a claim that one temperature is universally better.
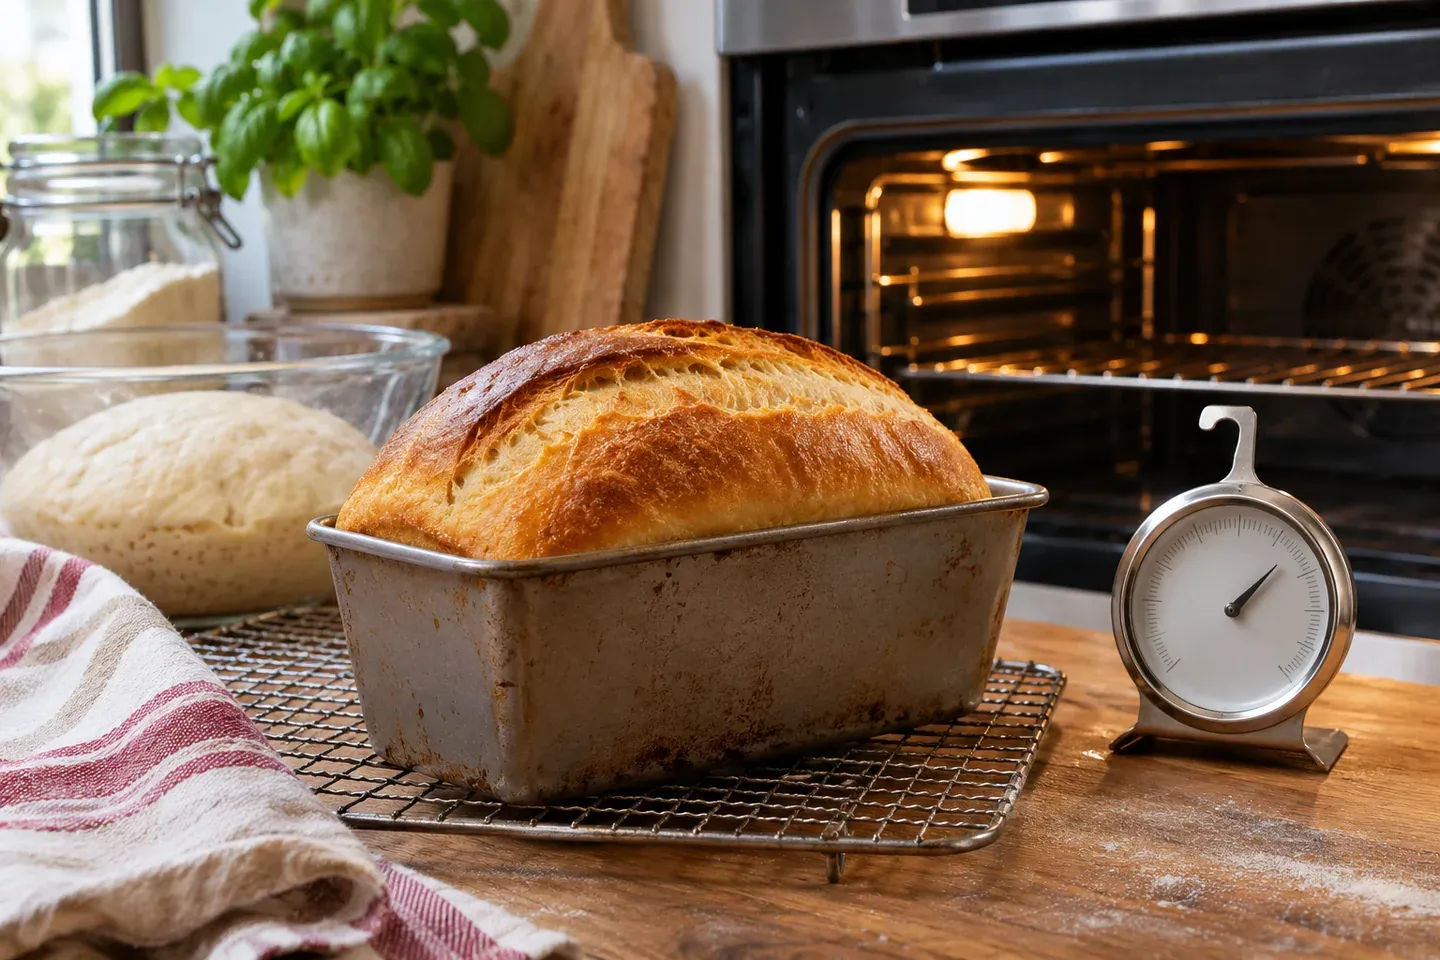
Preheat the setup, not only the display
Allow the oven to preheat according to its instructions and the recipe. A ready signal may indicate that the air near a sensor reached a target, while a heavy stone or covered pot may still require additional preparation under its own directions.
Dense baking surfaces store and transfer heat differently from an empty oven. Do not add a stone halfway through the process and assume it behaves like a thoroughly prepared one. Similarly, do not preheat a covered vessel empty unless its manufacturer permits that use.
Place the rack and any approved baking surface before they become difficult to handle. Check clearances for a rising loaf and lid. A little planning prevents the awkward moment of trying to rearrange very hot equipment while proofed dough waits on the counter.
Avoid repeatedly opening the door during the early bake. Each opening changes the environment, and a beginner may have little reason to inspect the loaf so often before meaningful development is visible. Plan checks around the recipe's expected stages instead.
Understand the pan's influence
A dark metal pan can color the outside differently from a pale one. Glass, ceramic, and metal also differ in heating and cooling behavior. Those differences are reasons to follow pan-specific recipe notes, not reasons to make an automatic temperature change without checking the actual equipment.
The pan's dimensions affect dough depth. A deep loaf in a small pan has a different path for heat to reach the center from a shallower loaf in a wider pan. If you change the pan and then change the oven setting at the same time, it becomes harder to identify which caused a problem.
For equipment selection, start with the baking equipment collection. Choose cookware that suits the recipe and its temperature limits before looking for clever adjustments to compensate for an unsuitable vessel.
Check whether a hot spot is affecting the loaf
If one side consistently darkens before the other, note the loaf's position, rack level, and nearby surfaces. Make the same observation over more than one bake before concluding that the recipe needs a new temperature. An uneven appliance can affect a correct formula.
A rotation later in baking may help some ovens, but follow the recipe's handling guidance and avoid disturbing a loaf unnecessarily while its structure is fragile. Rotating is not a universal replacement for checking rack placement and appliance performance.
An oven-safe thermometer can help you understand persistent differences between the selected setting and the baking environment. Use it as instructed and allow enough time for a meaningful reading. A single glance during a heating cycle does not fully characterize the oven.
Do not apply a fixed convection conversion to every recipe automatically. If the recipe gives a fan setting, use it. If it specifies conventional baking and your oven offers that mode, begin there. Consult the appliance's instructions for other modes instead of assuming every fan system produces the same effect.
Read doneness with several cues
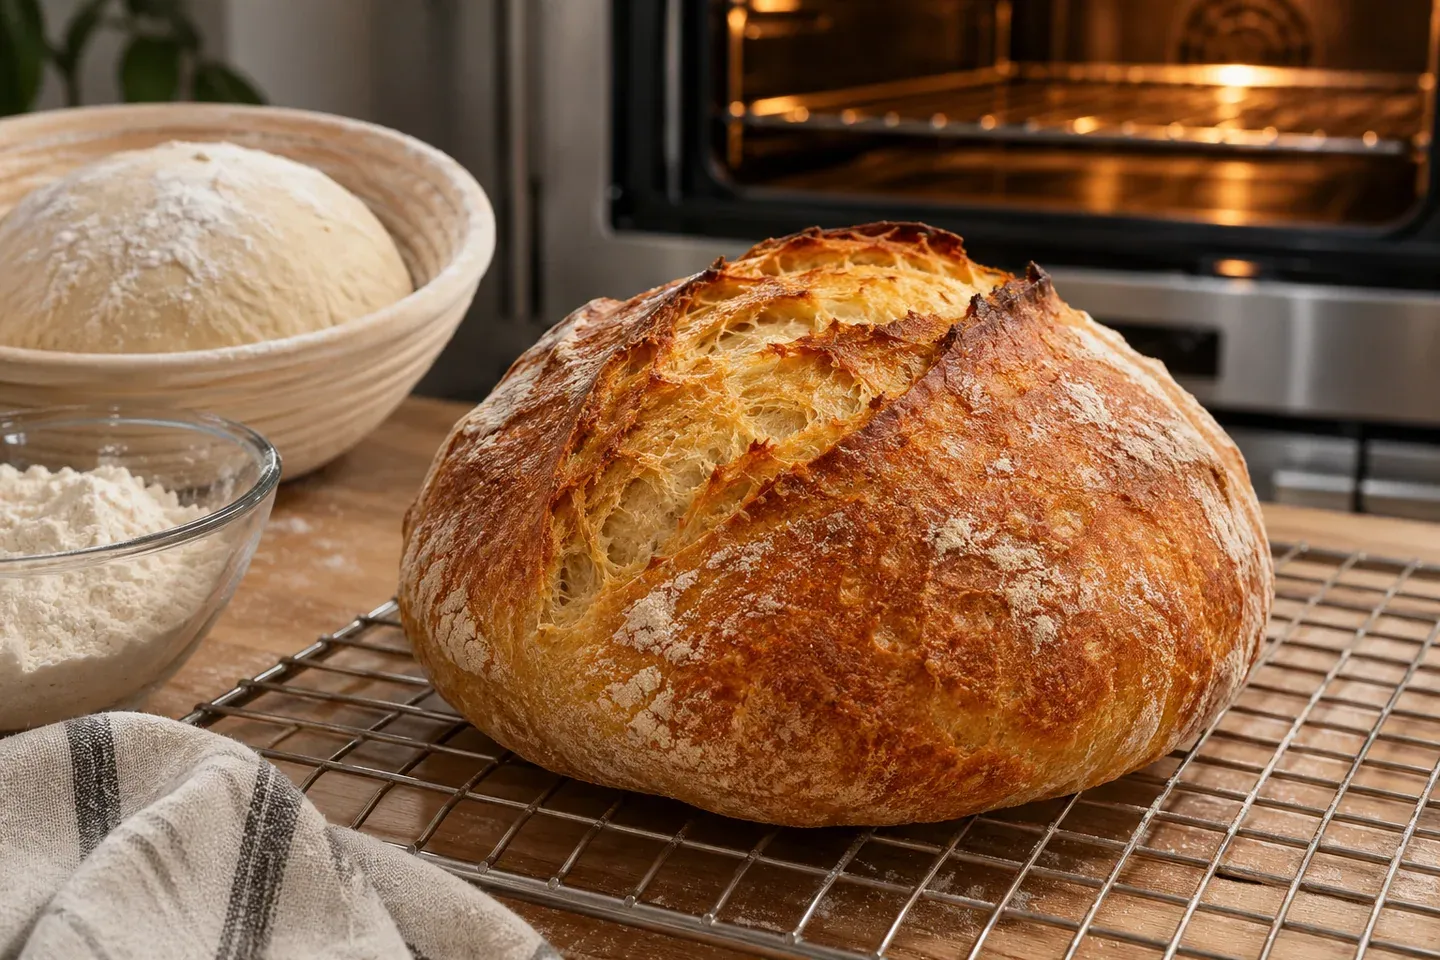
Crust color is useful but incomplete. An enriched loaf can brown before its center has set, while another bread can remain relatively pale for reasons connected with ingredients or setup. Look at overall structure and follow the recipe's complete doneness guidance.
Internal temperature can provide another observation. King Arthur Baking's thermometer guidance discusses targets around 190°F (88°C) for many yeast breads while identifying exceptions for particular styles. Those are bread-quality cues, not a universal food-safety temperature for every possible filled or enriched product.
Place a suitable probe toward the center without measuring against a hot pan or in an empty pocket. Check the instrument's instructions and intended use. An air thermometer designed to remain in an oven is not necessarily interchangeable with a food probe.
Cooling is part of evaluation. A loaf sliced while very hot can compress and appear gummy. Let it cool as directed before deciding that the oven temperature must have been wrong. The result you want to assess is the bread as it will actually be eaten.
Respond to common temperature problems
If the top browns too quickly, consider a loose foil tent, rack placement, pan material, and the recipe's enrichment before making a large change to the setting. Keep foil away from heating elements. The aim is to let the center finish without burning the surface.
If the base becomes excessively dark, investigate the baking surface and cookware. A heavily heated stone beneath a thin pan may not match the method that the recipe intended. Lowering the oven globally can create a different problem if it prevents the rest of the loaf from baking appropriately.
If the bread dries out while remaining pale, review whether a low oven setting extended the bake unnecessarily. Also check loaf size, shaping, and the formula. Not every dry crumb began as a temperature problem; excessive flour and prolonged uncovered storage can create their own symptoms.
Make one controlled adjustment
Record the oven mode, selected temperature, rack, pan, and baking time. Add observations about top color, side structure, base color, and the cooled crumb. That record separates an appliance pattern from a one-off shaping or fermentation problem.
On the next attempt, change the clearest variable while holding the others steady. A modest rack change or better preheating may be more informative than raising the temperature, reducing water, and buying a new pan simultaneously. Good notes make the next bake a deliberate comparison rather than another guess.
Temperature questions
Is hotter always better for oven spring?
No. Expansion depends on dough development, fermentation, shaping, and the baking method as well as heat. An unsuitable high setting can scorch the outside without repairing an underproofed or weak dough.
Can I add water to create steam?
Use only a recipe-designed steam method compatible with your equipment. Do not pour water onto hot glass or improvise around exposed heating elements. A covered-vessel method also requires cookware approved for its heat and preheating conditions.
What is the best starting choice?
Choose one well-specified recipe and use its intended oven mode and pan. Observe that loaf fully before adapting the setting. A temperature range becomes useful only when it is connected to an actual dough and baking setup.