
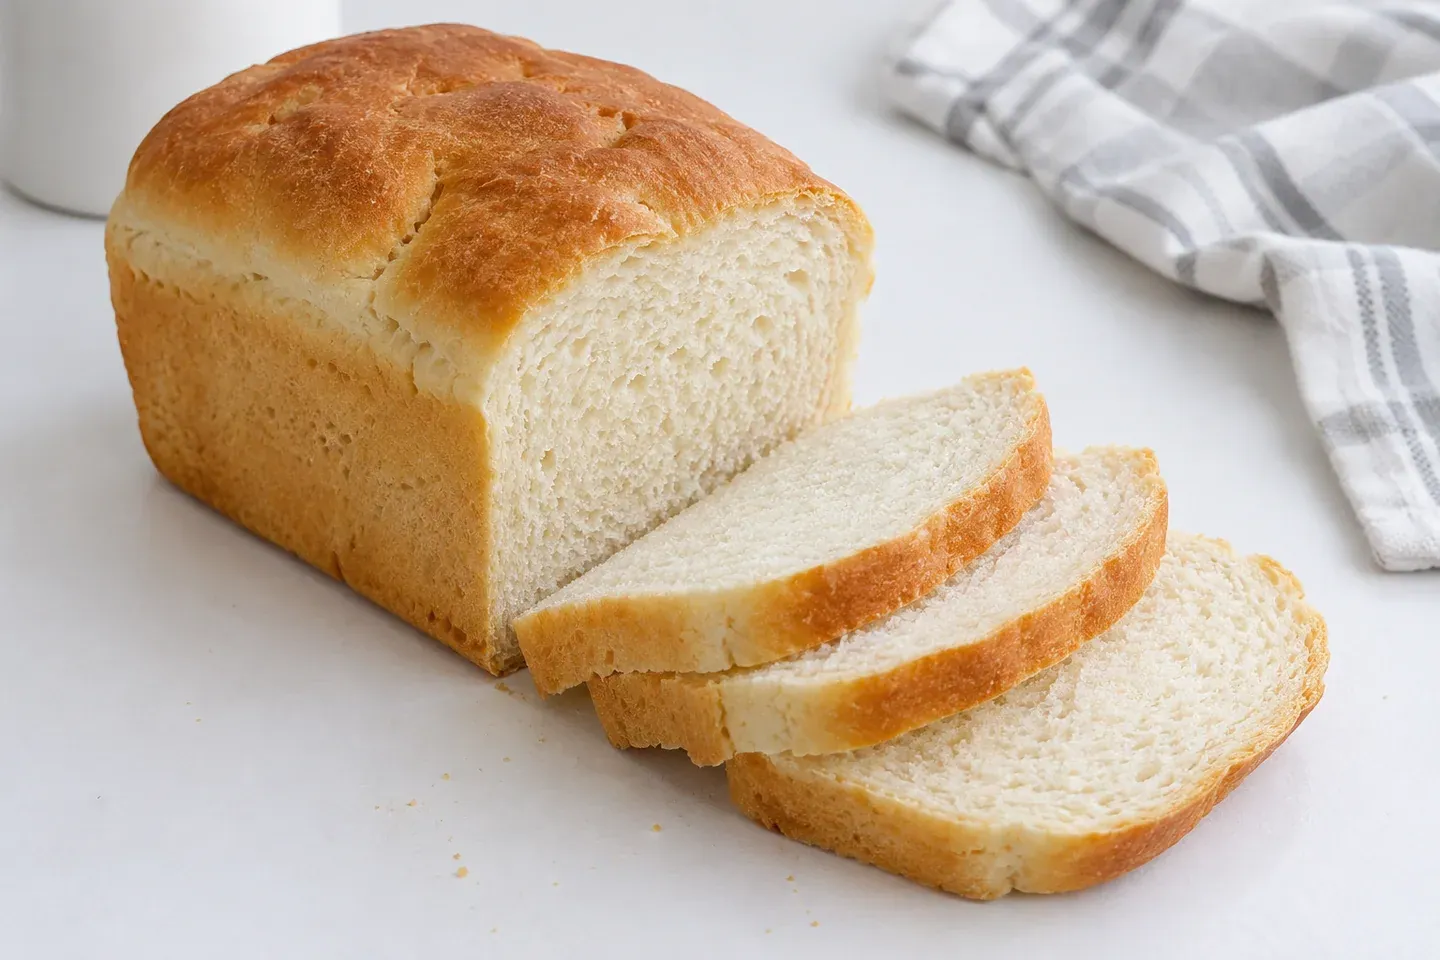
A homemade white bread recipe should give you more than a list of quantities. You need to know how soft the dough should feel, how far the shaped loaf should rise, and why cooling changes the way a slice looks. This small everyday loaf uses a moderate amount of water, a little oil, and a pan to support the dough while those skills develop.
The formula below makes one plain wheat loaf for toast and simple sandwiches. Its quantities and timing are editorial starting points, not a claim of testing by Easy Bread Baking. Keep a record of the flour, pan, and dough behavior on your first bake so that any later adjustment has a clear purpose.
A straightforward loaf with room to learn
This dough is deliberately uncomplicated. Flour provides structure, water hydrates it, yeast raises it, and salt contributes flavor while influencing dough behavior. A small amount of oil makes the crumb more tender, while a little sugar adds sweetness without turning the loaf into a rich dessert bread.
The loaf pan provides support, so elaborate surface tension and scoring are not the main tasks. Focus on consistent measuring and a reasonably even log. For a broader introduction to each stage, use the beginner bread guide alongside this recipe.
Choose either bread flour or a suitable all-purpose wheat flour for your first attempt. The dough may absorb water differently with another flour, so a substitution is also a change to observe. This formula is not a direct replacement guide for gluten-free or rye flour, which require their own recipes and methods.
Ingredient quantities and practical measuring
Use 400 grams flour, 260 grams water, 7 grams fine salt, 5 grams instant yeast, 10 grams granulated sugar, and 10 grams neutral oil. The water is 65% of the flour weight. That relationship gives a useful starting consistency for hand kneading, although flour brands and conditions can still change the feel.
For US measuring, 400 grams flour is approximately 3⅓ cups if your flour convention is 120 grams per cup. The water is about 1 cup plus 1½ tablespoons. Use roughly 1⅛ teaspoons fine table salt, 1⅔ teaspoons instant yeast, 2½ teaspoons sugar, and 2¼ teaspoons oil. These volume equivalents are approximate; the gram quantities are the controlling measurements.
Salt type matters when using teaspoons. Coarse crystals occupy space differently from fine table salt. Weighing avoids treating equal spoonfuls of different salts as equal amounts. The same principle is why our flour-measuring guide favors grams over casually scooped cups.
Use plain water and a neutral-flavored oil so that the loaf's flavor remains simple. Milk, butter, honey, or large additions of seeds change both the formula and its handling. Make the basic version first rather than combining several substitutions and trying to diagnose them afterward.
Prepare the pan and mixing space
Lightly grease an 8½-by-4½-inch metal loaf pan. Keep a mixing bowl, spoon, scraper, and clean cover nearby. A cooling rack is useful for the finished loaf. You can knead by hand; a mixer is optional rather than essential equipment.
Check that your oven rack leaves room for the loaf above the pan. Position it near the middle unless your oven instructions suggest otherwise. An oven thermometer can help identify a persistent temperature mismatch, but it should be suitable for the appliance and positioned according to its directions.
Give yourself a flexible baking window. A cooler dough can rise more slowly than one mixed in a warmer room. It is better to start when you can observe that progress than to begin with a fixed departure time that forces you to bake an obviously unfinished loaf.
Mix, rest, and knead
Stir the flour, instant yeast, sugar, and salt together. Add the water and oil, then scrape and stir until no dry flour remains beneath the rough dough. Follow the yeast package if it specifies a particular mixing or liquid-temperature method. Avoid very hot water.
Cover the bowl for about ten minutes. The rest helps the flour hydrate and makes the dough easier to assess. A freshly mixed mass can feel sticky before it becomes cohesive, so do not assume that the first touch tells you how much additional flour it needs.
Knead on a clean counter using a gentle push, fold, and turn rhythm. Work until the dough becomes smoother and stretches more willingly. Several minutes of hand kneading may be enough, but use development rather than a fixed clock as the main guide. A short pause is useful if the dough resists stretching sharply.
The dough should be soft and slightly tacky. Use a scraper to gather it rather than incorporating large quantities of counter flour. If it remains extremely firm after the rest, check the measurements before adding water a teaspoon at a time. If it is merely sticky, give it another brief rest first.
Complete the first rise
Place the kneaded dough in a lightly oiled bowl, cover, and let it expand in a comfortable room. Start checking around 45 minutes, while recognizing that the full rise may take longer. Look for a substantial increase in volume and a lighter, aerated feel, often approaching double for this style of loaf.
A narrow, straight-sided container makes volume easier to judge than a very wide bowl. Marking the starting level helps distinguish actual growth from a dough ball relaxing outward. Surface bubbles can be informative, but the entire dough should also look and feel more expanded.
If progress is unexpectedly slow, check dough temperature and yeast condition rather than forcing heat into the bowl. The rising-time guide explains why a useful timetable still needs observation. Do not place the dough where an oven or heating element can accidentally become dangerously hot.
Shape evenly and proof in the pan
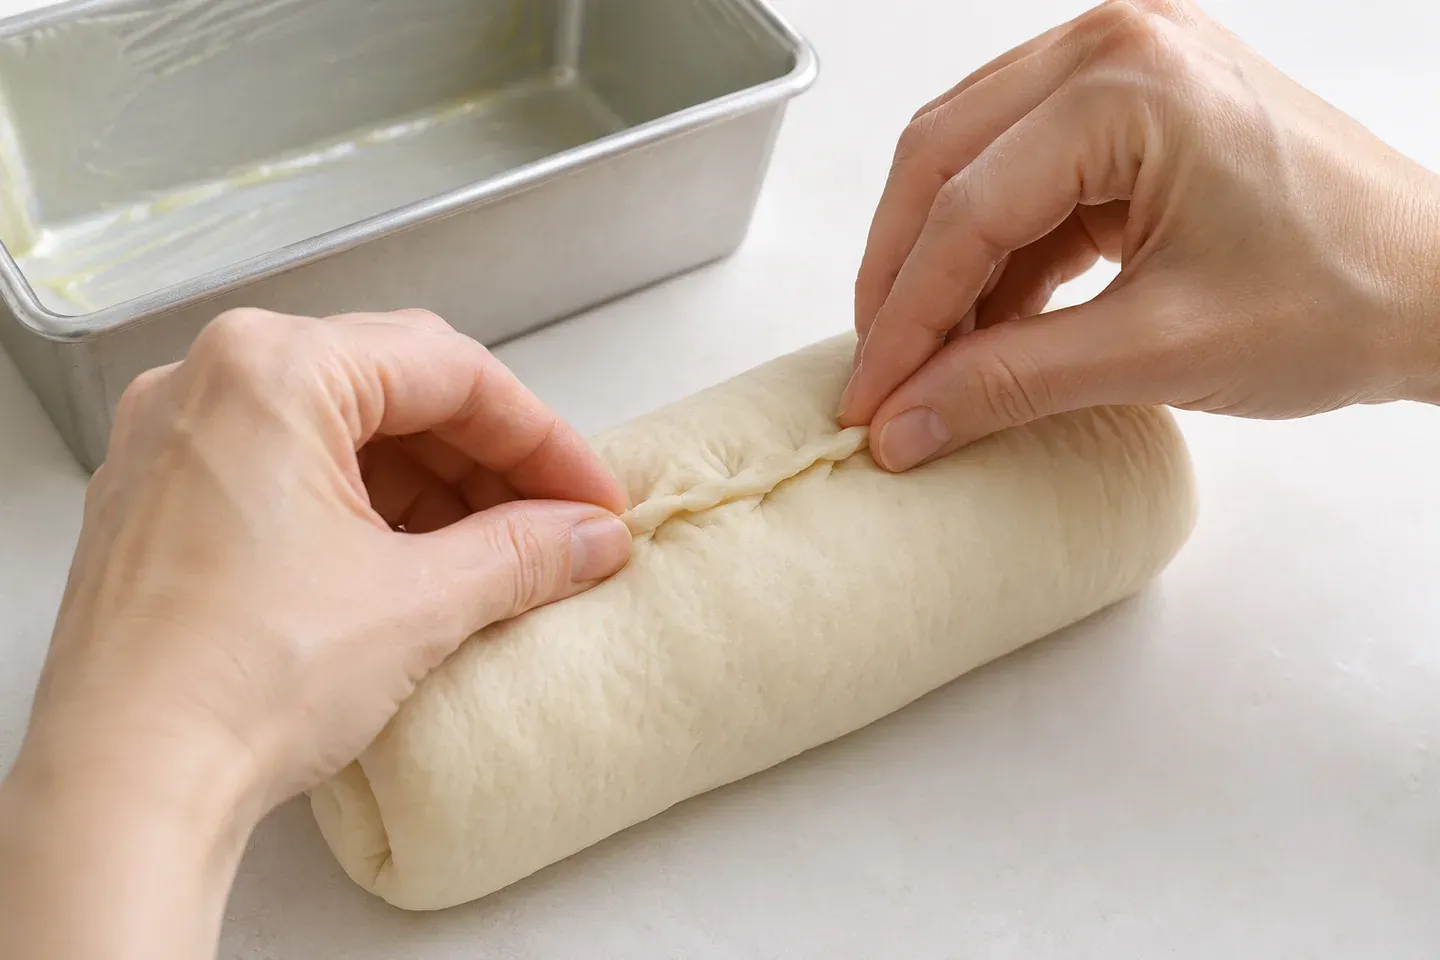
Turn the dough out and gently press it into a rectangle. Release very large gas pockets without crushing every small bubble. Fold or roll it into an even log that fits the pan, then pinch the seam and place it seam-side down.
Avoid winding the log so tightly that its surface tears. At the other extreme, a very loose roll can leave large gaps inside. Moderate, even tension and a consistent thickness are more useful goals than making a highly decorative shape.
Cover the pan and let the loaf expand again. Start checking after about 35 minutes. For this pan-and-dough combination, a fuller dough approaching the rim is a useful visual cue; exact height varies with pan shape and flour. A gentle indentation that slowly returns can support the decision, but do not use that test alone.
Begin preheating while the loaf still needs some proofing. Waiting until the dough is fully ready to switch on the oven can leave it overextended by the time baking begins. If it already feels fragile and a light touch collapses it, investigate overproofing rather than expecting the oven to repair the structure.
Bake and let the crumb settle
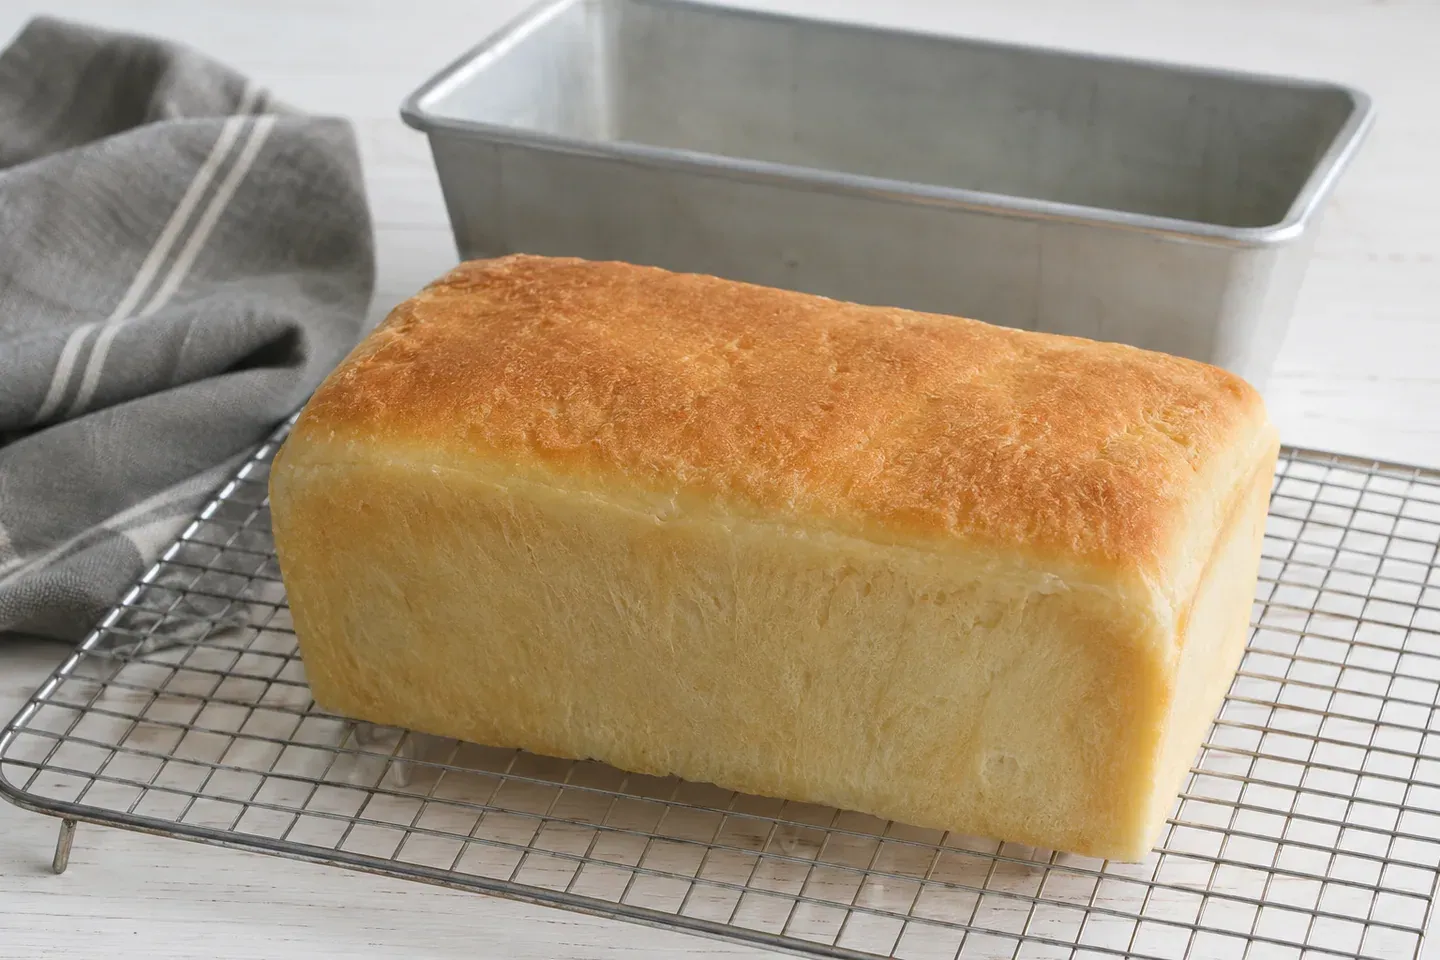
Heat a conventional oven to 350°F (175°C). Bake the loaf for approximately 30–40 minutes, checking its browning and structure toward the end. The top should develop an even golden color, and the loaf's sides should set sufficiently to hold their shape when removed from the pan.
If the top colors too quickly, tent it loosely with foil while keeping the foil away from heating elements. Dark pans and ovens with strong top heat can produce a different surface color from pale metal pans. Use those observations to guide a later adjustment rather than assuming a timer controls every oven equally.
Turn out the loaf carefully and cool it on a rack for about an hour, or until the interior has cooled sufficiently for clean slicing. Hot bread can compress under the knife and appear gummy even when the later-cooled crumb would slice better. Do not wrap it tightly while it is still releasing steam.
Keep the loaf useful after the first slice
Once fully cool, store the loaf in suitable food-safe wrapping according to your household conditions. A closed bag helps preserve a soft sandwich-style crust, while leaving it exposed encourages drying. Neither method guarantees a fixed safe storage period, especially in a hot, humid kitchen.
Freeze portions that you will not use soon. Separate slices before freezing if you want to toast individual servings. Let the bread cool completely before packaging, and use wrapping that limits moisture loss in the freezer. See the freezing and reheating guide for the complete method.
Discard moldy bread rather than trimming around visible growth. USDA guidance identifies bread as a porous food in which contamination can extend beyond the visible patch. Storage advice preserves quality only when the food remains suitable to eat; it cannot rescue a spoiled loaf.
Recipe card
Yield: 1 small loaf. Difficulty: Beginner. Active preparation: About 20 minutes. Baking: Approximately 30–40 minutes. Rising: Roughly 1½–2½ hours, depending on conditions. Cooling: About 1 hour. Total: Approximately 3–4½ hours, with dough cues taking priority over estimates.
Ingredients: 400 g wheat flour; 260 g water; 7 g fine salt; 5 g instant yeast; 10 g sugar; 10 g neutral oil. Use the measuring notes above for approximate US equivalents.
Estimated schedule: 20 minutes active preparation; 35 minutes cooking; 3 hours 45 minutes total, including resting, rising, and cooling where applicable. These approximate planning figures sit within the ranges above; dough and doneness cues take priority.
- Grease an 8½-by-4½-inch metal loaf pan. Mix dry ingredients, add water and oil, and combine until no dry flour remains.
- Cover for 10 minutes. Knead until the dough is smoother, cohesive, and elastic, using rests as needed.
- Cover in a lightly oiled bowl and allow a substantial first rise, commonly approaching double.
- Shape an even log, place seam-side down in the pan, and cover for the final proof. Preheat to 350°F (175°C) before the dough finishes rising.
- Bake about 30–40 minutes, monitoring browning and whether the loaf has set. Remove from the pan carefully and cool on a rack before slicing.
Baking note: Keep counter flour modest; large unmeasured additions can make the crumb tight. Storage: Package only when cool; freeze unused portions and discard moldy bread. Recipe status: Editorial draft requiring recipe validation; no testing, nutrition, rating, or review claims are made.
Questions before your next loaf
Can I double the recipe?
You can scale ingredient weights proportionally, but divide the dough between appropriately sized pans. A double dough in one small pan will not follow the same baking behavior. Leave enough room between pans for circulation.
Why does the loaf have a tunnel?
An unevenly rolled log or a large trapped gas pocket can contribute. Press out unusually large bubbles and shape evenly. Assess proofing and crumb development too, because a tunnel does not identify one cause by itself.
Is this the same as a very soft sandwich loaf?
This is a simple everyday white bread with a modest amount of oil. A more enriched sandwich loaf may use milk or additional fat and a different method. Try those formulas separately rather than expecting this dough to reproduce every packaged-bread texture.