
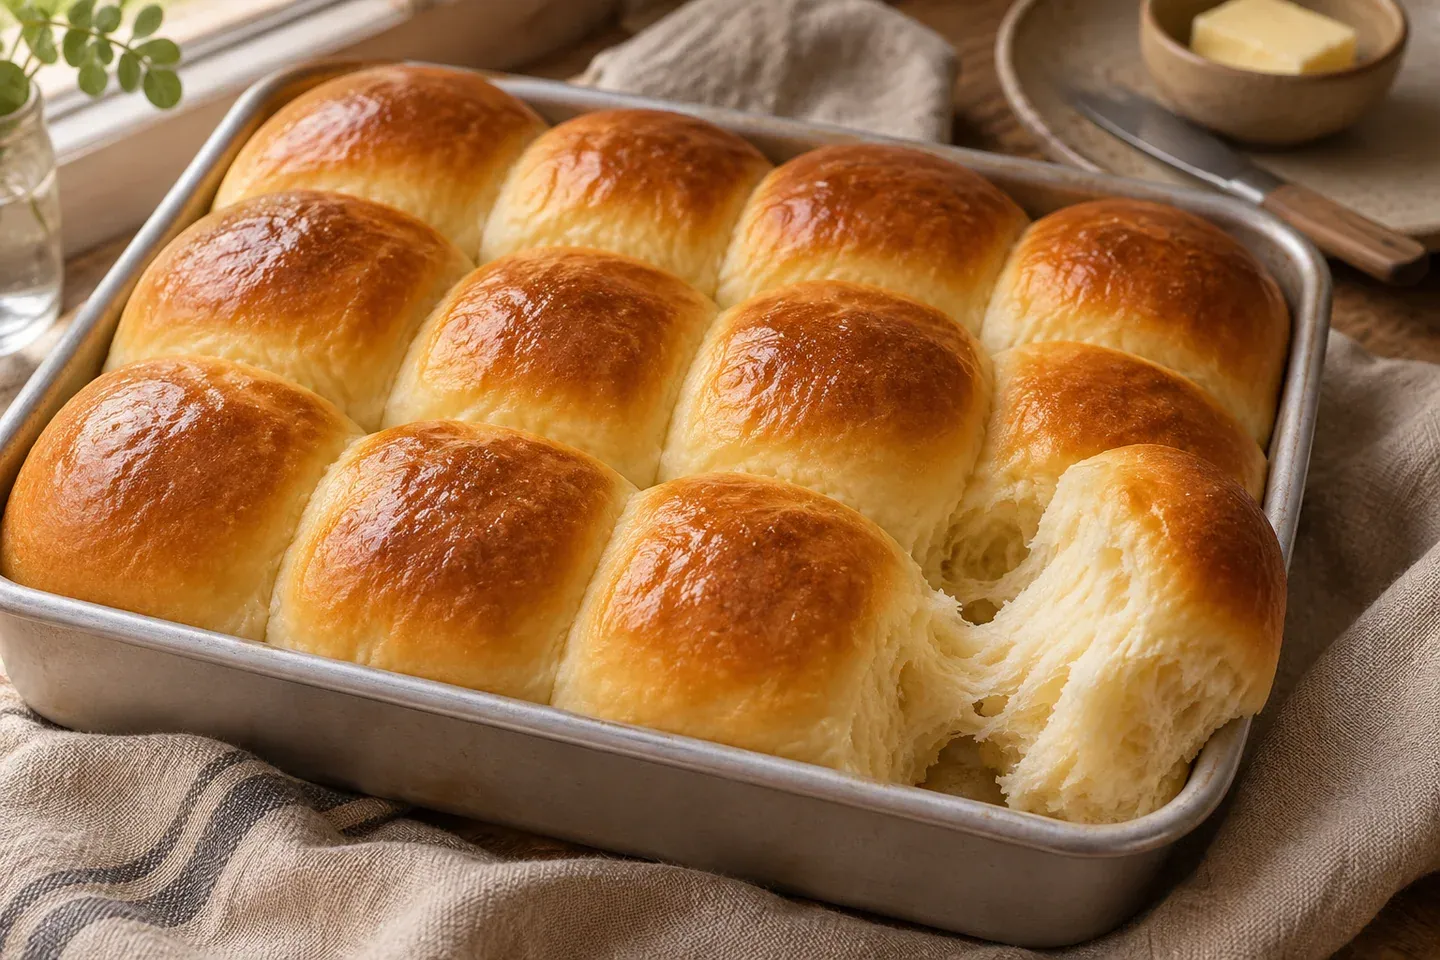
Soft dinner rolls depend on more than adding butter to bread dough. The dough needs enough strength to hold gas, each portion needs a reasonably even shape, and the final proof must leave the rolls puffy without making them fragile. These small stages work together to produce rolls that pull apart gently rather than feeling tight and heavy.
This draft formula makes twelve moderately sized rolls in a rectangular baking pan. Milk, an egg, sugar, and butter provide a tender style of bread without making the dough extremely rich. The quantities and timing require recipe validation; Easy Bread Baking does not claim that this formula has been tested in its own kitchen.
Plan the batch before mixing
Make room for a baking pan, a covered bowl, and a clean shaping surface. Unlike a large loaf, rolls require portioning and repeated shaping. Having the pan ready prevents the first pieces from sitting uncovered while you search for equipment halfway through the process.
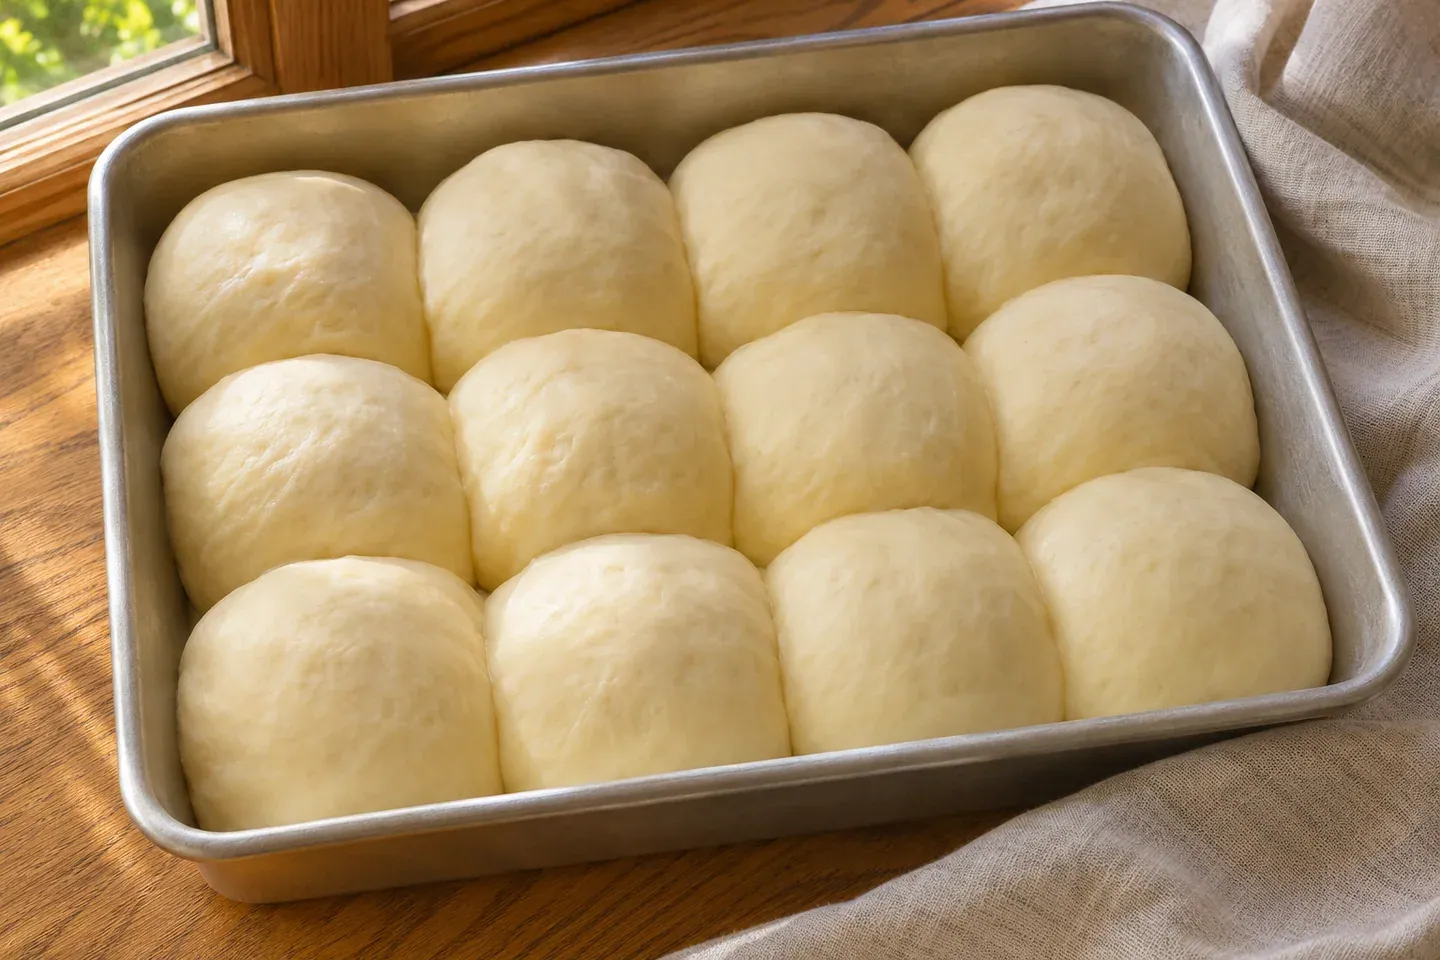
Use a light-colored metal pan about 9 by 13 inches for this draft batch. Arrange the rolls in three rows of four with space to expand. A different pan size changes how closely they rise together: crowded rolls retain softer joined sides, while a more open arrangement exposes more surface to the oven.
Allow a flexible window of roughly three to four hours, including cooling. Your kitchen and ingredient temperatures can change the rising periods. If you want rolls ready for a meal, begin early enough to accommodate slower fermentation rather than trying to force the dough with excessive heat.
What each ingredient contributes
Weigh 450 grams wheat flour, 240 grams milk, 50 grams beaten egg without shell, 50 grams softened unsalted butter, 40 grams sugar, 9 grams fine salt, and 6 grams instant yeast. The mixture weighs approximately 845 grams before handling losses, giving twelve portions of about 70 grams.
Approximate US equivalents are 3¾ cups flour at 120 grams per cup, about 1 cup milk, 1 large egg, 3½ tablespoons butter, 3 tablespoons plus ½ teaspoon sugar, 1½ teaspoons fine table salt, and 2 teaspoons instant yeast. Use the gram values when possible. Egg sizes and flour measuring methods vary, so the volume equivalents are not exact replacements for weighing.
Milk supplies both water and solids; the egg also contains water alongside proteins and fat. Do not calculate this dough's water content by treating the entire milk, egg, and butter weights as water. That shortcut would exaggerate hydration and make comparisons with a lean flour-and-water dough misleading.
Butter should be soft enough to incorporate, but not melted and hot. Its addition changes how the dough feels, so follow the mixing sequence rather than adding extra flour as soon as the dough becomes slippery. The sugar contributes sweetness and browning, which is one reason the rolls need attention near the end of baking.
Build the dough before adding all the butter
Mix the flour, yeast, sugar, and salt in a bowl. Add the milk and beaten egg, then stir until the flour is thoroughly moistened. Scrape underneath the mixture to remove dry pockets. Follow any specific temperature or preparation directions printed on your yeast package.
Cover the rough dough for about ten minutes. After the rest, knead briefly to bring it together, then incorporate the softened butter in several small additions. The dough may look uneven when the butter first meets it. Continue folding and pressing until each addition blends before adding the next.
Knead until the dough is smoother, cohesive, and elastic. It should remain soft rather than becoming a dry ball. A small piece should stretch more readily after a brief relaxation. If it resists sharply, pause and cover it instead of repeatedly tearing the surface.
Use a scraper to manage sticking. A little counter flour can help, but large additions work against the soft texture you want. The hand-kneading guide explains how rests and controlled movements can make a soft dough easier to develop without drying it out.
Wait for a lighter, aerated first rise
Place the dough in a lightly greased bowl, cover, and allow it to expand in a comfortable room. Start checking around an hour rather than treating that point as a deadline. Enriched dough can rise differently from a lean loaf, and cool milk or a cool room may extend the process.
Look for a substantial increase in volume and a more aerated texture. The dough should no longer feel like a compact, freshly kneaded mass. A clear container with a marked starting level makes this change easier to see than a very broad bowl.
Avoid a dry skin on the surface. It can interfere with shaping and make it harder to judge how the dough responds to a touch. A suitable cover should protect the dough without sticking heavily to it as it expands. Keep the bowl away from direct heating elements and accidental oven heat.
Divide by weight for even baking
Turn the risen dough onto a clean counter and release unusually large gas pockets gently. Weigh the entire dough if you want the closest portioning accuracy, then divide that weight by twelve. About 70 grams per piece is a practical estimate for the original formula, allowing for what remains on the bowl and tools.
Cut portions with a scraper rather than tearing long pieces away. Place loose pieces together before rounding so that each roll has a coherent shape. If one portion is much smaller, correct it now. A noticeably undersized roll can bake faster and dry out while its neighbors are still setting.
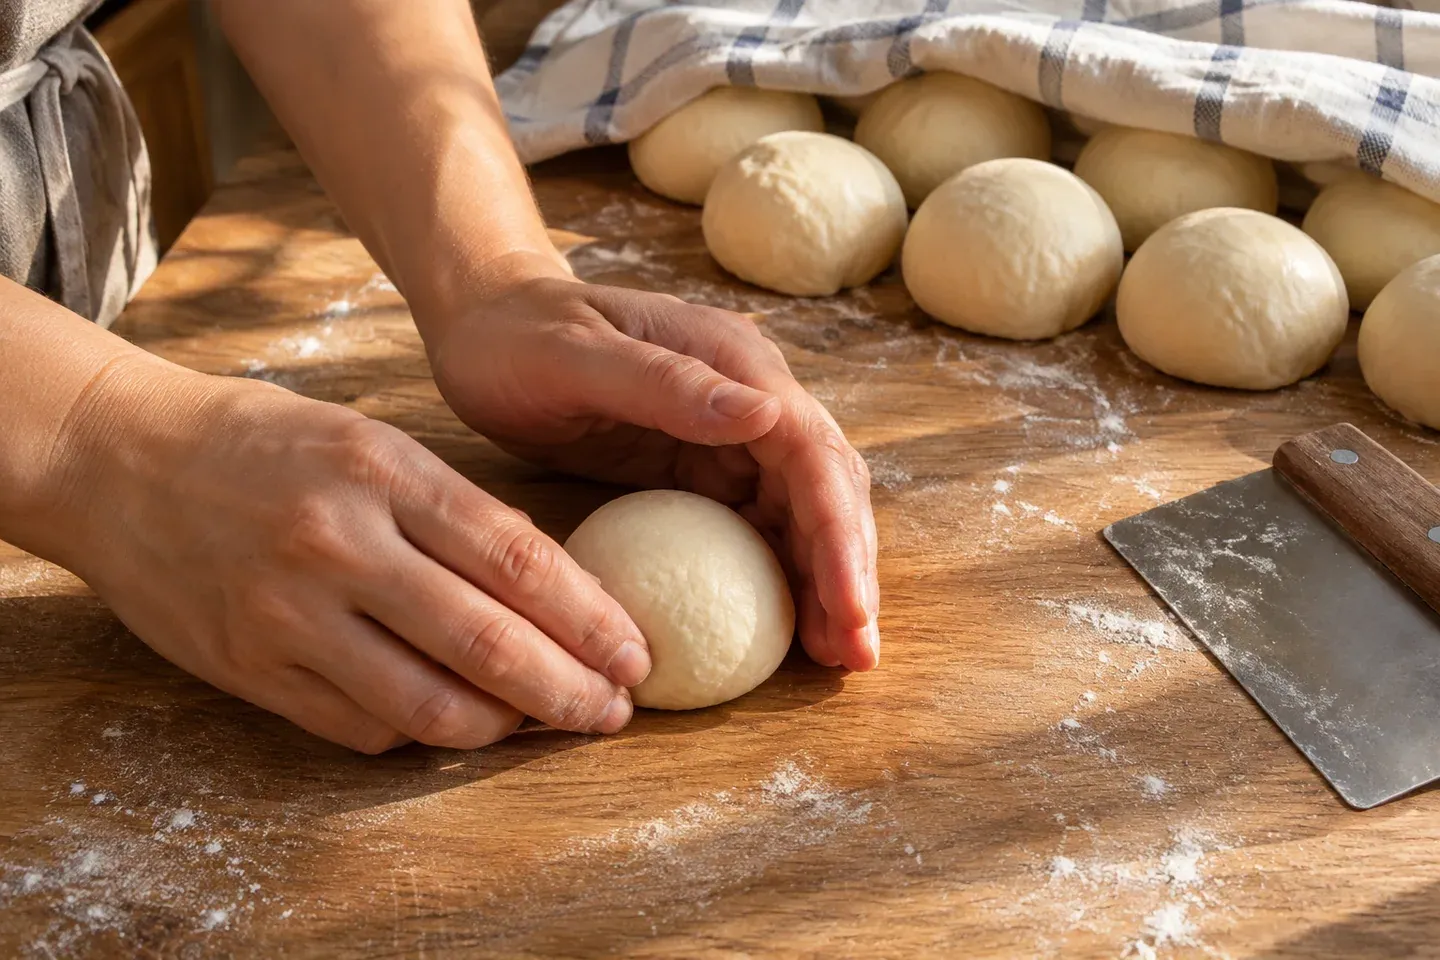
Fold each portion's edges toward the center, turn it seam-side down, and cup your hand around it. Use a small circular movement against the counter to tighten the outside gently. The surface should become smoother without splitting. The goal is even tension, not a hard, compressed ball.
If the dough keeps springing back, cover the portions briefly and let them relax. Shape in a steady order so that all twelve pieces spend a similar amount of time resting. Keep unfinished portions covered to prevent their surfaces from drying while you work.
Proof until the rolls look comfortably full
Set the shaped pieces in the greased pan and cover. Leave space between them initially. As they expand, they should become visibly rounder and may approach or touch their neighbors, depending on the exact pan and shaping.
Start checking after roughly 40 minutes, while allowing a longer wait when necessary. The rolls should feel lighter and look puffy rather than tightly wound. Press a small area gently: a slow, partial return can be useful, but evaluate it with the increase in volume and the dough's overall condition.
Underproofed rolls may expand abruptly and split or remain tight inside. Overproofed rolls can become fragile and fail to hold their height. Neither problem is solved simply by adding more butter after baking. Our proofing collection provides further guidance on reading dough development.
Begin preheating the oven while the rolls still need a little time. A pan of fully proofed rolls should not have to wait through a long preheat. If the kitchen is especially warm, check more frequently toward the end instead of assuming the final few minutes are unimportant.
Bake for color and structure
Preheat a conventional oven to 375°F (190°C). Bake for approximately 18–24 minutes, checking toward the end for an even golden top and sides that have set. Pan material, oven behavior, and the closeness of the rolls affect how quickly the center of the batch finishes.
If the tops brown faster than the rest, tent the pan loosely with foil, keeping it clear of heating elements. Do not remove the rolls solely because the surface has a pleasing color. The center pieces should also have enough structure to hold their shape when handled carefully.
After a short settling period, transfer the rolls from the pan to a rack when you can do so safely. An optional light brushing of melted butter can soften and flavor the tops. It is a finishing step rather than a correction for underbaked dough or insufficient proofing.
Allow the rolls to cool enough for their crumb to settle before pulling one apart. A very hot roll can look damp and compress easily. Judge the cooled texture, including whether the center pieces differ from the edges, before changing the formula for your next bake.
Store without trapping unwanted steam
Let the rolls cool completely before sealing them in food-safe wrapping. Closing a bag around warm bread traps moisture, while leaving it exposed for a long time encourages drying. Choose the handling method according to the soft crust you want and the conditions in your kitchen.
Freeze portions you will not use soon, wrapped to limit moisture loss. Reheat only what you need, and avoid repeatedly warming the entire batch. The bread freezing guide separates thawing and reheating choices for different bread styles.
Do not taste raw dough, which contains both uncooked flour and egg. Follow the FDA's guidance on handling flour, and clean hands, tools, and work surfaces after preparation. Discard rolls showing spoilage rather than using reheating as a way to make them safe.
Recipe card
Yield: 12 rolls, about 70 grams dough each. Difficulty: Beginner to intermediate. Active preparation: About 30 minutes. Baking: Approximately 18–24 minutes. Rising and resting: Roughly 1½–2½ hours. Cooling: Allow about 30 minutes or more. Total: Approximately 3–4 hours, with dough condition taking priority over estimates.
Ingredients: 450 g wheat flour; 240 g milk; 50 g beaten egg; 50 g softened unsalted butter; 40 g sugar; 9 g fine salt; 6 g instant yeast. Optional melted butter for finishing is additional to the dough ingredients. See the ingredient notes for approximate US measurements.
Estimated schedule: 30 minutes active preparation; 22 minutes cooking; 3 hours 30 minutes total, including resting, rising, and cooling where applicable. These approximate planning figures sit within the ranges above; dough and doneness cues take priority.
- Grease a 9-by-13-inch metal pan. Mix dry ingredients, add milk and egg, and combine thoroughly. Cover for 10 minutes.
- Knead to bring the dough together. Incorporate softened butter gradually and continue until the dough is smoother and elastic.
- Cover for a substantial first rise. Divide into twelve even portions and round gently with the seams underneath.
- Arrange in three rows of four, cover, and proof until puffy. Preheat to 375°F (190°C) before the final proof finishes.
- Bake approximately 18–24 minutes, checking browning and structure. Cool on a rack; brush lightly with additional butter if desired.
Baking tip: Weigh portions and avoid excessive counter flour. Storage: Wrap only when cool, freeze unused portions, and discard spoiled bread. Status: Editorial recipe draft awaiting validation, without testing or nutrition claims.
Common questions
Why are some rolls larger than others?
Uneven portions, different surface tension, and inconsistent resting can all contribute. Weigh pieces and use the same shaping sequence. Check whether the larger rolls were also placed in a warmer part of the kitchen during preparation.
Can I leave out the egg?
Omitting it changes both moisture and enrichment. This recipe does not provide a validated egg-free conversion. Choose a purpose-designed egg-free roll recipe rather than removing an ingredient and expecting the same dough.
Why did the rolls turn out heavy?
Review flour measurement, kneading, and proofing before adding more yeast. A very firm dough or rolls baked before they became puffy can produce a tight crumb. The dense bread guide offers a broader diagnostic approach.