
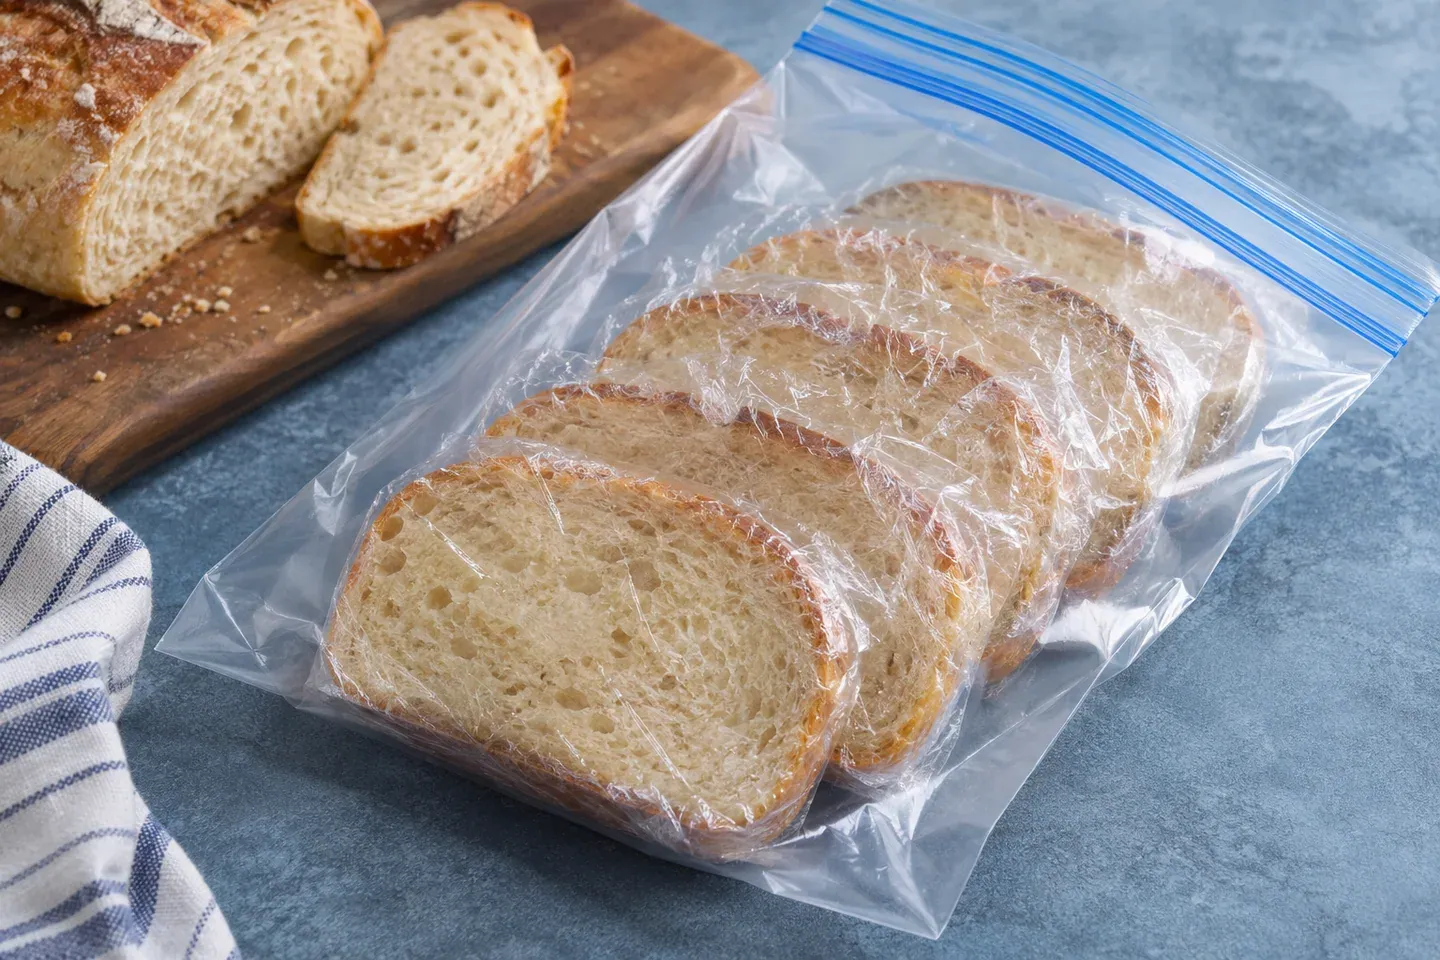
To freeze homemade bread, let it cool completely, divide it into useful portions, and wrap it to limit moisture loss before placing it in the freezer. Reheat only the amount you need. Freezing bread while it is still in good condition usually gives a better eating result than waiting until the entire loaf has become stale.
This guide covers fully baked plain bread, not raw dough or bread with perishable fillings. Those foods need their own methods and handling rules. Freezing is a storage step, not a way to make moldy bread or an uncertain handling history acceptable.
Decide how you will serve it later
Think about the next use before choosing the portion. Individual slices suit toast and small sandwiches. Half loaves or several rolls suit a shared meal. A whole loaf is convenient only when you normally want to thaw or refresh the entire amount together.
If you repeatedly remove a large loaf for one slice, let it soften, and return it to the freezer, the rest undergoes unnecessary temperature and moisture changes. Smaller packages reduce that handling and make the bread easier to use without a new planning decision each morning.
Crust style matters too. A thin-crusted sandwich loaf may need only thawing or toasting, while a crusty artisan portion can benefit from a brief oven refresh. Those are different serving goals, so one universal reheating duration would not suit both.
Cool the bread before wrapping
Use a rack and allow the loaf to cool fully. A warm center continues releasing moisture even when the surface no longer feels hot. Closing the bread tightly at that stage can create condensation inside the package rather than protecting the crumb in its best condition.
Do not leave the bread exposed for an unnecessarily long period after it has cooled. Have the wrapping and freezer space ready as part of the baking routine. Good timing means packaging once the loaf is ready, not abandoning it on the counter until the end of the day.
For bread you buy, follow any specific label instructions. Commercial packaging and ingredients differ from a homemade loaf. If a bread has a filling or topping requiring refrigeration, do not apply plain-bread countertop handling simply because the outside looks like an ordinary loaf.
Slice or divide cleanly
Use a suitable serrated knife and support the cooled loaf without squeezing it flat. Even slices freeze and reheat more predictably than a mixture of very thin and very thick pieces. For rolls, separate the servings you expect to use together.
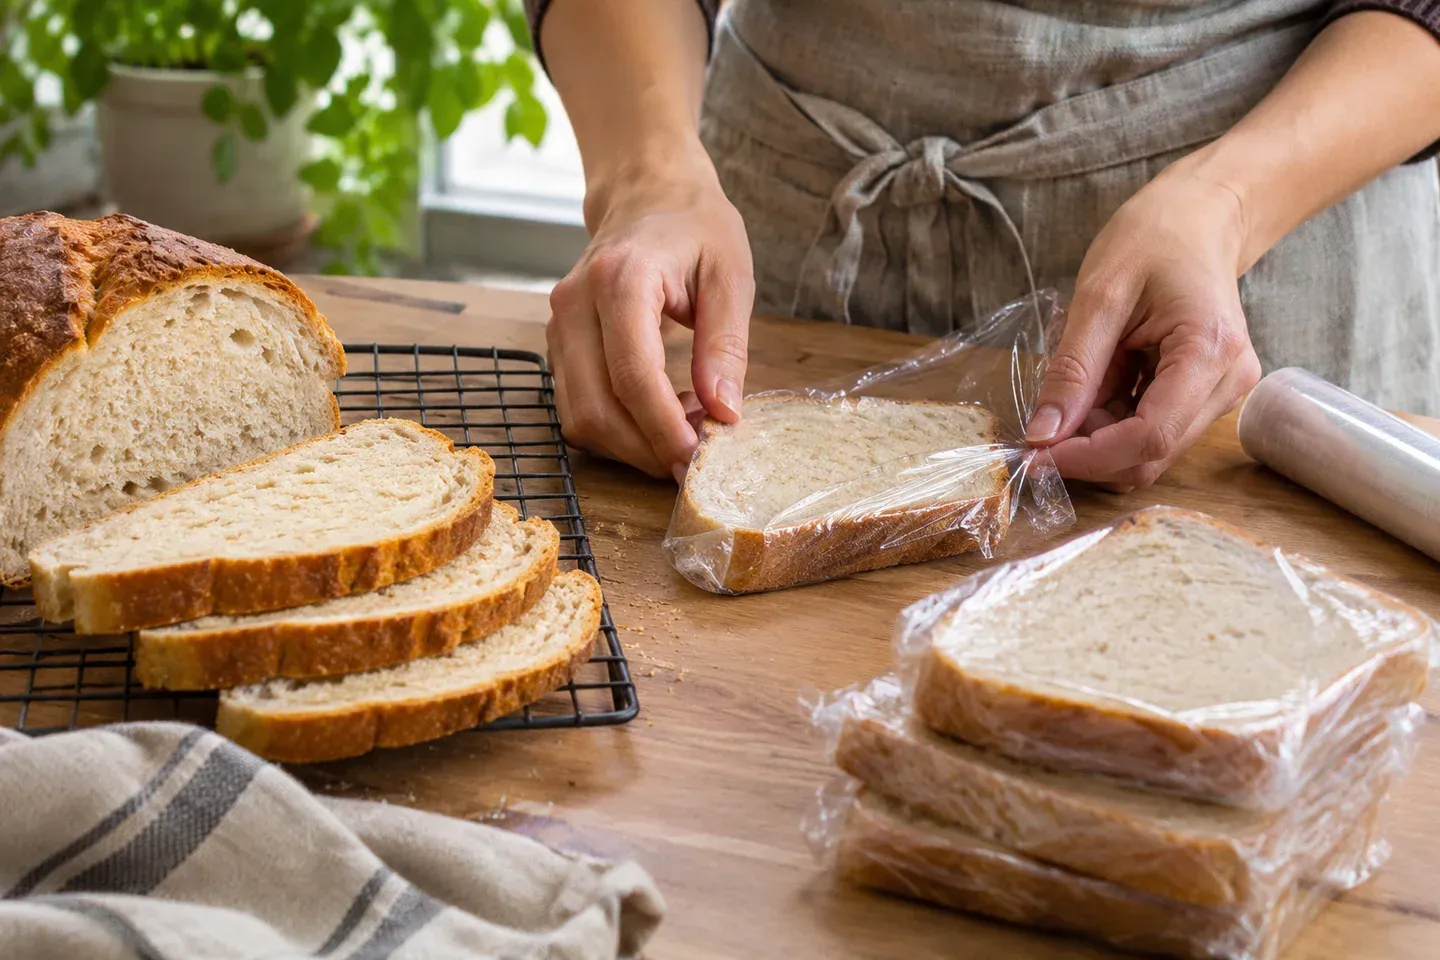
If you want individual slices to release easily, place suitable food-safe separators between portions or use another appropriate packaging method. The aim is to avoid a solid block that must be thawed in full whenever you need one slice.
Keep the work surface and utensils clean. Freezing does not undo contamination introduced during slicing. Handle the bread as ready-to-eat food rather than placing it on a surface still covered with raw dough or flour from the earlier bake.
Package against drying
Choose freezer-suitable, food-safe wrapping or containers. Close the package well and remove excess air gently where the material allows it, without compressing the bread into a flattened block. Check corners and openings that can leave part of the loaf exposed.
A loose paper bag alone is not the same as a well-closed freezer package. It may allow more moisture loss and unwanted freezer odors. King Arthur Baking's freezing guide emphasizes airtight storage as an important part of preserving bread quality.
Label the bread type, portion size, and date. You do not need an elaborate inventory system, but you should be able to distinguish a sandwich loaf from a garlic-topped or otherwise different bread. Clear labels also help you use older packages first while their quality remains useful.
Place packages where they will not be crushed before the bread has firmed. A heavy container resting on a soft loaf can change its shape even if the freezer itself is working correctly. Arrange enough space for the package to remain intact.
Understand freezer temperature and quality
FoodSafety.gov recommends a freezer temperature of 0°F (-18°C) or below in its food-safety guidance. Use an appropriate appliance thermometer if you need to verify the actual conditions rather than relying only on an unlabeled dial setting.
Longer storage can reduce bread's eating quality even when it has remained continuously frozen appropriately. Packaging, freezer conditions, bread type, and repeated handling affect the result. A suggested quality window is not the same as proof that bread suddenly becomes unsafe on a particular date.
For household planning, use frozen bread regularly rather than building an indefinitely growing collection. Check how a portion tastes and handles after an ordinary interval in your own freezer, then adjust package size. Smaller, clearly labeled batches can be more useful than one large forgotten loaf.
Freezing does not destroy all harmful germs, as the same food-safety guidance explains. It should not be used to rescue bread that was already spoiled or handled inappropriately. Make the decision about suitability before storing, not after warming.
Choose thawing for the portion
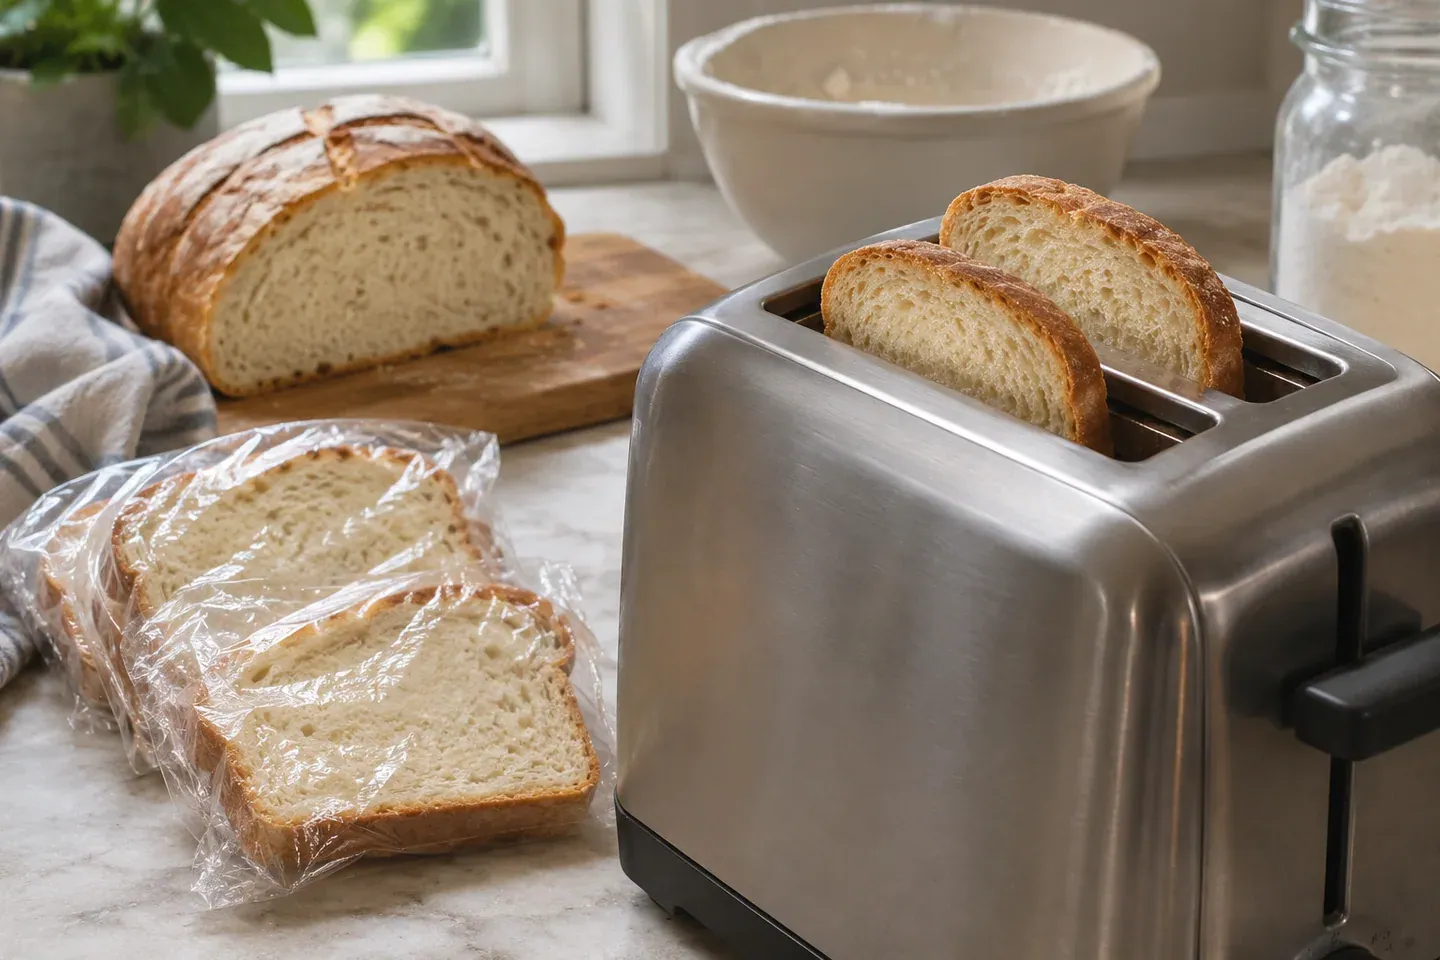
Plain bread slices can often go directly from the freezer into an appropriate toaster using its instructions. Check that the slices fit and that no wrapping or separators remain attached. A toaster suitable for plain bread is not automatically suitable for buttered, cheese-topped, or filled products.
A larger plain portion can be thawed in its appropriate wrapping before a brief refresh, depending on the bread and intended texture. Avoid assuming that the outside's softness means the center has fully thawed. Whole loaves require a different observation from one thin slice.
For bread with perishable additions, follow its specific storage and thawing method. Do not use this plain-bread guide to justify leaving a filled product at room temperature for an extended period. Ingredients and handling requirements remain relevant after freezing.
Refresh crusty bread in the oven
For a plain, suitably thawed crusty portion, a conventional oven around 350°F (175°C) can be a practical starting point for a brief quality refresh. A small portion might need only several minutes; a larger one may need roughly 10–15 minutes. These are serving estimates, not a validated universal process for every loaf.
Check the center and crust rather than heating until the exterior looks dramatically dark. The goal is a pleasantly warmed portion with a refreshed surface, not to repeat the entire original bake. Additional time can dry the crumb without improving the bread.
Use an appropriate baking surface and follow the appliance instructions. If a particular recipe recommends adding moisture before refreshing, follow that method carefully. Do not improvise water pouring onto hot glass, stone, or heating elements to create steam.
Let the bread settle briefly before serving. A very hot surface can make the portion awkward to handle while the center remains different in temperature. Slice or tear it in a way that suits the meal rather than squeezing the bread immediately to test softness.
Keep soft bread from drying during reheating
A soft pan loaf or dinner roll does not necessarily need a crisp artisan crust. Reheat a suitable portion gently and for only as long as needed. Depending on the chosen method, appropriate covering may help limit drying, but use only materials approved for the appliance.
Microwaving can warm a small portion quickly, but excess time can create an unpleasant texture as the bread cools. Use the appliance's guidance and short checks rather than treating a long microwave interval as a substitute for thawing a large loaf properly.
For toast, direct cooking from frozen may be simpler than thawing the slice first. The white bread draft and sandwich loaf draft offer examples of breads suited to portioning for this use once their recipes have been reviewed.
Avoid repeating the freeze-and-warm cycle
Retrieve the portion you need and leave the rest protected. Repeatedly warming and refreezing the same bread can reduce quality and complicate the handling history, particularly when additions or fillings are involved. Portioning is a practical way to avoid that cycle rather than a rule that every accidental thaw has the same consequence.
If a freezer loses power or food has warmed unexpectedly, use current official guidance for the actual food and temperature history. FoodSafety.gov's power-outage chart addresses that situation. Do not taste food to decide whether an interrupted storage history is safe.
Discard visibly moldy bread instead of trimming and reheating it. USDA's mold guidance identifies bread as porous, so contamination can extend beyond the visible area. Freezing and toasting are not methods for removing that concern.
A simple weekly routine
After a loaf cools, separate the portion you expect to use soon from the freezer portion. Slice or divide the latter for realistic servings, package it well, and label it. That moves the decision to a moment when the bread is still in good condition.
During the week, take out only the serving needed and choose a method for its crust and size. Keep notes if one bread reheats better as slices and another as a half loaf. The storage guide helps decide which portion belongs outside the freezer in the first place.
Freezing questions
Should I freeze bread only after it becomes stale?
No. Freezing earlier preserves more of the quality you want to keep. It does not reverse every change that has already occurred. Plan the surplus when the bread cools rather than waiting until the whole loaf is disappointing.
Can I reheat any bread straight from frozen?
The method depends on the portion, ingredients, and appliance. Plain slices in a suitable toaster are different from a whole loaf or a topped product. Use the relevant instructions and check that the center and surface reach the serving condition you want.
What makes the biggest practical difference?
Useful portions, a sound freezer package, and a clear label remove much of the daily guesswork. Reheat for the bread's actual style and size, and keep safety decisions separate from attempts to improve texture.