
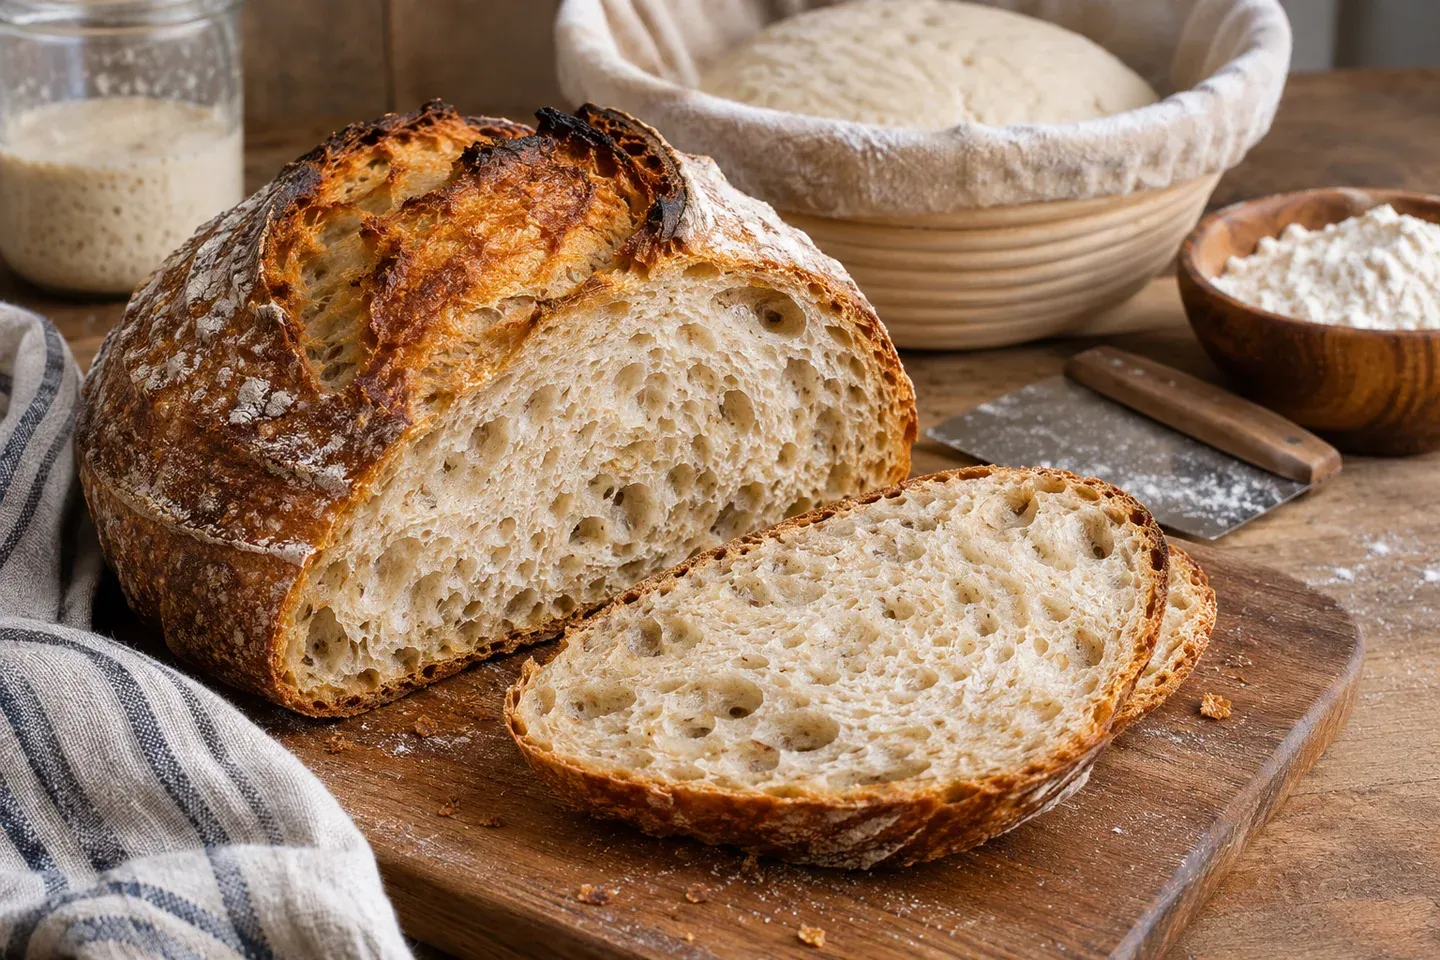
Beginner sourdough bread is easier to approach as a sequence of observable stages: use an active starter, mix a manageable dough, build strength with folds, allow fermentation, shape, proof, and bake. The starter's condition and dough temperature matter more than following a timetable copied from a different kitchen.
This draft describes one small wheat loaf made with a mature, equal-flour-and-water starter. It uses a room-temperature final proof rather than adding an overnight refrigerator stage. The formula and schedule require recipe validation; Easy Bread Baking does not claim that this loaf has been tested by its own kitchen.
Confirm the starter before planning the day
Use a starter that repeatedly expands after feeding and has a predictable rise-and-fall pattern. A culture that bubbled once during its first days is not the same as an established starter ready to leaven bread. Begin with the starter-building guide if that pattern is not yet dependable.
Feed early enough for the starter to reach the active stage your baking method needs. Record the feeding ratio and conditions rather than assuming every jar peaks at the same hour. The feeding guide explains how a build can provide enough for the loaf while leaving a reserve.
Inspect the culture before use. Visible mold or pink or orange discoloration calls for discarding rather than feeding around the problem, as described in King Arthur Baking's sourdough FAQ. Do not taste raw starter to decide whether it is suitable.
Measure a manageable dough
Use 400 grams bread flour, 260 grams water, 80 grams ripe starter maintained with equal flour and water by weight, and 9 grams fine salt. There is no commercial yeast in this formula. The total dough weighs approximately 749 grams before handling losses.
The starter contributes about 40 grams flour and 40 grams water. The overall dough therefore contains about 440 grams flour and 300 grams water, or roughly 68% hydration. Looking only at the added 260 grams water and 400 grams flour would leave the starter's contribution out of the calculation.
Approximate US measures are 3⅓ cups bread flour at 120 grams per cup, about 1 cup plus 1½ tablespoons water, and 1½ teaspoons fine table salt. Weigh the 80 grams starter: its volume changes with aeration, making a casual cup estimate particularly unreliable. The gram quantities control the formula.
Have a bowl, scraper, suitable cover, proofing basket or cloth-lined bowl, and appropriate baking vessel ready. If using a Dutch oven, check its manufacturer's temperature and preheating limits. This method uses a preheated covered pot only where that use is permitted.
Mix thoroughly before judging the feel
Stir the ripe starter into the water to distribute it, then add the flour and mix until no dry pockets remain. Cover for approximately twenty minutes. This short rest helps hydration and makes the dough easier to handle before you finish incorporating the salt.
Sprinkle the salt over the dough and work it in thoroughly with wet fingertips, pinching and folding gently. Do not leave a concentrated salty layer on one side. You can instead follow a method that adds salt at the initial mixing, but keep the process coherent rather than improvising a different sequence at every stage.
The dough should feel moist and cohesive rather than hard. It may be tacky, particularly before the first folds. Use a scraper and controlled handling rather than adding flour until it feels like a stiff dough intended for a different bread style.
Record the time after the full dough has been mixed. Your bulk fermentation schedule begins with the dough's actual development, not with the moment you first looked at the starter jar. Temperature changes between the starter build and dough mixing can also affect progress.
Build strength with three sets of folds
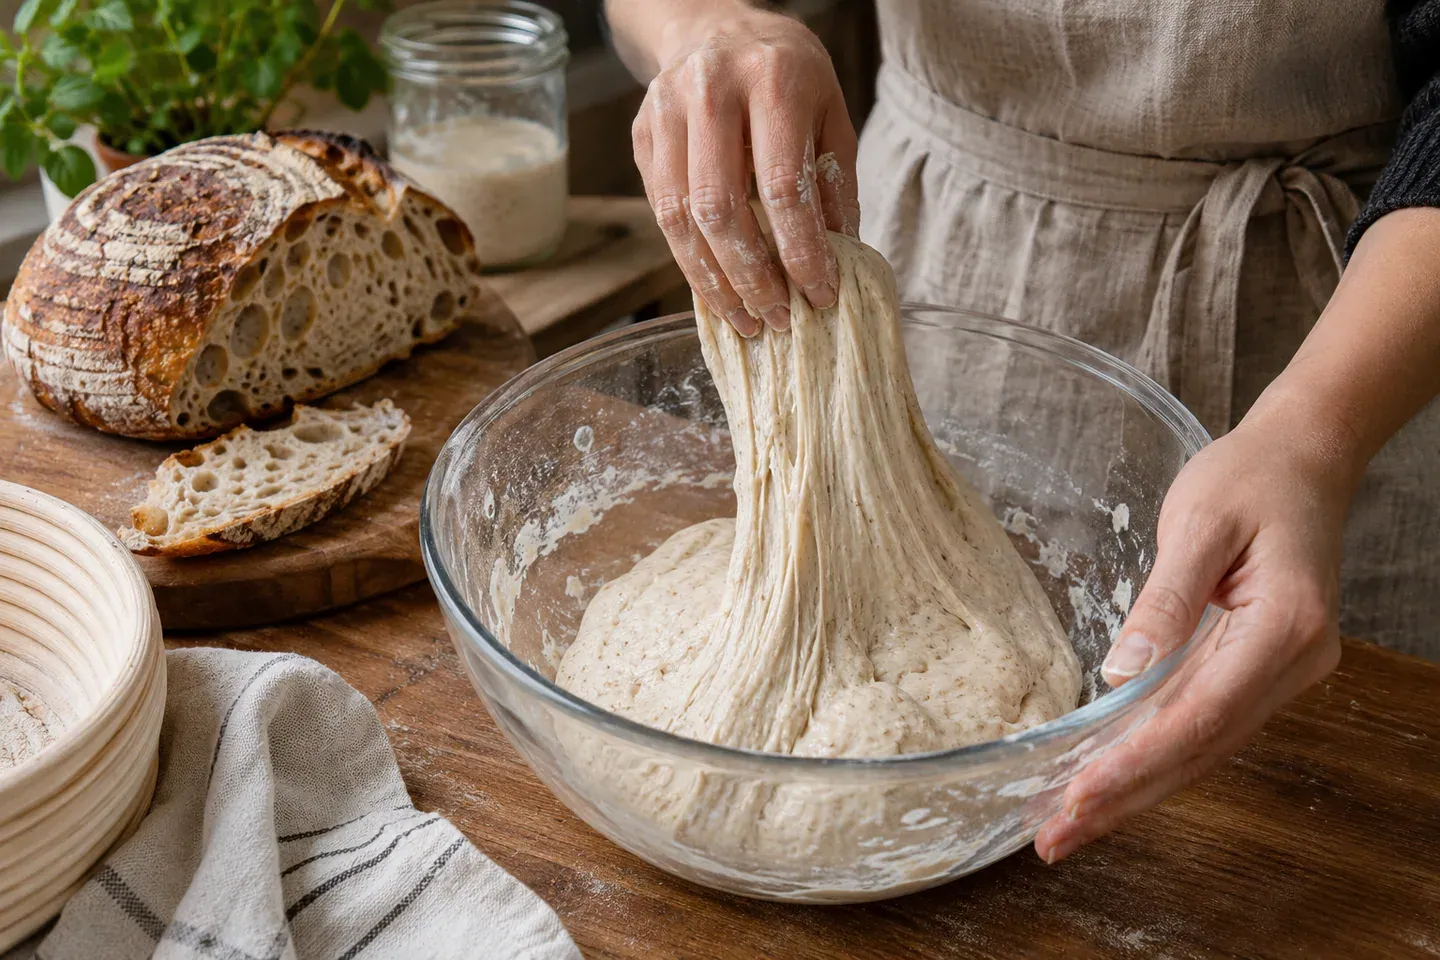
During roughly the first ninety minutes, perform three sets of gentle folds, separated by about thirty minutes. Lift one edge, extend it without tearing, and fold it across the center. Turn the bowl and repeat around the dough until the set is complete.
The purpose is to organize the dough and improve its ability to hold gas. You should notice increasing cohesion and a little more resistance over successive sets. Do not pull so far that the surface repeatedly splits. A short rest is more useful than forcing a tight dough to extend immediately.
Lightly damp hands can reduce sticking, but avoid pouring extra water into the bowl with every fold. Small handling choices accumulate. The dough's measured hydration becomes less meaningful if substantial amounts of flour or water are added without being recorded.
Keep the bowl covered between sets. A dry skin can interfere with both observation and shaping later. Once the scheduled folds are finished, give the dough time to ferment instead of disturbing it continually to check whether it has changed.
Let fermentation become visible
For this draft, allow roughly four to seven hours of total bulk fermentation in moderately warm conditions, including the folding period. That is a working range rather than a readiness test. A cooler dough or weaker starter may take longer; a warmer, more active dough can progress sooner.
Look for clear expansion, bubbles along the container, and a fuller, slightly jiggly character. A rise of roughly half the initial volume can be a useful starting observation for this modest loaf, but it should be evaluated with the other signs and recipe testing rather than treated as a universal sourdough target.
Do not automatically wait for a dramatic doubling if the dough is already very aerated and becoming fragile. At the other extreme, shaping a dense mass solely because a timer rang can leave insufficient fermentation. The dough-rising guide explains how to interpret the conditions.
If progress is unclear, use a straight-sided container and mark its level on the next bake. A dough spreading in a wide bowl can appear larger without an equivalent increase in gas. Consistent observations are more useful than repeatedly changing the starter ratio mid-recipe.
Shape without removing all the gas
Turn the dough onto a lightly floured surface and gather it into a loose round. Let it relax briefly if it resists shaping, then fold the edges toward the center and form a round with moderate surface tension. Use the scraper to help rather than dragging it through a heavy layer of flour.
Preserve some internal aeration while releasing unusually large pockets. A hollow tunnel and an uneven crumb are not automatically signs of excellent sourdough. The beginner goal is a loaf that supports itself and slices well, not the largest possible hole under the crust.
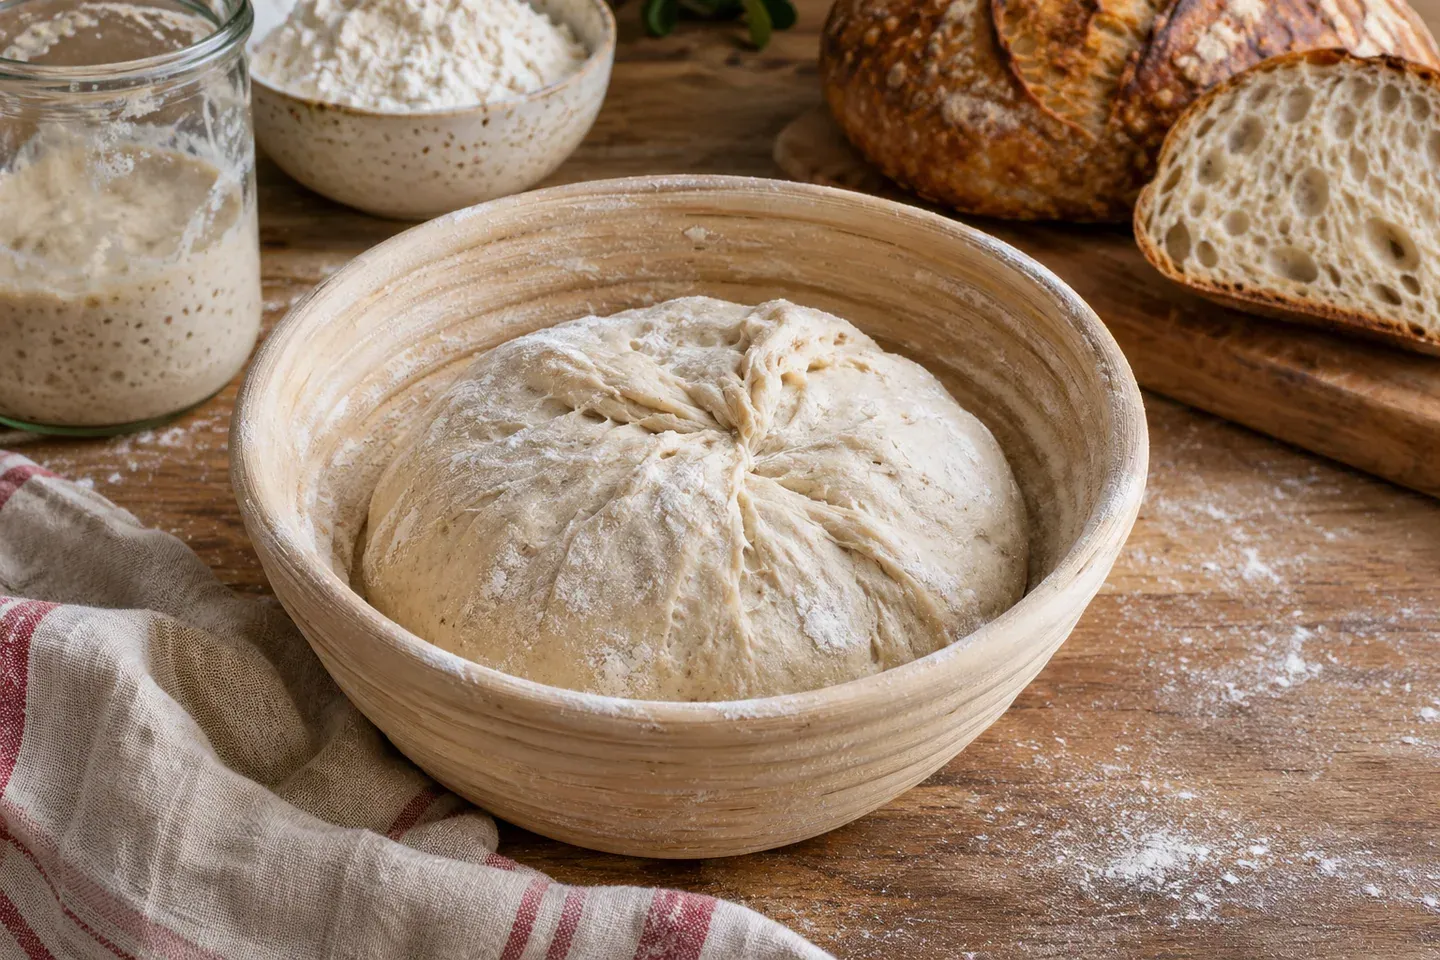
Place the shaped dough seam-side up in a suitably floured basket or cloth-lined bowl. Cover for a room-temperature final proof. The support helps maintain its shape while you assess the final expansion; it does not make an underdeveloped or overfermented dough automatically recover.
Proof, score, and transfer safely
Allow approximately one to three hours for the final proof, checking the dough's condition. Look for a fuller, lighter round with some resilience to a gentle touch. The fingertip test is only one clue, especially when comparing doughs with different temperatures or surface flour.
Where the manufacturer permits, preheat the covered pot in a conventional oven at 450°F (230°C). Plan a heat-resistant landing surface and keep dry, suitable oven mitts ready. The pot and lid remain hot throughout loading, even if they look the same as they did on the counter.
Turn the proofed dough onto an appropriate transfer surface. Make a simple expansion score with a suitable sharp tool, keeping fingers clear of its path. Transfer with an oven-safe sling or another method compatible with the vessel. Check parchment's temperature rating and keep it away from heating elements.
Do not add water directly to a hot glass surface or improvise a steam method that your equipment does not support. The covered-pot method is intended to manage the loaf's own moisture. It still requires safe handling of hot cookware and escaping steam.
Finish the bake and cool completely
Bake covered for approximately 25–30 minutes, then uncover carefully with steam directed away from your face and hands. Continue uncovered for about 15–20 minutes, monitoring the crust and whether the loaf has set. The working total is roughly 40–50 minutes.
Look for a developed, evenly browned crust rather than assuming that every oven produces the same color in the same time. A very dark base suggests a setup problem to investigate, not a reason to remove every future loaf before its center finishes baking.
Cool on a rack outside the pot. Wait until fully cool before evaluating the crumb. Cutting early can compress the interior and make moisture on the knife look like a failure that would be less apparent in a properly cooled slice.
Recipe card
Yield: 1 small loaf, approximately 749 grams dough. Difficulty: Intermediate beginner. Active preparation: About 30 minutes spread across mixing, folding, and shaping. Bulk fermentation: Roughly 4–7 hours, including folds. Final proof: Approximately 1–3 hours. Baking: Approximately 40–50 minutes. Cooling: At least about 1 hour. Total: Roughly 7–12 hours after the starter is ready; starter preparation is additional.
Ingredients: 400 g bread flour; 260 g water; 80 g ripe equal-weight flour-and-water starter; 9 g fine salt. No commercial yeast. Approximate US measures are provided above where practical; weigh the starter.
Estimated schedule: 30 minutes active preparation; 45 minutes cooking; 9 hours 30 minutes total, including resting, rising, and cooling where applicable. These approximate planning figures sit within the ranges above; dough and doneness cues take priority.
- Mix starter, water, and flour thoroughly. Rest covered about 20 minutes, then incorporate salt evenly.
- Perform three gentle sets of folds over approximately 90 minutes. Continue bulk fermentation until clearly expanded and aerated.
- Shape a supported round and proof covered until appropriately full and resilient. Prepare approved cookware and preheat to 450°F (230°C).
- Score simply and transfer safely. Bake covered about 25–30 minutes, then uncovered about 15–20 minutes.
- Remove carefully and cool fully on a rack before slicing. Record conditions before making changes to the next loaf.
Baking tip: Start with a dependable starter and observe the dough rather than forcing the timetable. Storage: Cool before wrapping, freeze unused portions, and discard spoiled bread. Status: Editorial recipe draft requiring validation, without testing, rating, or nutrition claims.