
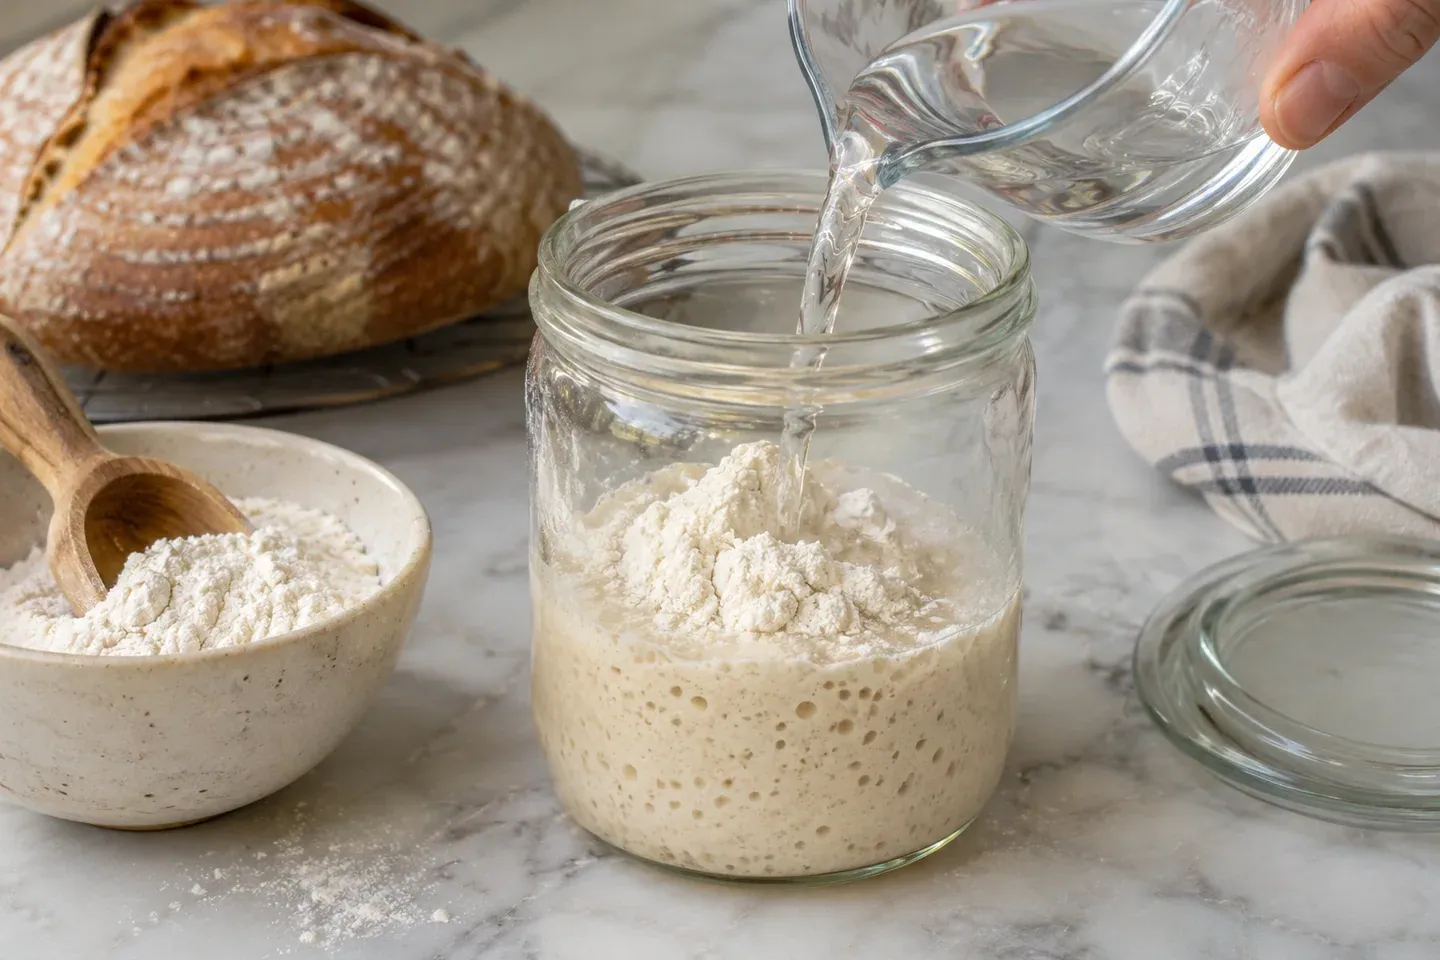
To feed a sourdough starter, keep a measured amount of starter and mix in fresh flour and water. The useful question is not only how much to add, but when that refreshed mixture becomes active enough for your next use. A feeding ratio describes the quantities; temperature and the starter's condition help determine the timetable.
This guide focuses on an established starter maintained with equal flour and water by weight. If you are beginning with a new flour-and-water mixture, use the starter-building guide first. A culture that has not established dependable activity should not be treated as if it will follow a mature starter's schedule.
Read a ratio in the right order
In a ratio such as 1:2:2, the numbers mean retained starter, new flour, and new water by weight. For example, 20 grams starter plus 40 grams flour plus 40 grams water gives 100 grams of refreshed mixture. The ratio does not refer to cupfuls or to the total amount already in the jar.
At 1:1:1, 20 grams starter receives 20 grams flour and 20 grams water. At 1:3:3, the same retained starter receives 60 grams of each. These feedings create different amounts of food relative to the retained culture and therefore should not be expected to reach their highest rise at exactly the same time.
Equal new flour and water maintain an approximately equal-weight flour-and-water starter when the retained starter has that same hydration. If your starter is maintained as a stiff culture, the calculation changes. Follow a coherent method rather than assuming a feeding ratio automatically tells you the final hydration regardless of the starting mixture.
Use the next bake to choose the quantity
Suppose a recipe needs 200 grams ripe starter and you want 50 grams left afterward. You need at least 250 grams when the build is ready. A 1:2:2 feeding using 50 grams starter, 100 grams flour, and 100 grams water provides exactly that total before handling losses.
Leaving a small additional margin can make transferring easier, but do not build an enormous jar simply to avoid arithmetic. Decide the recipe amount, the reserve, and a modest handling allowance before measuring. That approach controls waste and prevents using the entire culture accidentally.
For a general calculation, add the ratio numbers and divide your desired total by that sum. A 1:2:2 build contains five parts. A 250-gram target therefore gives 50 grams per part. A 1:3:3 build has seven parts, so its component weights require a different calculation.
Keep a basic scale's resolution in mind with very small builds. A ratio that requires a fraction of a gram of retained starter may not be practical on an ordinary kitchen scale. Use a sensible small batch or an appropriate instrument rather than pretending an unreadable quantity was measured accurately.
Refresh in a clean, observable container
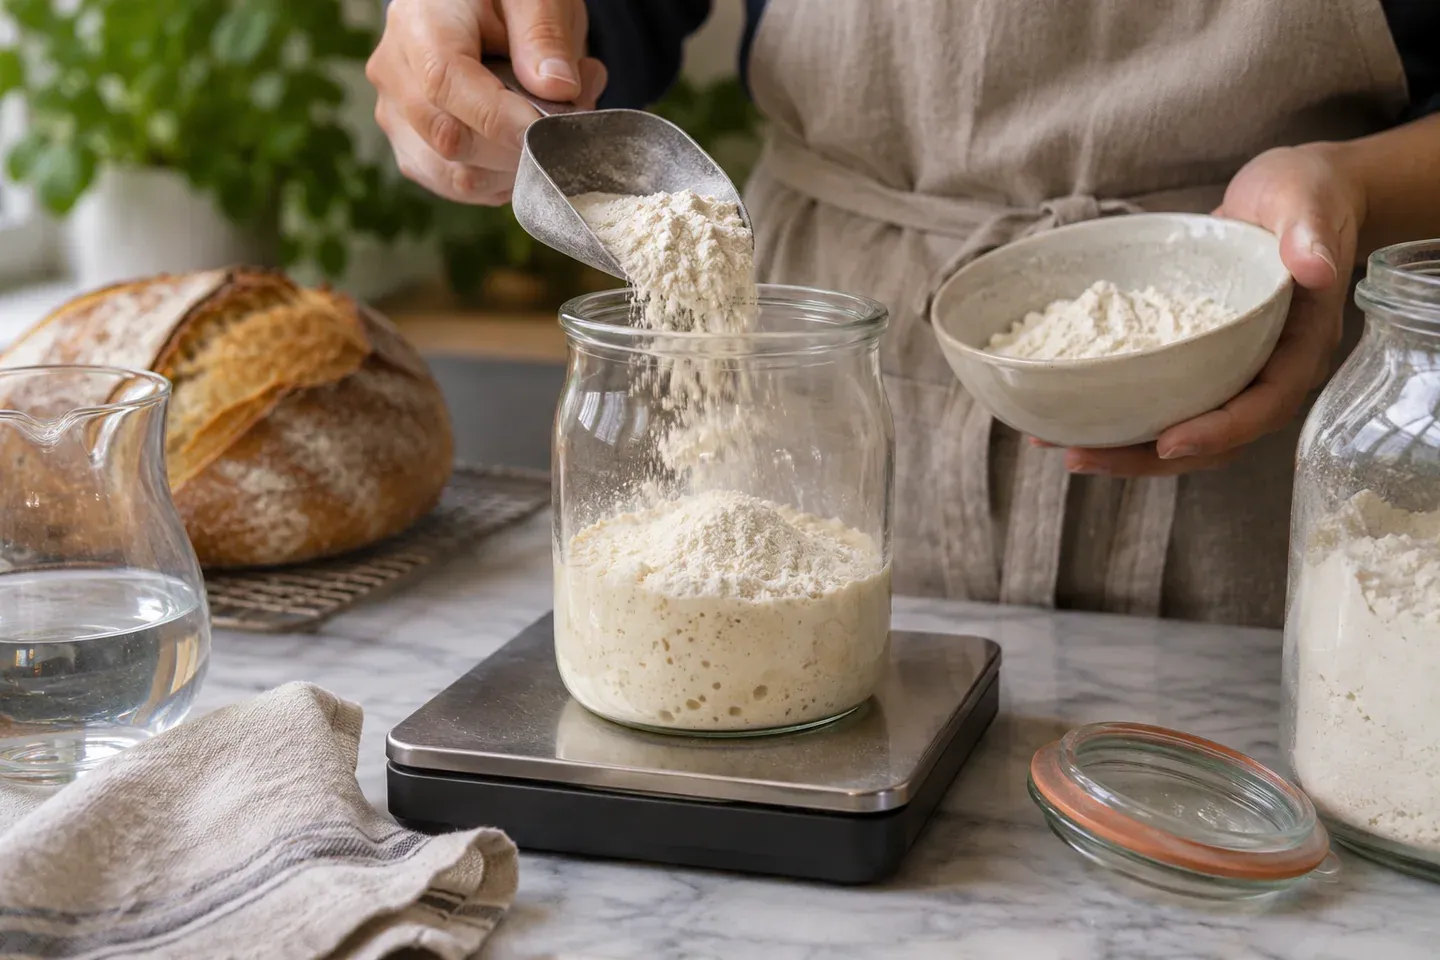
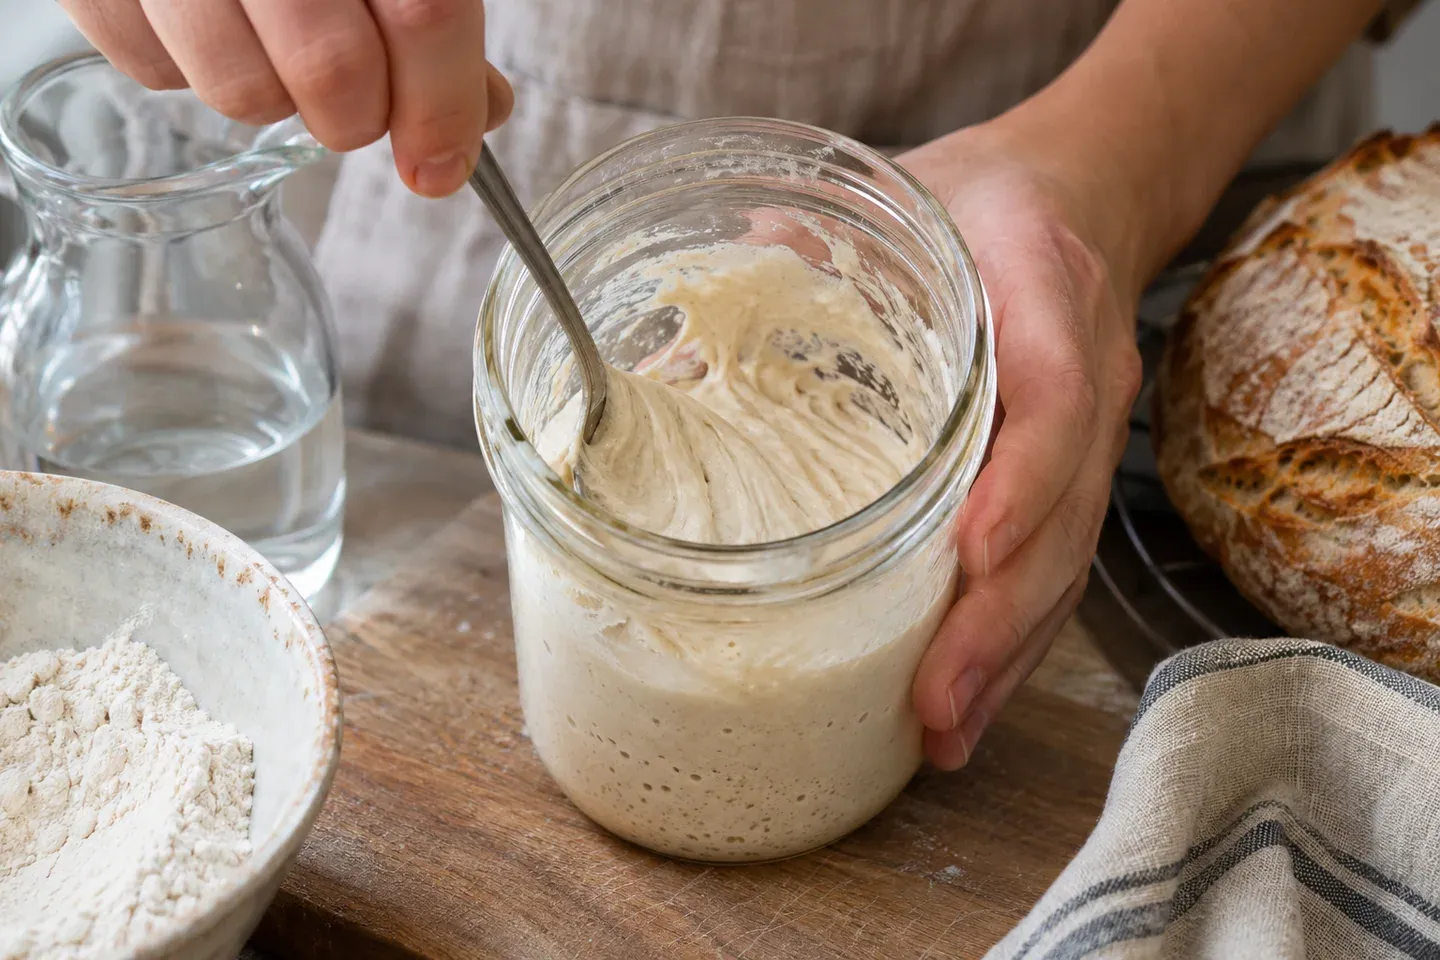
Weigh the retained starter into a clean container, then add the new water and stir to disperse it. Add flour and mix until no dry pockets remain. Scrape the sides reasonably clean so that new expansion is not confused with old dried marks.
Mark the starting level after mixing, not before. The fresh feeding may change the mixture's initial depth considerably. Use a jar with enough headroom for expansion and a cover that protects it without trapping fermentation gas in a tightly sealed vessel.
Record feeding time, ratio, flour, and approximate conditions. Those details make a later observation useful. Saying that a starter took six hours means little if one attempt used a cool 1:4:4 build and the next used a warm 1:1:1 refreshment.
Mix thoroughly but do not judge readiness from bubbles stirred into the mixture immediately. The gas you introduce with the spoon is not evidence of fermentation after feeding. Look for subsequent changes in height and interior aeration as the culture works.
Watch the rise, peak, and fall
A refreshed starter generally develops a cycle of expansion, a highest observed point, and eventual decline. Its surface may become domed, then flatter, with internal bubbles visible through the jar. The exact appearance depends on consistency and flour, so learn the pattern of your own maintained culture.
Marking the highest rise can help when you miss the peak itself. A residue line above the current surface suggests that the jar was higher earlier. That is different from an inactive starter that never rose. Before changing the feeding ratio, establish which situation actually occurred.
For bread, follow the recipe's definition of ripe or active starter. Many methods use it around a strong, predictable peak, while discard recipes expect a different ingredient. An old refrigerated discard and a recently refreshed, expanding build should not be exchanged without considering the recipe.
Do not use the float test as the only decision. Trapped gas, hydration, flour, and the way a sample is lifted affect buoyancy. Repeated visible performance across refreshments is a better basis for planning a loaf than one spoonful floating on a particular day.
Match feeding to your available hours
Start by observing a ratio that your established starter handles reliably. If a morning feeding rises and falls long before an evening bake, you can adjust the build's proportions or conditions for a later attempt. More new flour and water relative to retained starter commonly extends the process, but not by a universal mathematical multiplier.
For example, doubling the flour ratio does not guarantee doubling the time. Temperature, culture strength, flour, and starting condition interact. Treat a change from 1:1:1 to 1:2:2 as an experiment to observe, not as a programmable timer.
A baker who is home morning and evening might organize refreshments around those two visits. The actual interval still needs to suit the jar. If it reaches its peak much earlier, the routine may need adjustment; if it barely moves, feeding increasingly large amounts on the clock can make diagnosis harder.
Keep the build somewhere stable rather than moving it repeatedly between a radiator, windowsill, refrigerator, and countertop. Extreme swings add uncertainty. A consistent, moderate environment makes it easier to understand whether the ratio or the culture's condition is driving the schedule.
Handle a refrigerated starter deliberately
Refrigeration slows activity; it does not make a starter permanently maintenance-free. Before a bake, allow enough refreshments for the culture to demonstrate the activity your recipe needs. The number of feeds depends on storage duration and condition rather than a guaranteed one-feed rule.
Separate maintenance from the bread build if that helps your routine. Keep a small reserve, then use part of it to prepare the amount needed for the recipe. You do not need to fill the storage jar with the entire planned dough's starter requirement every time.
Check the culture before using it. Visible mold, or pink or orange discoloration, warrants discarding rather than feeding around the problem. King Arthur Baking's sourdough FAQ identifies those signs as reasons to throw a starter out.
Liquid separation and an alcoholic aroma can appear in a hungry established culture, but those observations should not be used to dismiss obvious contamination. If you cannot confidently distinguish an expected condition from a spoiled mixture, do not invent a recovery technique based only on a photograph.
Diagnose a slow build before changing everything
First check whether the starter was genuinely established and whether it received the intended flour and water quantities. A mislabeled jar or a tare error can create a very different ratio. Next consider the temperature and whether the culture recently came from extended cold storage.
Observe enough of the cycle to know whether it rose and fell while you were away. If it never rose, repeatedly increasing the feed size is not automatically the solution. Keep notes and use a consistent maintenance method so that you can evaluate activity without changing several variables simultaneously.
Flour changes can alter both appearance and behavior. A starter refreshed with whole grain flour may not look identical to one fed refined flour, even at the same measured ratio. Record the switch and compare several cycles rather than treating the first changed appearance as failure.
If the starter performs dependably in the jar but a loaf struggles, investigate dough temperature, fermentation, shaping, and baking as well. The dense bread guide helps prevent blaming every disappointing loaf on starter feeding alone.
Keep discard and tools under control
Use clean food-safe tools and protect ready-to-eat food from raw flour mixtures. Do not taste starter to test acidity or readiness. Follow FDA flour-handling guidance even when the starter has been fermenting for a long time.
Plan a modest reserve so that you are not producing a large amount of unwanted discard every day. Saving every gram indefinitely is not a useful objective. If using discard in another recipe, it should come from a suitable established culture and be handled according to that recipe rather than assumed ready to eat.
Wash the container and utensils appropriately and keep dried residue from accumulating around the rim. A clear working area makes feeding easier to repeat. Good organization also reduces the chance that an old discard jar will be mistaken for the active build intended for bread.
Feeding questions
Must every starter be fed twice daily?
No single frequency suits all temperatures, ratios, and storage routines. Observe the actual feeding cycle and use a coherent maintenance method. Twice-daily refreshments are one routine, not a universal requirement for every jar.
Can I feed with cups instead of grams?
Weight makes ratios much clearer because flour and water have different densities. Equal cup measures do not create equal weights. If a method uses volume, follow its own instructions instead of labeling the result with a weight ratio it does not match.
What should I change first?
Choose the clearest observed problem. If the build peaks too early, adjust scheduling or the build proportions deliberately. If it has not established reliable activity, focus on consistent maintenance before designing an exact baking timetable. One recorded change gives you more information than several improvised corrections.