
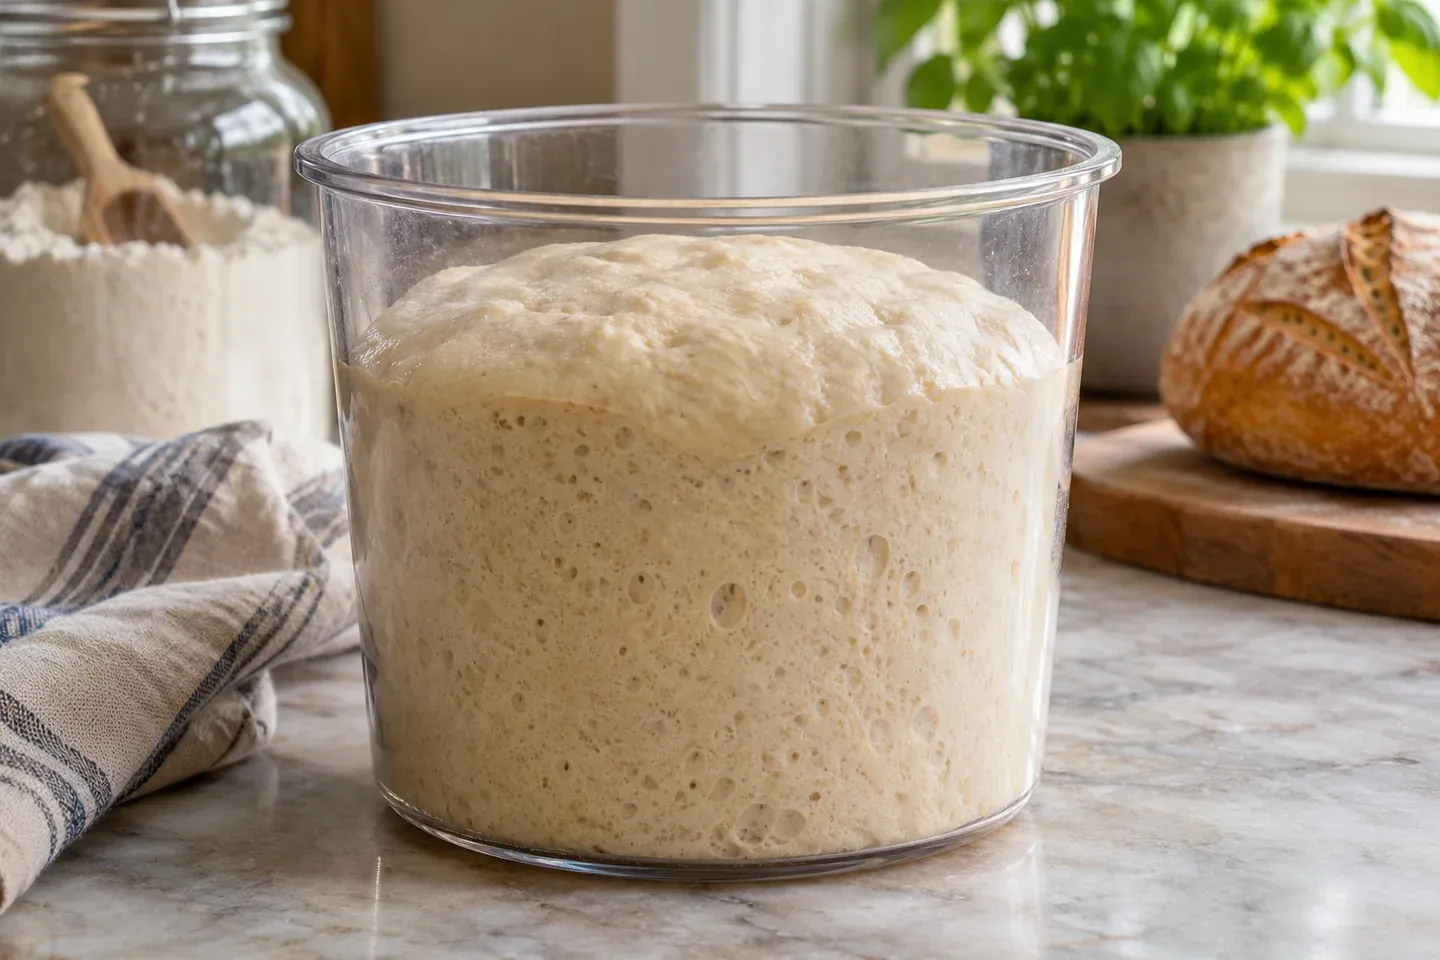
Bread dough should rise until it reaches the development your recipe needs, not simply until a timer rings. For many straightforward commercial-yeast loaves, a first rise of roughly one to two hours is a useful starting expectation in a comfortable room. A final proof is often shorter, but dough temperature, yeast quantity, enrichment, and the bread style can move either stage well outside a simple timetable.
The practical approach is to combine a recipe's estimated time with visible expansion and the dough's condition. A cold dough that is still developing needs a different response from a warm dough that has already risen and begun to weaken. This guide focuses on planning and interpreting time; the detailed tactile signs of a final proof belong to the separate proofing guide.
Separate the two main waiting periods
The first rise, often called bulk fermentation, occurs before the dough is divided and shaped. During that period the whole mass develops gas and changes in texture. Folding may happen within this stage, so the first rise is not always an uninterrupted wait after kneading.
The final proof happens after shaping. A shaped loaf or roll must become appropriately aerated before entering the oven. Its readiness is not determined by repeating the exact duration of bulk fermentation. Shaping changes the dough's arrangement and releases some gas, but it does not reset all fermentation activity to the original mixing point.
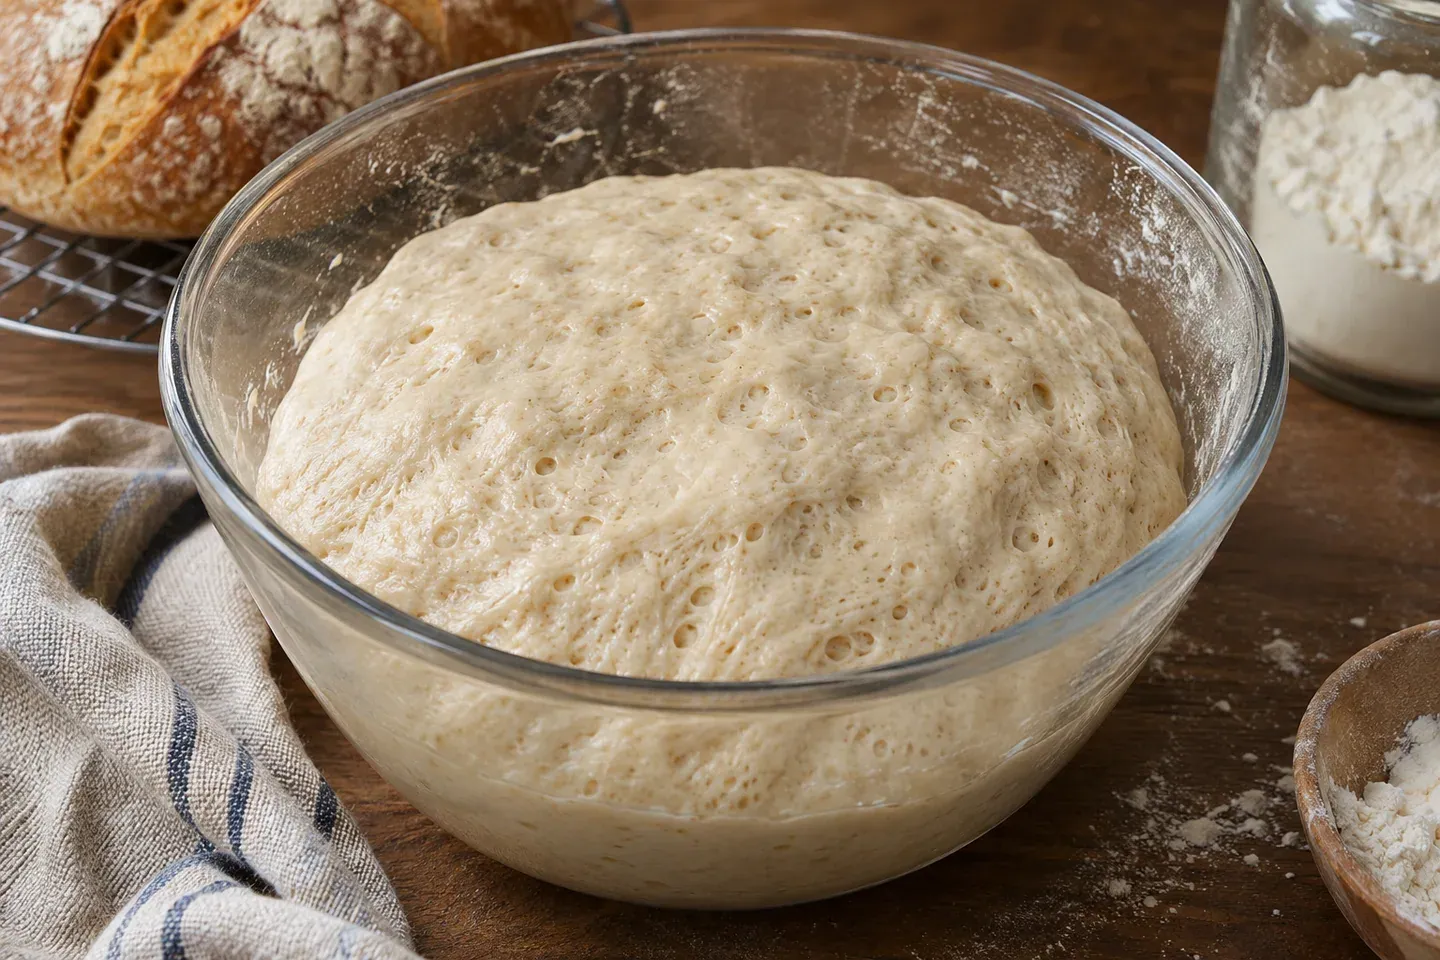
Recipes use different targets. One simple dough may be described as doubling during the first rise, while a sourdough method may call for a smaller expansion before shaping. Read the target attached to that particular stage rather than carrying a rule from one recipe into every other bread.
Use time as a checking schedule
King Arthur Baking's yeast-baking guide describes a typical one-to-two-hour rise for a basic process. That is useful context, not an instruction to bake every dough after two hours. The formula and conditions remain part of the decision.
If a recipe estimates ninety minutes, begin observing before that point rather than checking only when time has expired. You might look after an hour, note the change, then return at shorter intervals as the target approaches. This reduces the chance of discovering a collapsed dough long after its best moment.
Write down actual progress. “Expanded clearly after seventy minutes in a cool room” is more informative than “slow rise.” Over a few attempts with the same formula, those notes create a timetable for your own kitchen without pretending it will remain identical through every season.
Do not confuse hands-on time with total elapsed time. A bread requiring several sets of folds over ninety minutes still has a fermentation period spanning that interval. If you begin counting only after the final fold, you can unintentionally extend the overall bulk stage.
Dough temperature matters more than a warm-looking room
Ingredients contribute to the mixed dough's starting temperature. Flour stored in a cool cupboard, chilled milk, and cool water can produce a dough that remains cooler than the air around it. A warm room does not instantly erase that difference.
The reverse also happens. Warm water, a warm bowl, and vigorous machine mixing can create a dough that starts ahead of a recipe developed under milder conditions. If the dough progresses unexpectedly quickly, review how it was mixed instead of assuming a larger yeast quantity is the only explanation.
Keep conditions stable where possible. Moving a bowl between direct sunlight, a heating vent, and a cool counter makes its progress harder to interpret. A consistent room location helps you learn what the formula normally does before you experiment with a controlled proofing setup.
Avoid forcing the dough with extreme heat. A very warm surface can affect the bottom differently from the top, and accidental oven heat can damage the dough. An oven light or homemade warm enclosure is not automatically a precise temperature-controlled chamber.
Yeast and starter change the timetable
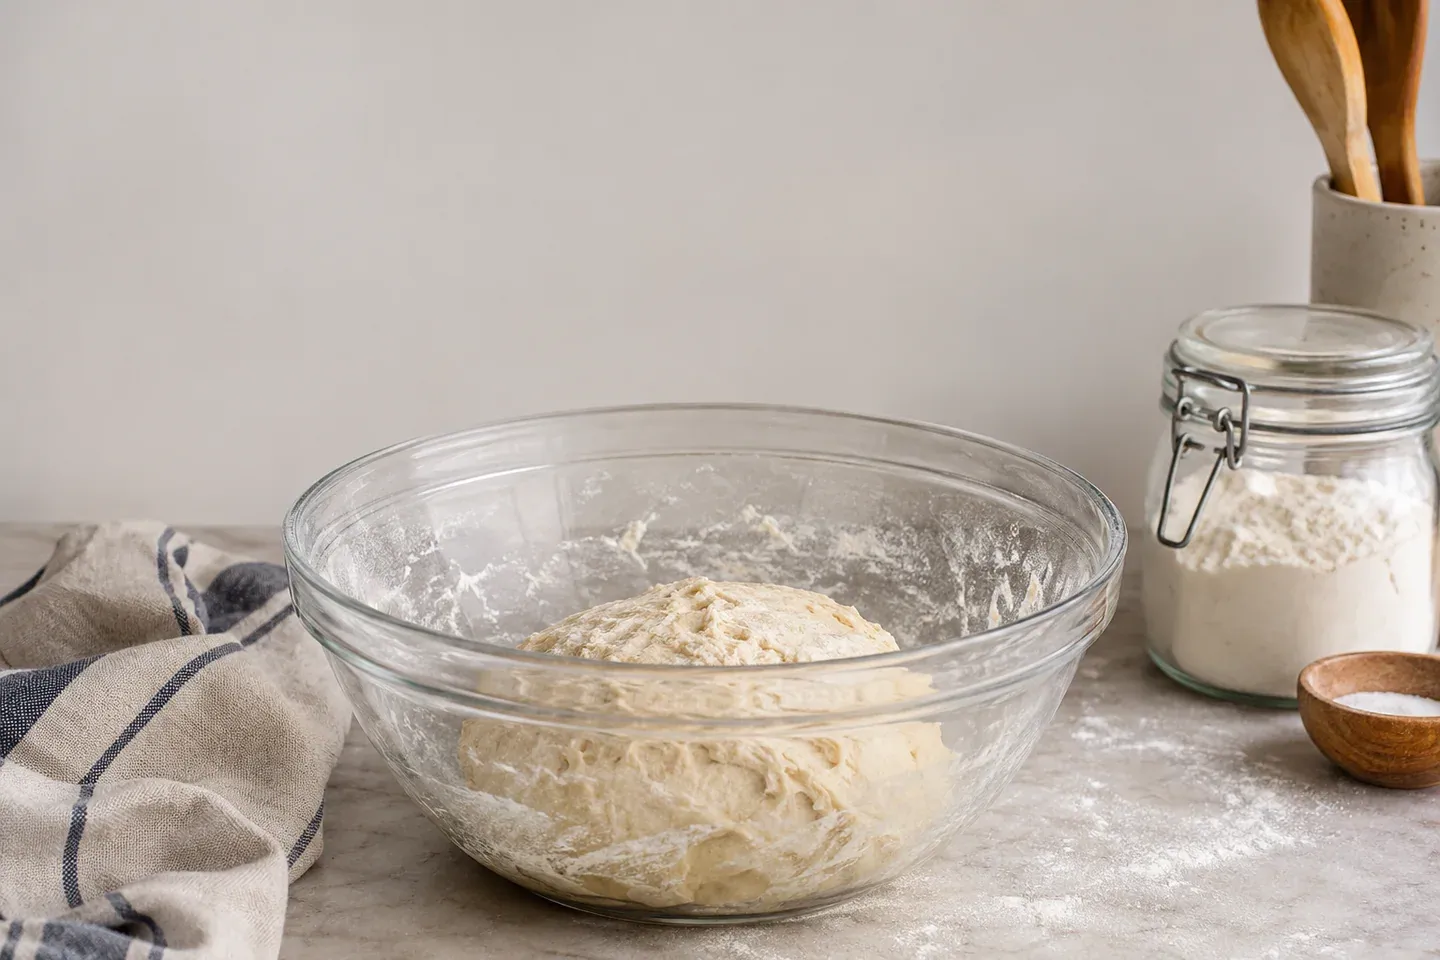
A dough made with a generous quantity of commercial yeast can progress differently from an overnight dough using a very small amount. The no-knead loaf deliberately combines a small yeast quantity with a long schedule. Applying a one-hour expectation to that formula misses the point of its design.
Sourdough introduces the condition of the starter as another variable. A starter that reliably expands after feeding provides a different starting point from a weak or recently refrigerated culture. The starter feeding guide explains why the feeding ratio and observed cycle matter before dough mixing begins.
Different commercial yeast products can also start at different speeds. Follow the product and recipe directions, especially for quick-rise products or bread-machine programs. A substitution may require watching the dough more closely even when the ingredient amount appears similar.
Do not add more yeast halfway through a developing dough simply because it is slower than an unrelated recipe. First determine whether it is actually inactive or merely progressing at a different rate. Those situations call for different responses.
Enrichment and flour affect what you see
Milk, eggs, butter, and sugar change a dough's composition and handling. A rich dough may not behave like a lean loaf even when both contain wheat flour and yeast. Temperature matters especially when ingredients are chilled or butter is incorporated during mixing.
Whole wheat flour changes absorption and the appearance of expansion. A dough may feel different as it hydrates, and its structure may not produce the same height as a refined-flour loaf. Compare it with the method's intended result rather than an airy bread photograph from another formula.
Container shape affects perception too. A dough relaxing across a broad bowl can look much larger without having doubled in volume. A straight-sided clear container with a starting mark helps you see actual upward expansion instead of guessing from the width of the mass.
These observations explain why time cannot be separated from the formula. They do not mean that every unfamiliar dough needs an elaborate scientific calculation. Often the most useful change is simply weighing consistently and keeping a clear record of where the dough started.
Interpret the observation before choosing a response
| Observation | What it may mean | Useful next check |
|---|---|---|
| Slow but steady expansion | Cool conditions or a slower formula | Continue observing; review recipe expectations |
| No detectable change | Inactive leavener, a very cold dough, or an observation problem | Check temperature, yeast or starter, and the marked starting level |
| Rapid expansion well before the estimate | Warmer dough or faster leavening | Check readiness sooner; record the conditions |
| Dough rose, then sank | The peak may have passed | Review structure and timing instead of waiting for another automatic rise |
Treat this as a diagnostic starting point. One sign rarely identifies a cause conclusively. A dough that looks flat after several hours may have risen and fallen while you were away, which is very different from a dough that never expanded at all.
Know what more waiting can and cannot do
Additional time can help a cool, active dough reach its target. It cannot reliably revive dead yeast or repair every structural problem. A severely overfermented dough may become weaker with further waiting rather than gaining the height you hoped to see.
Likewise, time does not replace kneading or folds when the method requires them. Gas production and gas retention are related but different. A dough can ferment while failing to hold enough of that gas in a useful structure. The hand-kneading guide explains development cues at the earlier stage.
If the dough has clear problems, pause the idea that one more hour is always the answer. Review the formula, measurements, and observations. A more accurate diagnosis improves the next attempt even when the current dough does not become the loaf you planned.
Plan around the final proof and oven
Begin preheating before the shaped dough finishes proofing. Otherwise, the dough must keep fermenting while a cold oven catches up. A convenient moment on your calendar does not pause the activity already happening in the pan or basket.
For a first bake, leave a buffer around the recipe's schedule. Do not place the final proof immediately before an appointment that requires leaving home. Once you understand your dough's behavior, planning becomes easier, but the aim is still responsive timing rather than an inflexible countdown.
If you need refrigeration or an overnight stage, choose a recipe that incorporates it. Moving dough to the refrigerator changes its temperature gradually and does not stop fermentation instantly. A casual last-minute chill is not a universal substitute for a designed cold-fermentation schedule.
Timing questions
Must dough always double?
No. Some methods use that target, particularly for a basic first rise, while others specify a different increase. Read the instruction for the bread and stage you are working on. Final proofing is not automatically another demand for doubling.
Can I leave dough longer for more flavor?
A longer fermentation needs a formula and temperature plan that can support it. Simply extending any dough indefinitely can weaken structure or create an unsuitable result. Use a deliberately designed long-fermentation method rather than attaching extra hours to every recipe.
What should I record next time?
Note ingredient quantities, yeast or starter type, approximate dough and room conditions, the mixing time, folding times, and the observed rise. Those details explain the schedule more usefully than the timer reading alone and help you make one controlled adjustment on your next bake.