
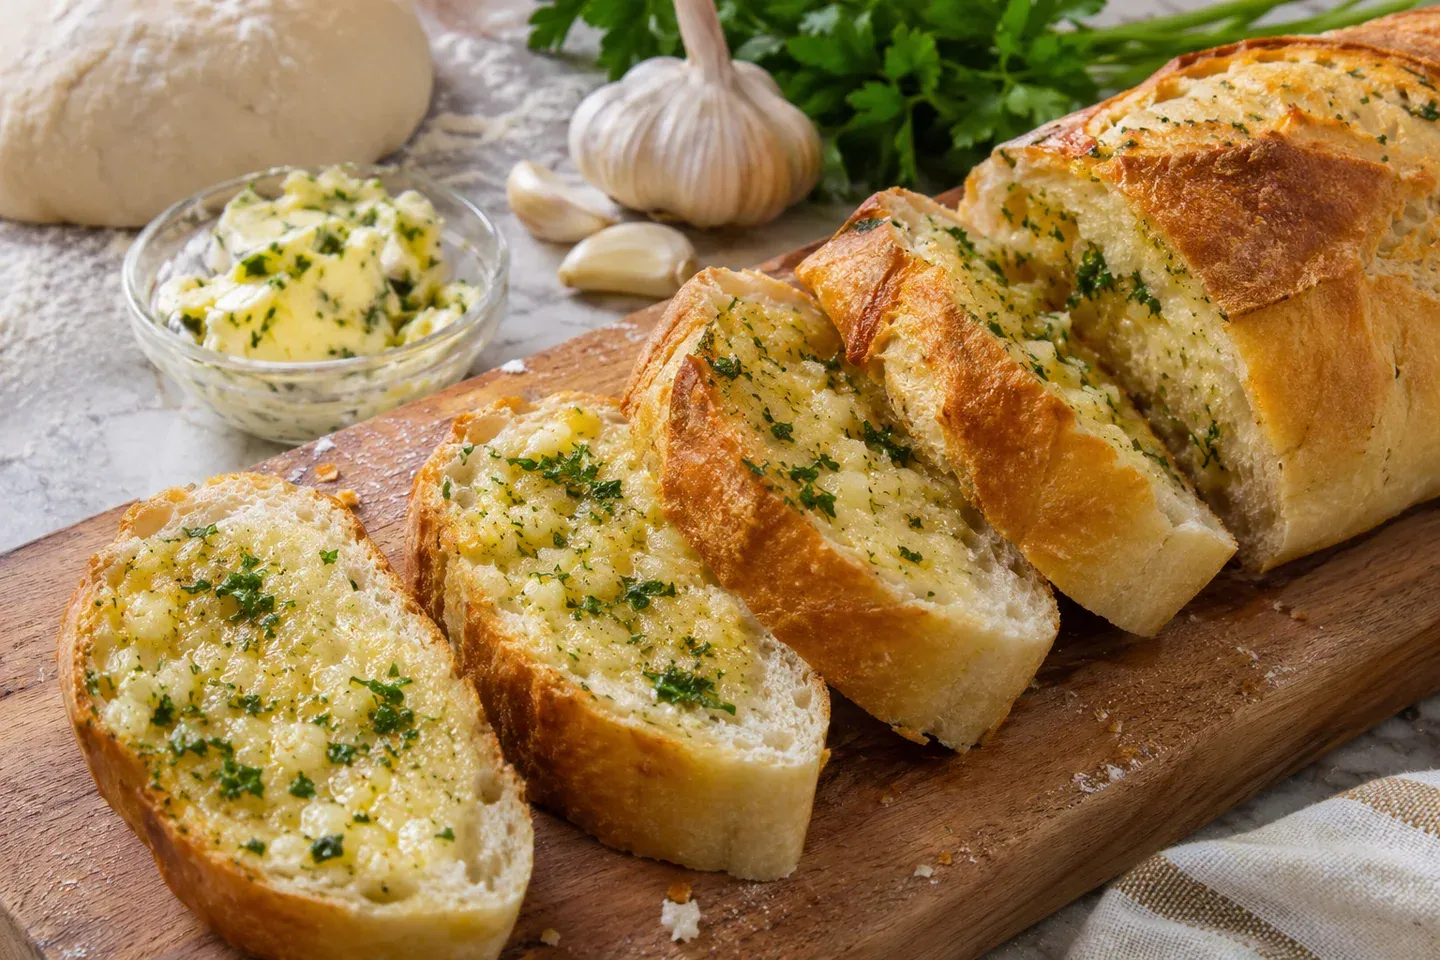
Garlic bread from scratch means making the bread as well as the garlic butter. The useful sequence is to bake a simple loaf first, let it cool enough to cut cleanly, then add the topping and return it to the oven. This keeps the raw dough's needs separate from the shorter cooking time of minced garlic, butter, and herbs.
The draft below makes two small bread logs that are split and finished with garlic butter. It is designed as a self-contained starting formula rather than a claim of testing by Easy Bread Baking. Ingredient quantities, shaping, and timing require recipe validation before the recipe is treated as a finished publication.
Choose a crisp or softer finish
For crisp cut surfaces, split the baked bread lengthwise and finish it open-faced. The exposed buttered crumb can toast while the edges become firmer. Cut into portions after finishing so that the topping stays in place during transfer.
For a softer presentation, partially slice a baked loaf and distribute butter between the cuts before warming it in suitable foil wrapping. That is a different assembly method and may need a different finishing time. The recipe card below follows the open-faced version so that its instructions remain consistent.
Neither finish requires a very dark crust. Garlic can become bitter when its small pieces burn, while buttered surfaces can color rapidly. Watch the topping during the final bake rather than relying on the bread's earlier baking time to predict what happens now.
Ingredients for bread and topping
For the dough, use 400 grams wheat flour, 260 grams water, 8 grams fine salt, 5 grams instant yeast, and 10 grams olive oil. The plain water is 65% of the flour weight. The dough weighs approximately 683 grams, which divides into two pieces of about 341 grams before handling losses.
Approximate US dough measures are 3⅓ cups flour at 120 grams per cup, about 1 cup plus 1½ tablespoons water, 1⅓ teaspoons fine table salt, 1⅔ teaspoons instant yeast, and about 2¼ teaspoons olive oil. Use the gram quantities where possible, especially for salt and flour.
For the topping, combine 60 grams softened unsalted butter, 10 grams finely minced fresh garlic, 8 grams finely chopped parsley, and 1 gram fine salt. That is roughly 4¼ tablespoons butter, approximately 2–3 garlic cloves depending on size, about 2 tablespoons chopped parsley, and a small pinch of fine salt. Weigh the garlic if you want a more consistent starting intensity.
These amounts use all the topping across the four open-faced bread halves. Do not add unmeasured extra salt automatically if your butter is salted. Cheese is not included in this formula; adding it changes the topping's browning and the finished bread's character.
Mix and develop the bread dough
Combine flour, salt, and instant yeast, then add water and oil. Stir until the flour is thoroughly moistened and no dry pockets remain beneath the mixture. Follow your yeast package's preparation directions rather than assuming very warm water is always helpful.
Cover briefly if the dough needs hydration time, then knead until it becomes more cohesive and elastic. Keep counter flour modest. A dough dried out by repeated dusting can produce a heavy bread base, and garlic butter cannot reverse that texture after baking.
Use a scraper to manage sticking and short covered rests when the dough resists stretching. The hand-kneading guide explains the movement and development cues in more detail. Stop when the dough has useful strength, not when every trace of tackiness disappears.
Ferment and shape two small logs
Place the dough in a lightly oiled bowl, cover, and allow a substantial first rise. Start checking around an hour while allowing conditions to change the schedule. The dough should look fuller and feel lighter than the freshly kneaded mass.
Turn out gently and divide into two similar pieces. Press each into a rectangle, release unusually large gas pockets, and roll into an even log. Pinch the seam and set it underneath. Aim for a shape that fits your baking sheet without very thin ends that will dry quickly.
Place the logs on a suitably prepared baking sheet with space between them. Use parchment only within its package's temperature limits. Cover while they proof so that the surface does not form a dry skin before the interior expands.
Let the logs become visibly puffy. A gentle touch should suggest aeration rather than a dense rope of newly shaped dough. Begin preheating before they reach their final target. The rising-time guide helps distinguish a slow but developing dough from one that is not progressing.
Bake the bread before adding garlic
Heat a conventional oven to 400°F (200°C). Bake the logs for approximately 22–30 minutes, adjusting the estimate to their size and your oven. Look for a set structure and an evenly golden exterior, rather than a merely dry-looking surface.
If desired, make a shallow expansion cut before baking when the dough's condition supports it. Keep the cut simple. A small home-shaped log does not need an elaborate scoring pattern to serve as a useful base for garlic bread.
Cool the loaves on a rack before splitting them. Warm bread can be cut with care, but very hot crumb compresses easily and releases steam into the topping. Allow enough time for a clean cut so that the interior remains bread rather than a mashed layer beneath butter.
Make a spread that distributes evenly
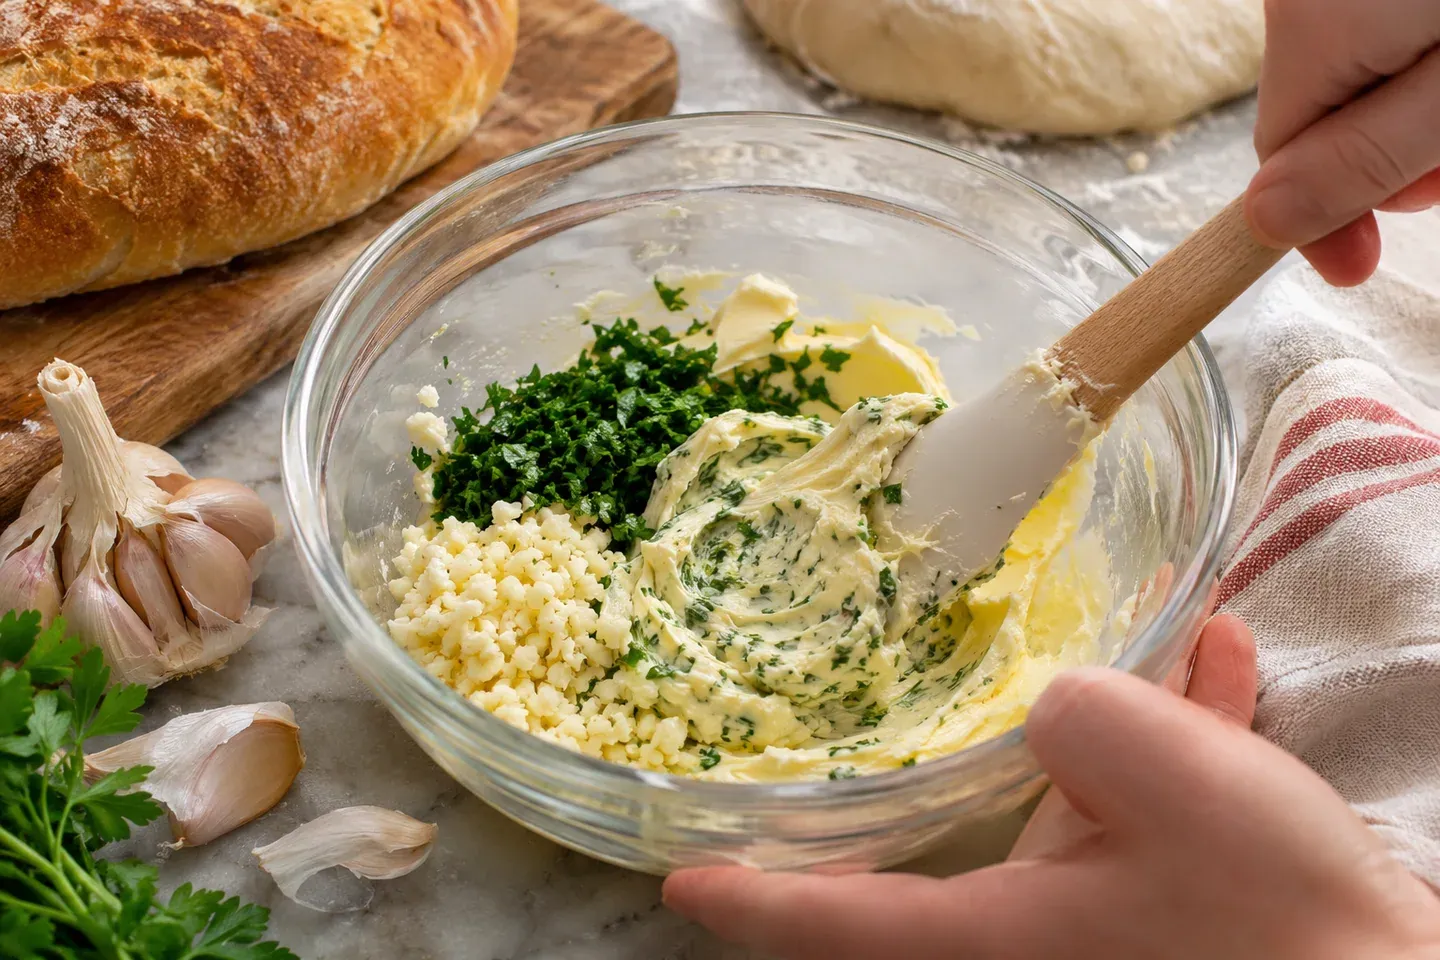
Soften the butter until it mixes easily, without melting it into a hot puddle. Stir in the finely minced garlic, chopped parsley, and measured salt. Scrape around the bowl to distribute garlic instead of leaving a concentrated clump at the bottom.
Small garlic pieces spread more evenly across the crumb, but extremely fine pieces also color quickly in the oven. A garlic press changes the texture and intensity of the mixture. Record the method if you want to reproduce a particular balance on the next batch.
Prepare the topping close to use and keep any unused fresh-garlic mixture appropriately refrigerated or frozen rather than leaving it on the counter. Fresh garlic preparations should not be treated as shelf-stable flavored oil or butter. This draft does not provide a validated room-temperature storage method for the spread.
Spread and finish open-faced
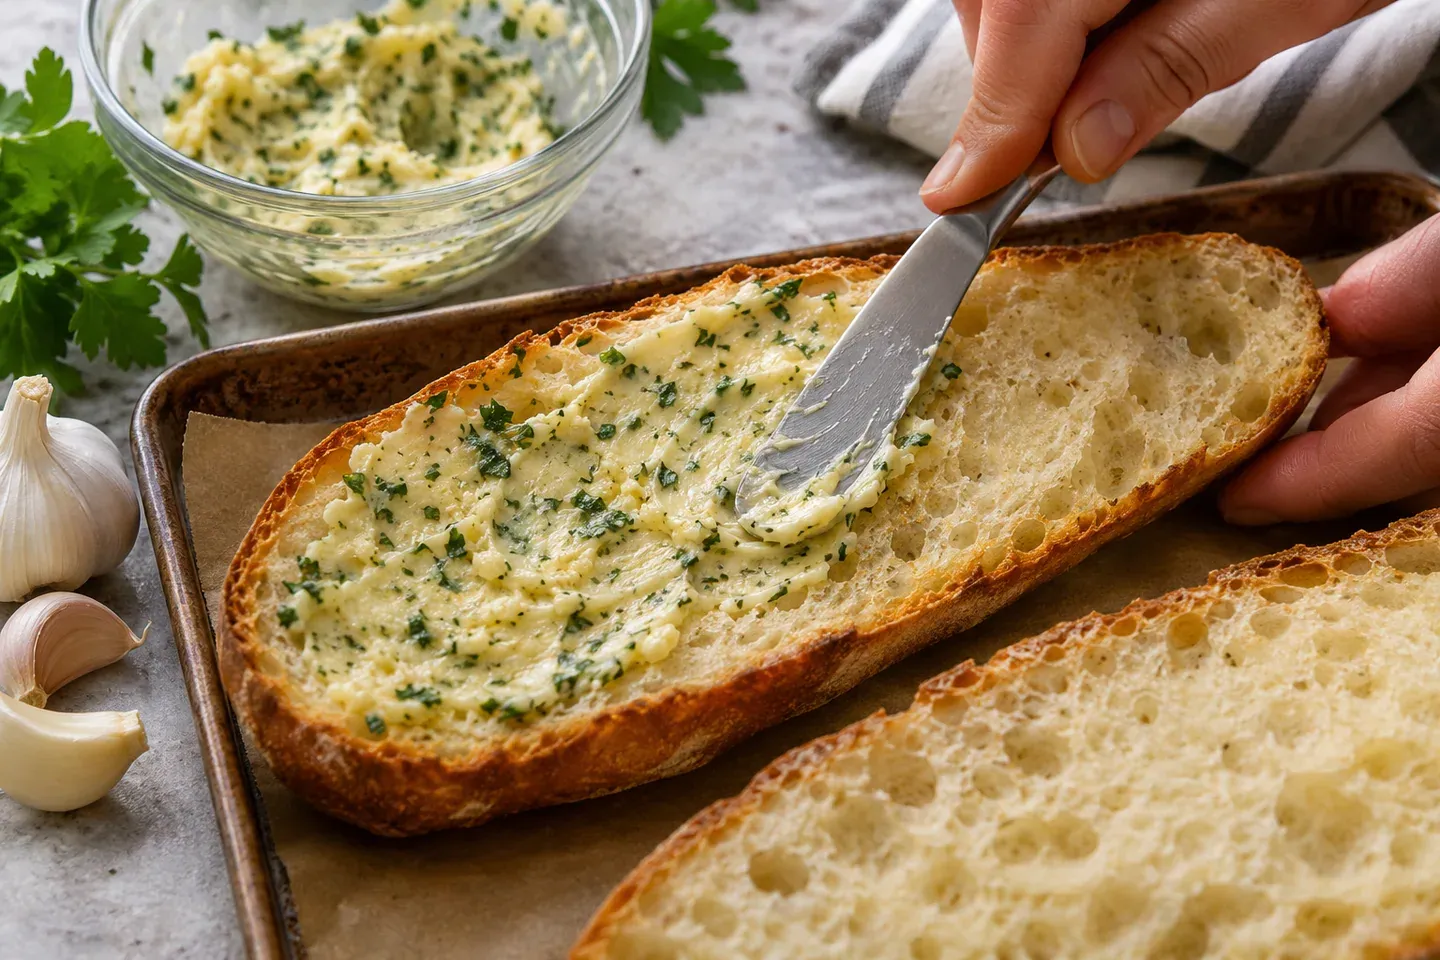
Split each bread log lengthwise and set the halves cut-side up on the baking sheet. Divide the topping between all four pieces. Spread a thin, even layer toward the edges without building deep piles in a few places.
Return to a conventional oven at 400°F (200°C) for roughly 6–10 minutes, watching the garlic and bread edges closely. The butter should melt into the surface and the exposed crumb should become lightly toasted. Oven behavior and the starting temperature of the bread affect how quickly that happens.
This version does not require a broiler. If you choose to use one for a later variation, follow the appliance instructions and watch continuously; the change in heating is substantial, not simply a faster copy of ordinary baking. Avoid a finishing method you cannot supervise closely.
Remove the bread and let it settle briefly before cutting into portions. Serve while warm enough to enjoy the contrast between the flavored surface and the bread underneath. A short rest also makes moving the halves less awkward than cutting them the moment they leave the oven.
Diagnose the flavor and texture separately
If the base is heavy, review the bread dough's measuring, development, proofing, and baking. If the bread is good but the topping tastes harsh, assess garlic quantity and preparation. These are separate problems and should not both be addressed by increasing the butter.
If the surface is greasy, check whether too much topping was concentrated in one area or whether the butter was fully melted before spreading. A smooth, softened mixture usually distributes more predictably than liquid fat running into a few holes.
If the garlic is bitter and dark, shorten or moderate the finishing stage. Removing the bread earlier during its first bake is not necessarily the right correction. You still need a properly baked base before applying a topping that cooks relatively quickly.
Recipe card
Yield: 2 small bread logs, split into 4 open-faced halves; about 8 side portions. Difficulty: Beginner to intermediate. Active preparation: Approximately 30 minutes. Rising: Roughly 1½–2½ hours. Initial baking: About 22–30 minutes. Cooling before splitting: Allow approximately 45–60 minutes. Finishing: About 6–10 minutes. Total: Roughly 3½–5 hours, depending on dough development and cooling.
Dough: 400 g wheat flour; 260 g water; 8 g fine salt; 5 g instant yeast; 10 g olive oil. Topping: 60 g softened unsalted butter; 10 g finely minced garlic; 8 g chopped parsley; 1 g fine salt. See the ingredient section for approximate US measurements.
Estimated schedule: 30 minutes active preparation; 35 minutes cooking; 4 hours 15 minutes total, including resting, rising, and cooling where applicable. These approximate planning figures sit within the ranges above; dough and doneness cues take priority.
- Mix and knead the dough until cohesive and elastic, using rests as needed. Cover for a substantial first rise.
- Divide into two even pieces, shape logs, and proof on a suitably prepared baking sheet until puffy.
- Bake at 400°F (200°C) for approximately 22–30 minutes, monitoring whether the bread has set and browned. Cool on a rack before splitting.
- Mix softened butter, garlic, parsley, and salt. Split each log lengthwise and spread the topping evenly over four cut surfaces.
- Finish at 400°F (200°C) for about 6–10 minutes, watching closely for scorching. Rest briefly and cut into portions.
Baking tip: Bake the bread base fully before the short garlic-butter finish. Storage: Treat fresh-garlic spread as perishable; cool and package finished bread appropriately and freeze unused portions. Status: Editorial recipe draft requiring validation, without testing or nutrition claims.
What to do with extra bread
If you know you will not need all four halves, finish only the portions you plan to serve and package the remaining cooled bread separately. Freeze suitable portions rather than repeatedly reheating the entire batch. The bread freezing guide explains how portioning helps you use only what you need.