
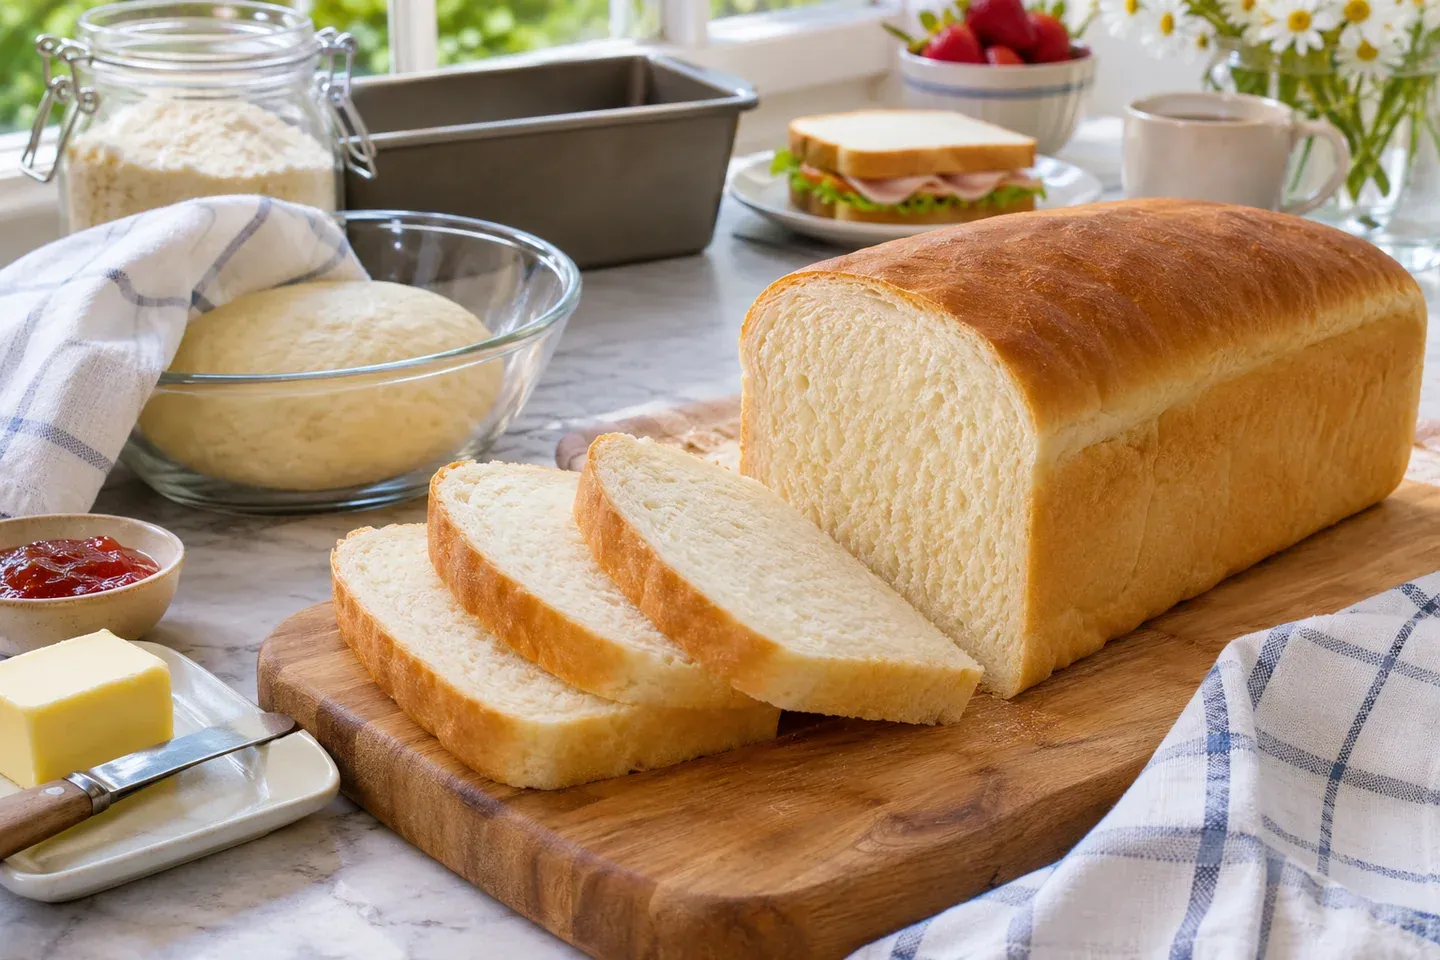
Homemade sandwich bread needs a crumb that bends without crumbling and slices that remain useful after the loaf has cooled. A very open artisan crumb can be attractive, but it is not always the best place to spread a filling. For this style, even structure, moderate enrichment, and careful cooling matter more than dramatic holes.
This draft uses a small cooked flour-and-milk paste, often called tangzhong, alongside milk and butter in the final dough. The paste is made from the recipe's total ingredients, not added on top of them. The formula requires recipe validation, and no claim is made that Easy Bread Baking has tested it.
Define the sandwich loaf you want
A practical sandwich slice should hold together under a knife and support a modest filling. That does not require a completely uniform factory-style crumb. Small natural variations are normal, but large internal gaps, a damp compressed strip, or a very crumbly interior can make everyday use difficult.
The ingredients here aim for a softer crust and tender crumb than a lean flour-and-water loaf. Milk contributes solids as well as water, and butter adds enrichment. Neither ingredient replaces proper fermentation or baking. A dough baked before it becomes appropriately aerated can still produce heavy bread despite the added fat.
Keep this formula separate from the basic white loaf. That simpler recipe introduces a straightforward oil-enriched dough. This one focuses specifically on a milk loaf and a cooked paste, so you can evaluate what those changes do rather than treating every white bread recipe as the same project.
Account for every gram of flour and milk
The total formula is 400 grams wheat flour, 300 grams milk, 25 grams unsalted butter, 20 grams sugar, 8 grams fine salt, and 5 grams instant yeast. Of those totals, reserve 20 grams flour and 100 grams milk for the cooked paste. The remaining dough therefore uses 380 grams flour and 200 grams milk.
Do not prepare the paste and then add another full 400 grams flour and 300 grams milk. That would create a different recipe. Put the paste ingredients in a small saucepan and weigh the remaining flour and milk separately before you begin. Labeling the bowls mentally as “paste” and “dough” can prevent an easy duplication error.
Approximate US totals are 3⅓ cups flour at 120 grams per cup, about 1¼ cups milk, 1¾ tablespoons butter, about 1 tablespoon plus 2 teaspoons sugar, 1⅓ teaspoons fine table salt, and 1⅔ teaspoons instant yeast. The gram quantities govern the formula, particularly for the small flour portion in the paste.
Use an 8½-by-4½-inch metal loaf pan, lightly greased. This dough weighs roughly 758 grams before handling losses. A change to a much larger pan affects the height and proofing cues even when the ingredient quantities stay the same.
Cook the paste, then let it cool
Whisk the reserved 20 grams flour and 100 grams milk together until no dry lumps remain. Heat gently while stirring and scraping the bottom. The mixture should thicken into a smooth paste that briefly holds the whisk's tracks. Avoid scorching or allowing a dry skin to build around the pan's edges.
Remove from the heat and let the paste cool to a comfortably mild temperature before mixing the yeast dough. Very hot paste can heat the dough unpredictably. If a substantial amount has evaporated or the paste has scorched, do not pretend that the starting formula is unchanged; remake it rather than guessing a correction.
The cooked starch helps manage moisture in the bread, but this is not a promise of a fixed number of fresh days. Storage conditions and baking also matter. Use the paste as a purposeful part of the formula rather than a way to rescue an otherwise dry dough by adding an unknown amount of extra liquid.
Mix a soft, cohesive dough
Combine the remaining flour with the yeast, sugar, and salt. Add the cooled paste and remaining milk. Mix thoroughly until the paste is distributed and there are no isolated dry flour pockets. Cover briefly if the dough needs time to hydrate before you judge its consistency.
Knead until the dough starts to gain cohesion, then incorporate softened butter gradually. It may look slippery or rough during incorporation. Continue folding and kneading until the butter blends rather than adding flour simply to absorb the appearance of fat on the surface.
Aim for a smooth, supple dough with some tackiness. A small rested piece should stretch reasonably thin before tearing. Do not demand an identical windowpane from every brand of flour, but look for a meaningful improvement from the first rough mixture. Short covered rests can make the work easier.
If handling becomes difficult, check whether the milk and paste quantities were divided correctly. That is especially important in a method with reserved ingredients. Our flour-measuring guide can help separate measurement errors from a normal soft-dough consistency.
Ferment, then shape for a close crumb
Place the dough in a lightly greased bowl, cover, and allow a substantial first rise. Start checking after approximately one hour, but expect conditions to affect the schedule. Cold milk, a cool paste, or a cold room can all slow the initial dough.
Watch for volume and aeration rather than relying only on elapsed time. The mass should look fuller and feel lighter. If it simply spreads across a broad bowl, use a marked container or other observations to decide whether it has genuinely risen.
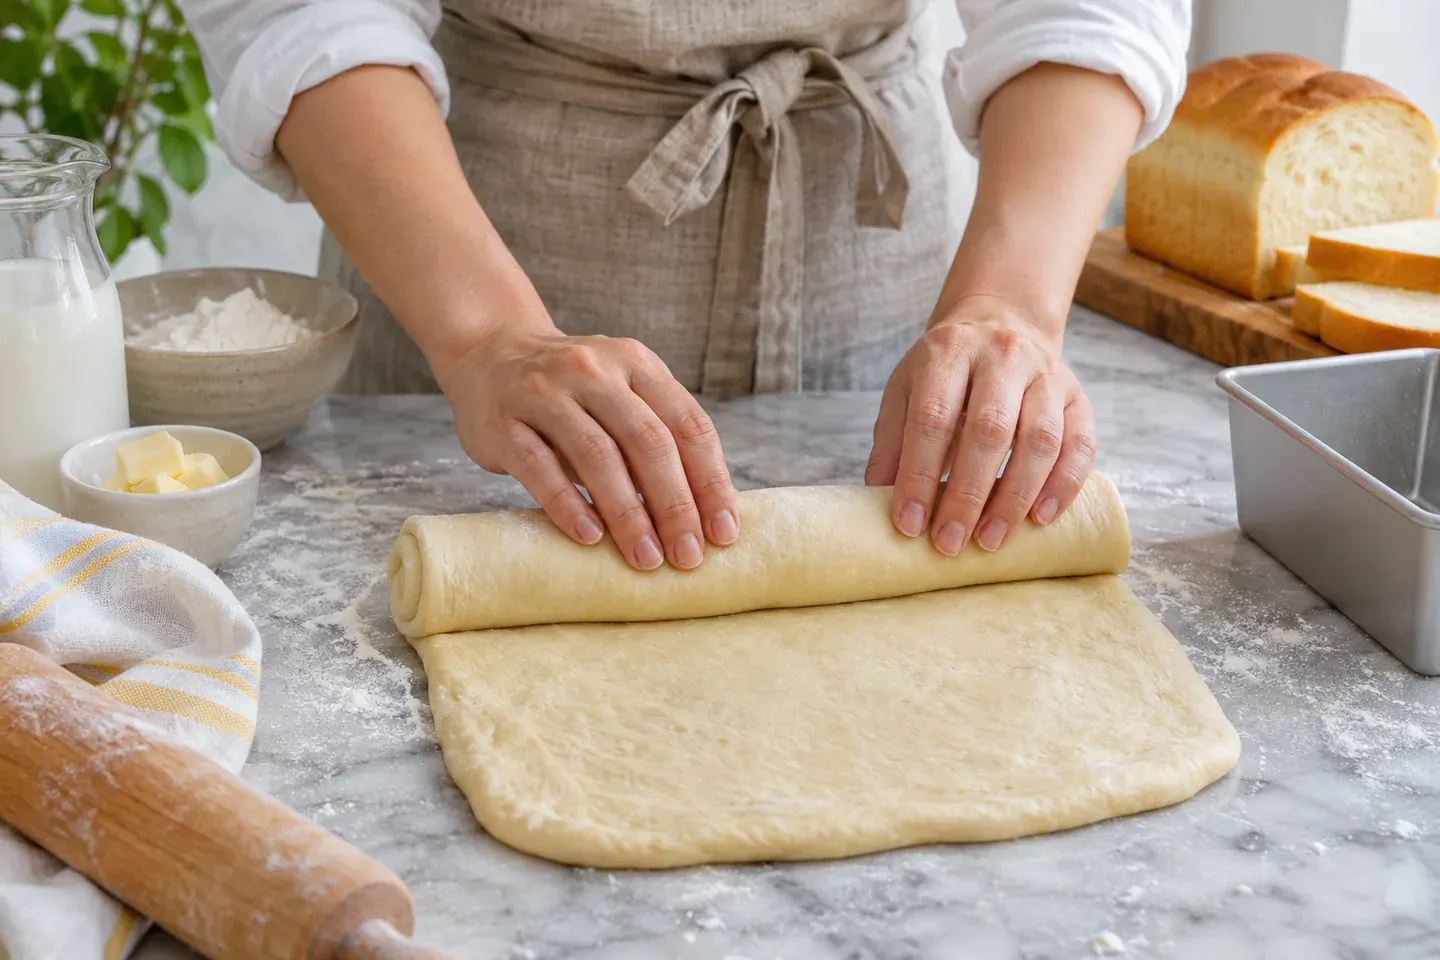
Turn it out gently and press into a rectangle. For a sandwich loaf, release unusually large gas pockets instead of preserving every bubble. Roll the dough into an even log, pinch the seam, and place it seam-side down in the pan. Avoid an extremely loose spiral that leaves large spaces inside.
A smooth, evenly tensioned log is more useful than excessive tightening. If the dough retracts sharply, cover and rest it before finishing. Tearing the surface during shaping can make later proofing harder to assess and does not improve its eventual structure.
Proof before the oven makes the decision
Cover the pan and let the dough become visibly puffy. Start checking around 40 minutes, with a flexible expectation rather than a fixed cutoff. Depending on the pan's exact dimensions, a fuller log near the rim can be a useful reference, but height is not the only cue.
Touch gently and consider the dough's resilience together with its volume. An indentation that slowly returns can support your judgment. A dough that still feels dense and tightly wound may need more time; one that has become fragile and deflates readily may have gone too far.
Preheat before the dough is fully ready. A long wait for a cold oven can turn an appropriate final proof into an excessive one. If you repeatedly miss this transition, note when the dough becomes almost ready and start the oven earlier on the next bake.
Bake, cool, and slice deliberately
Heat a conventional oven to 350°F (175°C). Bake approximately 30–40 minutes, monitoring the surface and whether the loaf has set. Milk and sugar promote browning, so the top's appearance alone does not establish that the interior is finished.
Tent loosely with foil if the crust colors too quickly, keeping foil away from heating elements. Check the loaf near the end rather than opening the oven constantly at the beginning. Pan material and oven behavior can change the balance between the top, sides, and base.
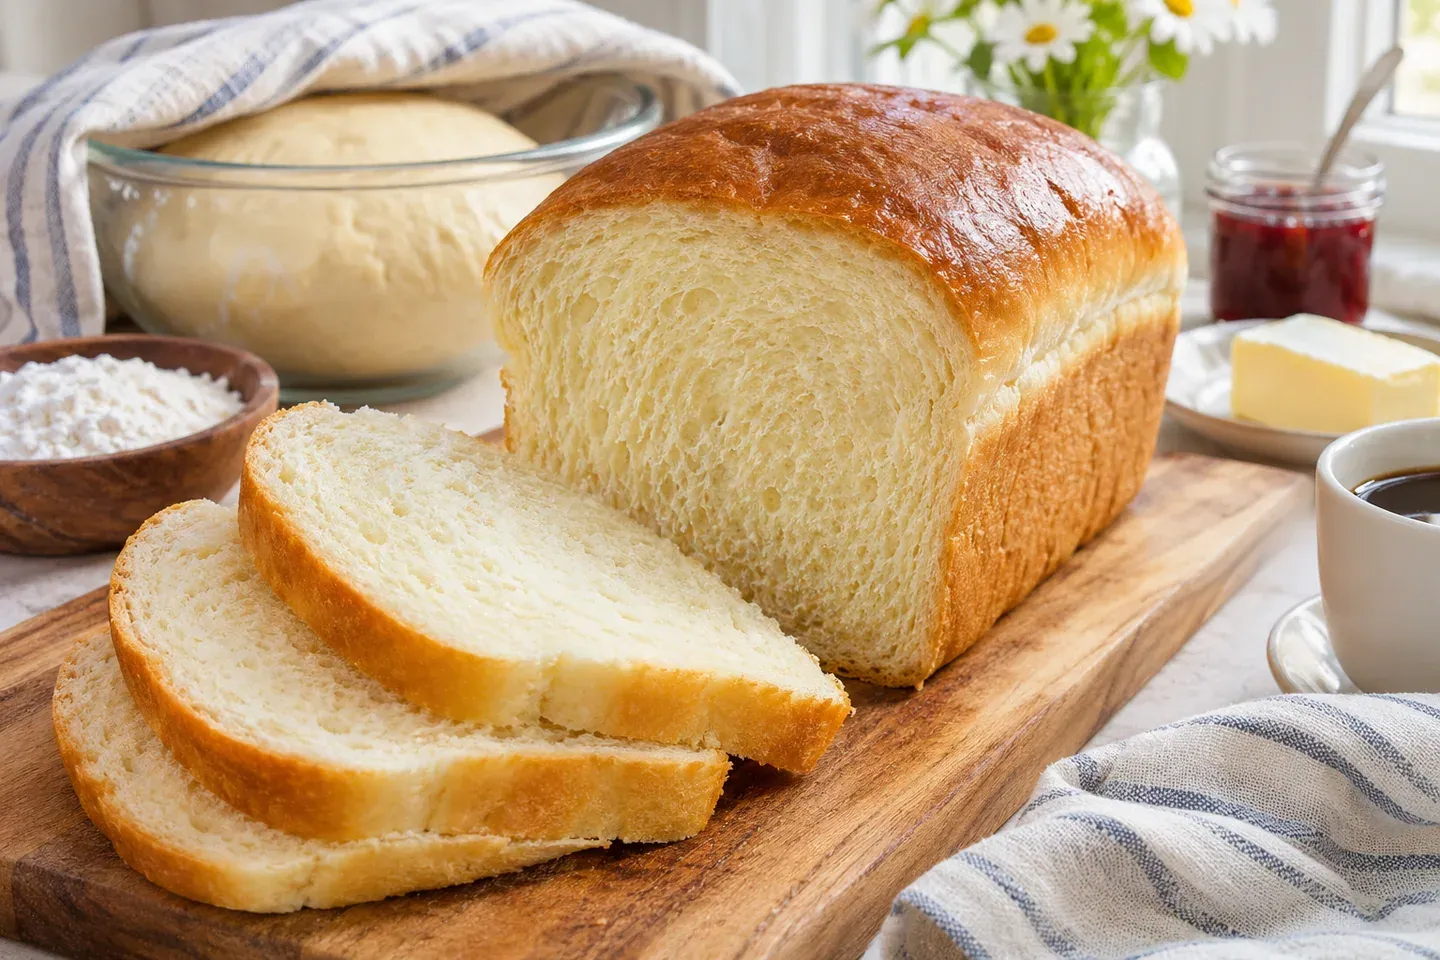
Turn out carefully and cool on a rack. Wait until the loaf is fully cool for the cleanest sandwich slices. A warm interior compresses easily under a knife, and very thin slices are particularly difficult while the crumb is still settling.
Use a sharp serrated knife with a controlled sawing movement. Support the loaf without squeezing it flat. Cut only what you need if you want the remaining loaf to lose moisture more slowly. If you plan to freeze slices, cool and slice first, then package portions suitable for individual use.
For background on the cooked-paste method, see King Arthur’s explanation of tangzhong. It explains the technique; the formula here is an independent editorial draft and has not been physically tested.
Recipe card
Yield: 1 small sandwich loaf. Difficulty: Intermediate beginner. Active preparation: About 25–30 minutes. Paste cooling: Allow roughly 20 minutes, depending on conditions. Rising: Approximately 1½–2½ hours. Baking: Roughly 30–40 minutes. Cooling: About 1 hour or until fully cool. Total: Approximately 3½–5 hours.
Total ingredients: 400 g wheat flour; 300 g milk; 25 g softened unsalted butter; 20 g sugar; 8 g fine salt; 5 g instant yeast. For the paste: Take 20 g flour and 100 g milk from those totals. Remaining dough ingredients: 380 g flour and 200 g milk, plus all the butter, sugar, salt, and yeast.
Estimated schedule: 30 minutes active preparation; 35 minutes cooking; 4 hours 15 minutes total, including resting, rising, and cooling where applicable. These approximate planning figures sit within the ranges above; dough and doneness cues take priority.
- Whisk the paste ingredients, heat gently while stirring until thickened, then cool. Grease the loaf pan.
- Mix remaining flour, yeast, sugar, and salt. Add paste and remaining milk and combine thoroughly. Knead, incorporating the butter gradually, until supple and cohesive.
- Cover for a substantial first rise. Press out unusually large bubbles, roll into an even log, and place seam-side down in the pan.
- Cover for the final proof until puffy. Preheat to 350°F (175°C) before the dough is ready.
- Bake approximately 30–40 minutes, checking structure and browning. Turn out and cool fully before slicing.
Baking tip: Count paste ingredients within the total formula. Storage: Wrap the cooled loaf in food-safe packaging and freeze unused slices. Status: Editorial recipe draft requiring validation; no tested-result or nutrition claims.
Questions about softness
Can I use water instead of milk?
That changes moisture, milk solids, flavor, and browning. This draft does not provide a validated water-only conversion. Choose a water-based formula if you need to avoid dairy rather than making several unmeasured substitutions.
Will the paste keep bread fresh indefinitely?
No. It is a technique for dough and crumb characteristics, not a food-preservation guarantee. Follow sensible storage, discard spoiled bread, and use the freezing guide for portions you will not eat soon.
Why is my sandwich loaf difficult to slice?
Check whether it cooled fully, whether the center baked sufficiently, and whether the knife is suitable. A loaf that compresses while hot needs a different correction from a cooled loaf with a genuinely weak or wet crumb. Keep those observations separate when planning the next attempt.