
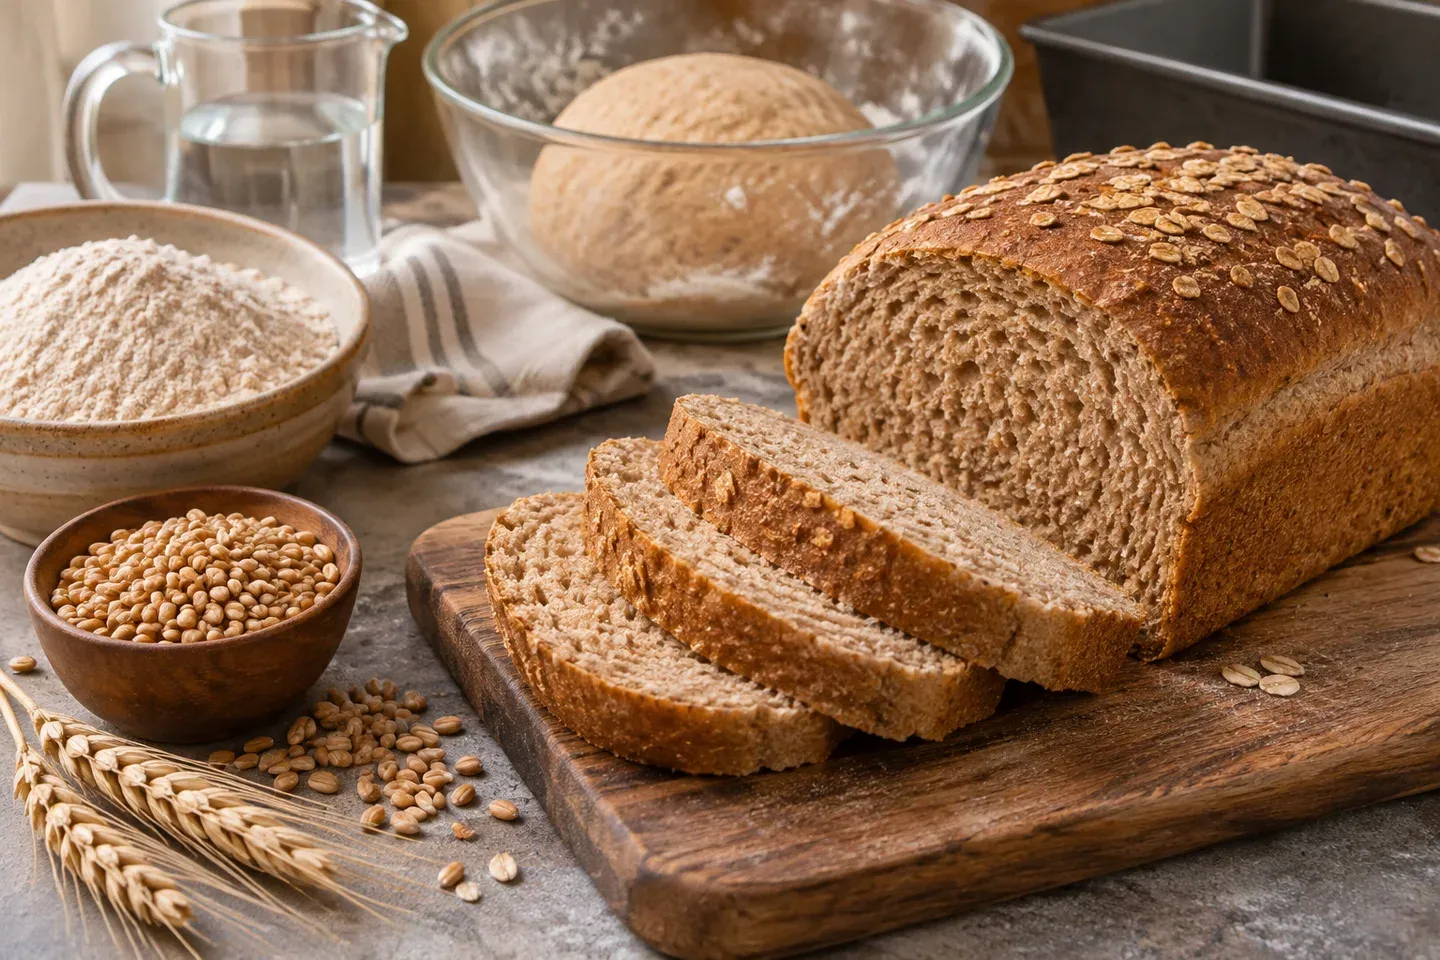
Homemade whole wheat bread is easier to manage when you give the flour time to absorb water and judge the loaf by its own character. A whole grain dough does not need to imitate the stretch, height, or crumb of a refined white loaf to be successful. Aim for a well-baked, sliceable bread with a soft enough interior for everyday use.
This editorial recipe uses whole wheat flour, a little honey, and oil in one supported pan loaf. The draft quantities and schedule need recipe validation; they are not a claim that Easy Bread Baking has tested this formula. Weigh the ingredients and keep notes so that any adjustment responds to the dough rather than to a general expectation that whole wheat must be dry.
Start with the flour you actually have
Whole wheat flour includes the grain's bran and germ alongside the flour's starchy components. Those parts affect water absorption, flavor, and the structure of the dough. The result often feels different from a white wheat dough mixed with the same water percentage.
Check the flour's description and freshness before starting. Finely milled whole wheat and a coarser wholemeal flour can behave differently. White whole wheat flour is still a whole grain flour; its name does not mean that it is refined all-purpose flour. Use the product specified by a recipe rather than treating those names as interchangeable.
Store flour according to its package directions and avoid using flour with an unexpected rancid or otherwise objectionable odor. Stronger whole grain flavor is normal, but stale ingredients are not a problem that kneading or extra sweetener can correct. Note whether the flour came directly from cold storage because that can also affect the dough's temperature.
Formula for one substantial loaf
Use 450 grams whole wheat flour, 335 grams water, 25 grams honey, 20 grams neutral oil, 9 grams fine salt, and 6 grams instant yeast. The plain water is about 74% of the flour weight; honey contributes some additional moisture. Do not describe the whole honey weight as water when comparing the formula with another dough.
Approximate US equivalents are about 4 cups whole wheat flour if the recipe's convention is approximately 113 grams per cup, about 1 cup plus 6½ tablespoons water, a generous tablespoon honey, 1½ tablespoons oil, 1½ teaspoons fine table salt, and 2 teaspoons instant yeast. The gram quantities are controlling, because whole wheat cup weights and salt crystal sizes vary.
Use a lightly greased 9-by-5-inch metal loaf pan. A smaller pan may crowd this dough, while a much larger pan can make it look flat even if fermentation is adequate. Pan size and dough weight belong together; a photograph of a tall loaf in a different pan is not a reliable comparison.
Mix and give absorption a head start
Combine the flour, salt, and instant yeast thoroughly. Stir the honey into the water so that it disperses rather than remaining as a sticky patch. Add that liquid and the oil, then mix until no dry flour remains under the dough.
Cover for about twenty minutes before making a large consistency adjustment. Whole grain dough can change noticeably as the flour hydrates. A mixture that initially feels loose may become more manageable; one that seems coarse may become more cohesive. The rest is part of assessment, not a guarantee that any measurement error will correct itself.
After the rest, fold and press the dough several times. It should feel soft and moist, but it should also gather as one mass. If it remains hard and cracks at the folds, check the flour and water measurements. Add water only in small, recorded amounts rather than trying to reproduce a completely different dough texture.
Knead with rests instead of excess flour
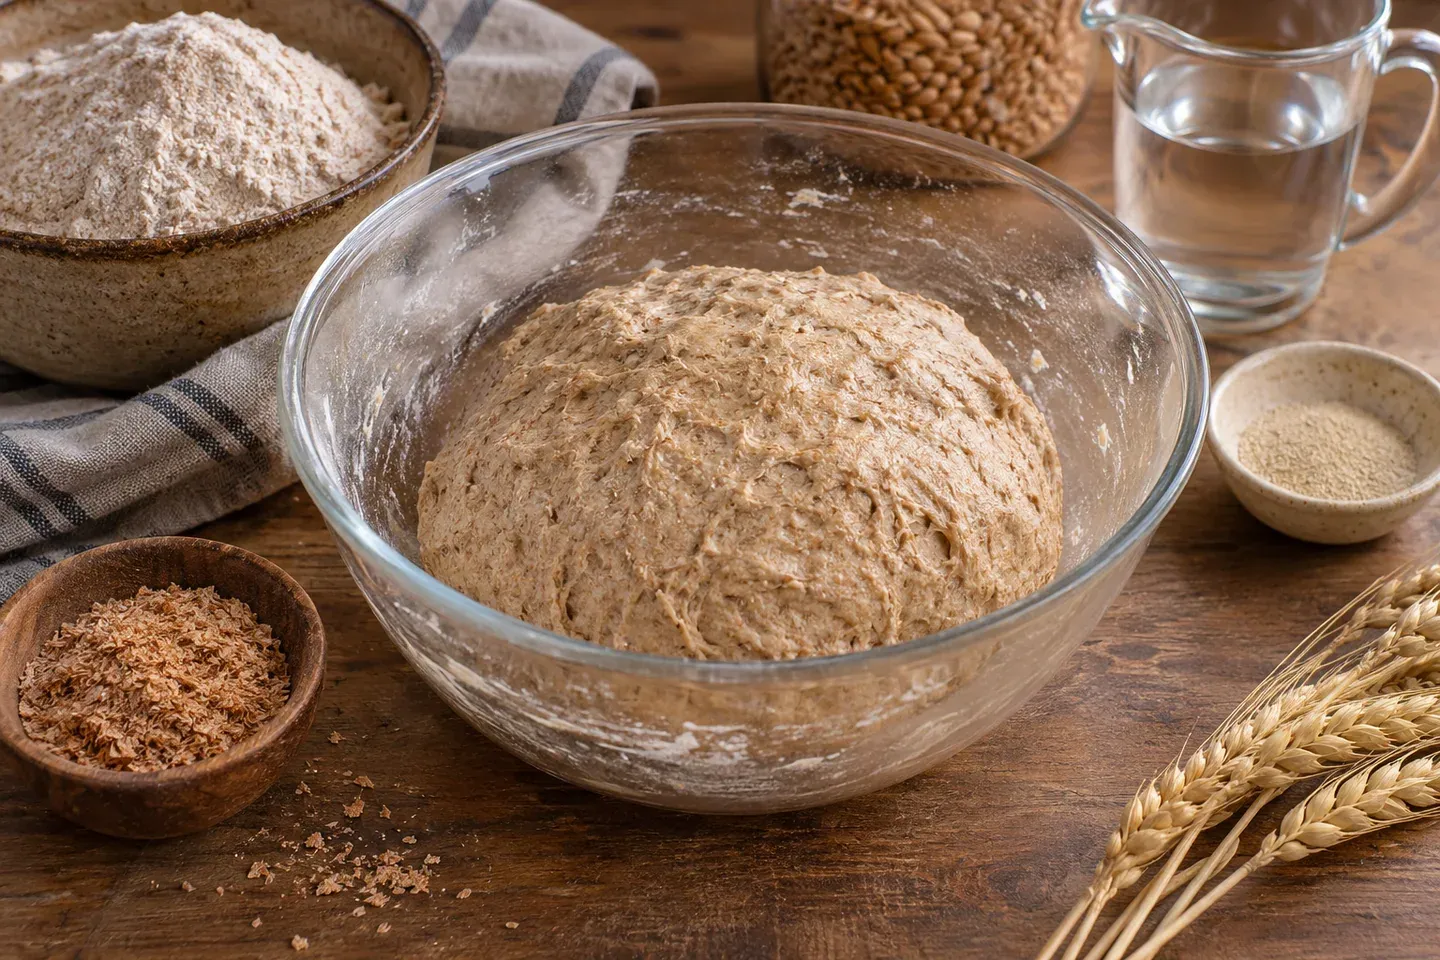
Knead using a controlled push, fold, and turn rhythm. A scraper helps gather sticky pieces without incorporating repeated handfuls of flour. Adding flour until the dough never touches your hands can make the eventual loaf much firmer than the starting formula intended.
Look for improved cohesion and stretch rather than demanding a perfectly clear windowpane. Bran particles interrupt the appearance of a thin dough sheet. You can still assess whether the dough extends more smoothly and holds together better than it did immediately after mixing.
If resistance increases sharply, cover and rest the dough briefly. Then continue with a gentler motion. The hand-kneading guide explains how relaxation can help you distinguish a tense dough from one that genuinely needs more development.
There is no benefit in turning this stage into a contest of force. The flour, water, resting, and technique all contribute. Keep the ingredients consistent for your first attempts so that you can learn how your particular whole wheat flour responds.
Let the first rise build volume
Place the dough in a lightly oiled bowl, cover, and allow a clear increase in volume. Start checking around an hour, but use the dough's development rather than a fixed deadline. A cool mixture can take longer, especially when the flour or water started cold.
Look for a fuller, slightly aerated dough that feels lighter when an edge is lifted gently. Mark the starting level if your container allows it. Relaxation across the bottom of a wide bowl is not the same as fermentation-driven expansion.
Avoid waiting indefinitely for a dramatic size increase that the recipe does not need. A dough can become weaker after excessive fermentation. If it rises substantially and then sinks, record when that happened and investigate the schedule rather than assuming it needs another long rise.
Shape for even sandwich slices
Turn out the dough and press it gently into a rectangle. Release unusually large pockets, then roll it into a log that fits the pan. Keep the thickness even from one end to the other so that one side does not dominate the final loaf.
Pinch the seam and set the dough seam-side down in the greased pan. If the surface tears as you roll, pause and consider whether it is too dry or being pulled too tightly. Good shaping provides moderate tension without damaging the outside.
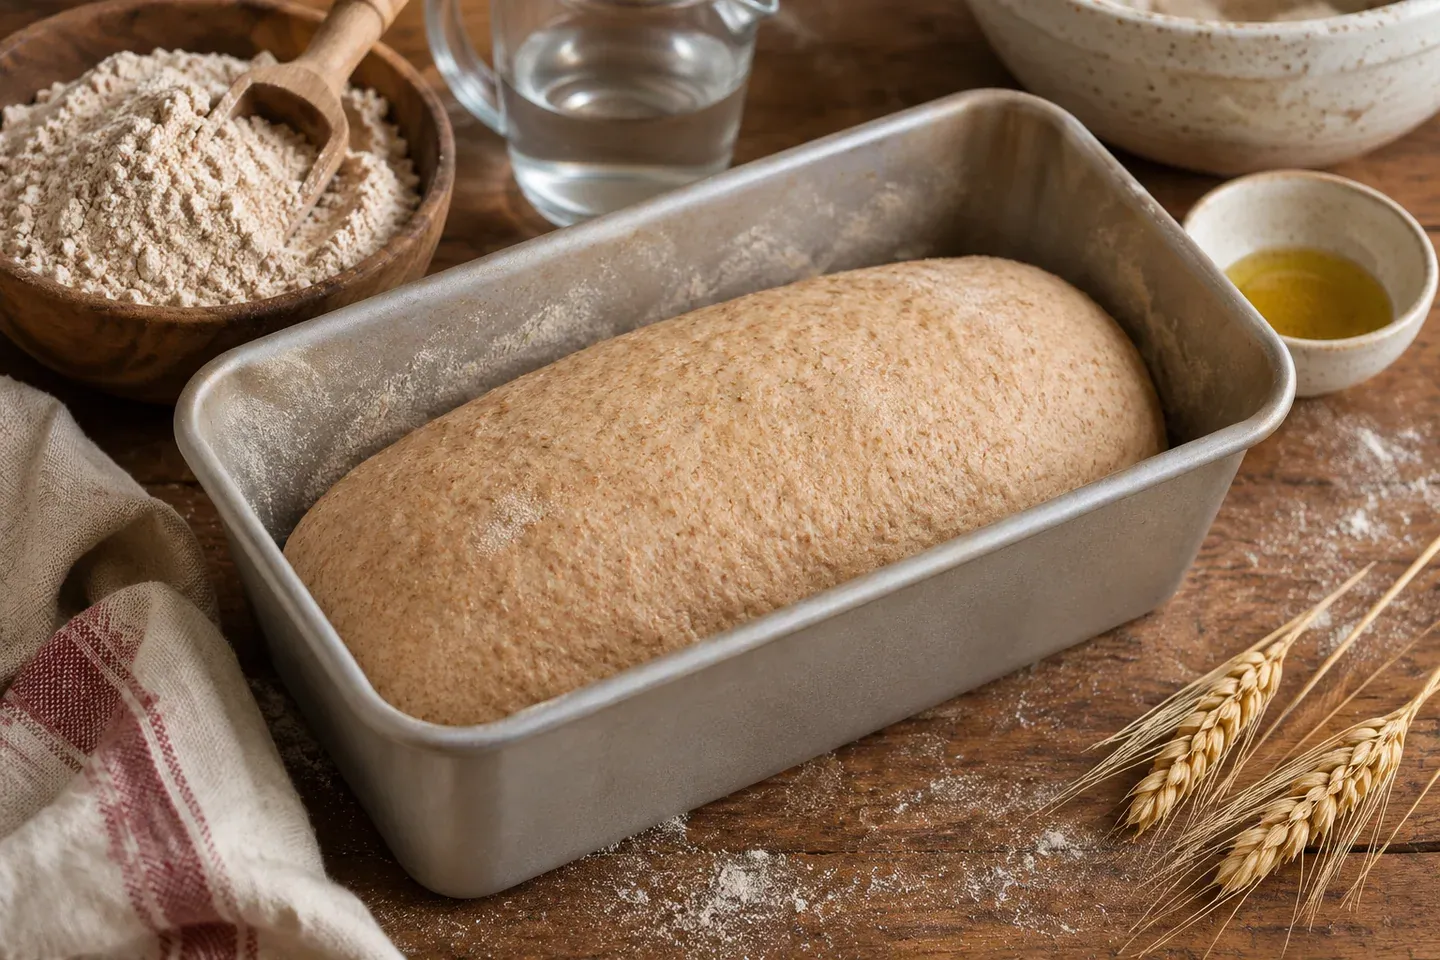
Cover and let the dough become visibly puffy during the final proof. Start checking after about 40 minutes while allowing for a longer wait. It should look fuller in the pan and feel aerated. Height alone is less useful when comparing pans with different side angles or dimensions.
A gentle fingertip impression can provide another clue, but whole wheat dough should be judged with several observations together. Watch its volume, resilience, and overall condition. Preheat before it reaches its final target so that it can move into the oven without an unnecessary additional wait.
Bake without overbrowning the top
Heat a conventional oven to 375°F (190°C). Bake approximately 35–45 minutes, monitoring the loaf near the end. Honey contributes to browning, so a pleasing top color can appear before every part of the loaf has finished setting.
If the top darkens too quickly, tent it loosely with foil, keeping foil away from heating elements. Check the sides and the overall structure as well as the top. A dark pan may transfer heat differently from a pale pan, making notes about your equipment useful for a later attempt.
Remove the loaf carefully from the pan and let it cool on a rack. Wait until the interior has cooled before making a judgment about gumminess. Cutting a large, hot loaf compresses its crumb and traps moisture against the knife, which can make an otherwise useful bread appear less finished.
If your first loaf seems heavy
Compare the loaf with a reasonable whole wheat goal, not an airy white boule. Some difference in height and texture comes from the flour and formula. A loaf that slices well, has no wet compressed band, and tastes pleasant may be serving its purpose even if its crumb is close.
If it is unusually dense, review measuring, kneading, proofing, and baking separately. Did you add large amounts of counter flour? Did the dough expand before shaping? Did it become puffy before baking? Did the center cool before slicing? The dense bread guide helps organize those questions.
Change one variable on the next attempt. Better measuring or a longer hydration rest is easier to evaluate when you keep the yeast and pan the same. Replacing half the flour, adding more water, and doubling the yeast simultaneously may change the loaf, but it does not tell you which adjustment mattered.
The King Arthur whole-grain baking guide provides further context for how whole grains affect dough handling and baking. Flour composition still varies, so use this draft formula as a starting point for validation rather than a guarantee.
Recipe card
Yield: 1 loaf in a 9-by-5-inch pan. Difficulty: Beginner. Active preparation: About 25 minutes. Hydration rest: About 20 minutes. Rising: Roughly 1½–2½ hours. Baking: Approximately 35–45 minutes. Cooling: Allow at least about 1 hour. Total: Roughly 3½–5 hours, depending on dough development.
Ingredients: 450 g whole wheat flour; 335 g water; 25 g honey; 20 g neutral oil; 9 g fine salt; 6 g instant yeast. Approximate US measures appear above and should not replace the gram values when precision is available.
Estimated schedule: 25 minutes active preparation; 40 minutes cooking; 4 hours 15 minutes total, including resting, rising, and cooling where applicable. These approximate planning figures sit within the ranges above; dough and doneness cues take priority.
- Grease the pan. Mix flour, yeast, and salt; combine water with honey and add it with the oil. Mix thoroughly.
- Cover for about 20 minutes, then knead with brief rests as needed until the dough becomes more cohesive and elastic.
- Cover for a substantial first rise. Shape an even log and place seam-side down in the pan.
- Cover for a final proof until visibly puffy. Preheat to 375°F (190°C) before the proof is finished.
- Bake about 35–45 minutes, tenting if necessary. Turn out carefully and cool thoroughly on a rack.
Baking tip: Allow absorption time before correcting the dough. Storage: Wrap only once cool and freeze portions you will not use soon. Discard spoiled bread. Status: Editorial draft requiring recipe validation; no testing or nutrition claims.
One useful next step
Make the same formula again before adding seeds or changing the flour blend. Once you recognize the normal dough behavior, a deliberate variation becomes easier to assess. Our bread storage guide can help you make practical use of the loaf while you plan the next bake.