
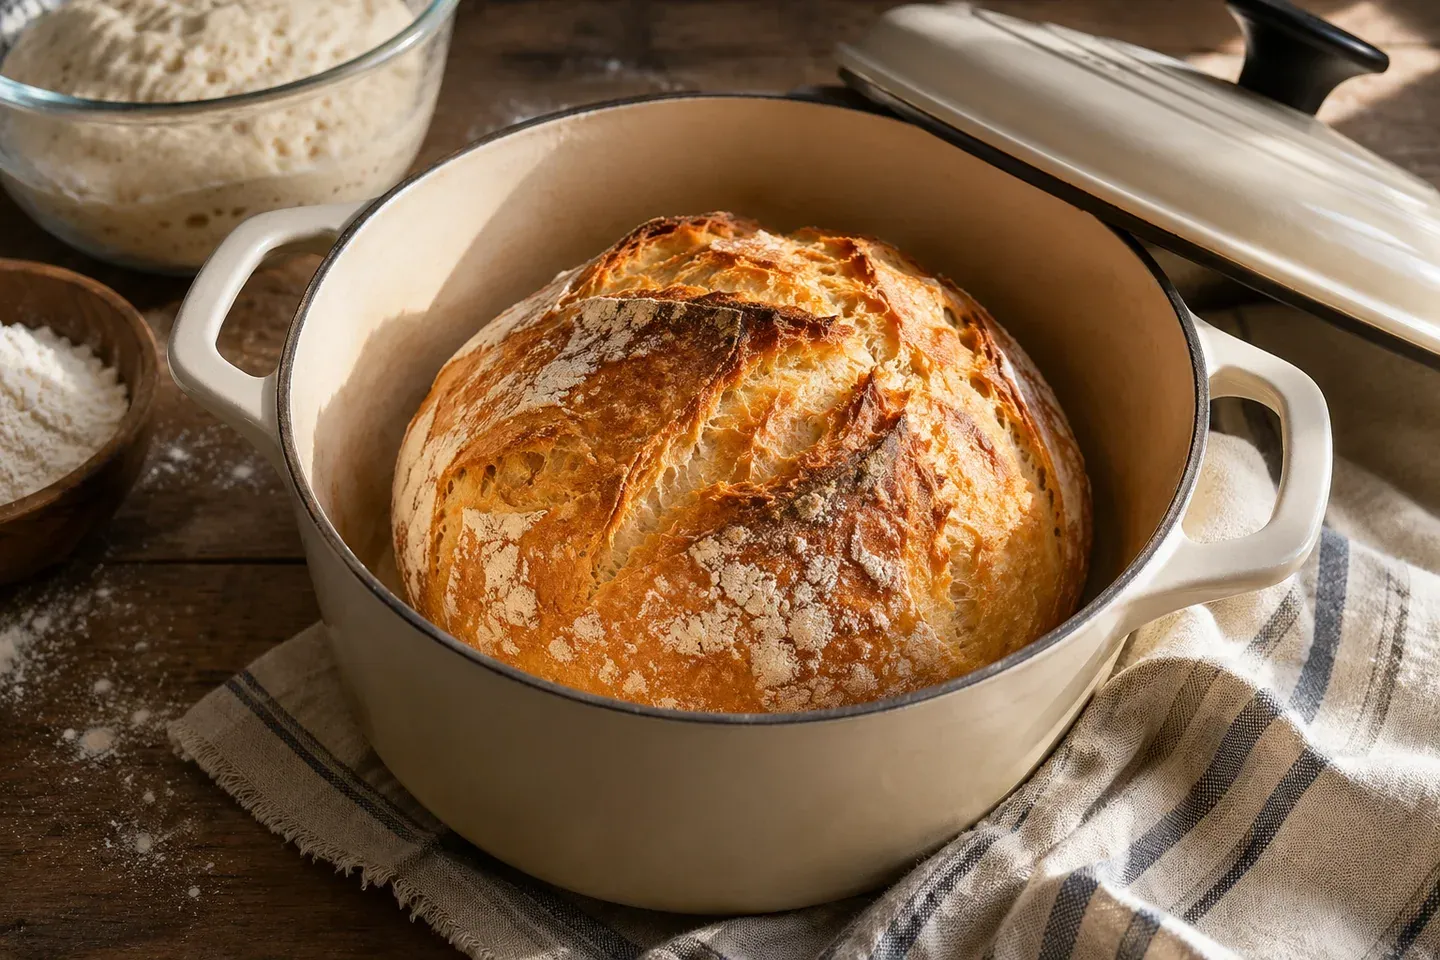
No-knead artisan bread trades a long period of fermentation for much of the handling used in a conventional dough. You mix a small amount of yeast into a wet wheat dough, give it time to develop, then shape it gently and bake it in a suitable covered pot. The dough still needs structure and attention; “no knead” does not mean that every stage can be ignored.
This draft recipe describes one small, crusty loaf with an overnight room-temperature rise. It is a different project from a soft pan loaf: the mixture is wetter, the crust is firmer, and the schedule is longer. The formula and times require recipe validation and are not presented as a loaf tested by Easy Bread Baking.
Check the pot before choosing the method
Use a covered Dutch oven that its manufacturer approves for the intended oven temperature and baking method. The body, lid, knob, handles, and any coating can have different restrictions. Do not assume that every pot can be preheated empty simply because it is described as a Dutch oven.
The method below uses a preheated pot only where the manufacturer permits that use. If your cookware forbids it, choose a compatible cold-start recipe or another approved bread-baking setup. Do not improvise a new preheating method halfway through this dough's final proof.
Check the size and clearances before mixing. A medium covered pot should have room for this small loaf to expand without reaching the lid. Make sure the covered pot fits in the oven safely, and plan where the hot lid and pot will rest when you uncover the bread.
The overnight dough formula
For one loaf, use 400 grams bread flour, 300 grams water, 8 grams fine salt, and 1 gram instant yeast. This gives 75% hydration and a very small yeast quantity for the extended fermentation. Use the gram measurements as the primary formula.
Approximate US equivalents are 3⅓ cups flour at 120 grams per cup, about 1¼ cups plus 1 teaspoon water, about 1⅓ teaspoons fine table salt, and roughly ⅓ teaspoon instant yeast. Small yeast amounts are difficult to measure precisely with an ordinary kitchen scale or an unmarked spoon. Use an appropriate small measure and recognize that the estimate may need adjustment during recipe validation.
Bread flour provides a useful starting structure for this wet dough. All-purpose flour can behave differently, and whole wheat flour is not a direct one-for-one substitute in this draft formula. Review the flour comparison before making a substantial change.
Mix in the evening
Stir the flour, salt, and yeast together thoroughly so that the small yeast quantity is distributed. Add the water and mix until no dry pockets remain. Scrape underneath the dough rather than leaving loose flour at the bottom of the bowl. The result should look rough, wet, and sticky.
You are not trying to produce a smooth countertop-kneaded ball at this point. Cover the bowl with a suitable cover that prevents drying while allowing room for expansion. A container with enough headroom matters because the dough can increase substantially in volume during the long wait.
Use room-temperature or cool water according to your conditions rather than very warm water designed to accelerate the rise. An overnight method depends on a slow schedule. A warm kitchen and warm ingredients together can push a small-yeast dough ahead much sooner than you expect.
Mark the starting level and record the mixing time. Those two observations are more useful than simply remembering that you left the dough overnight. Place the bowl somewhere stable, away from pets, direct sun, and appliances that may warm the dough unexpectedly.
Read the dough the next morning
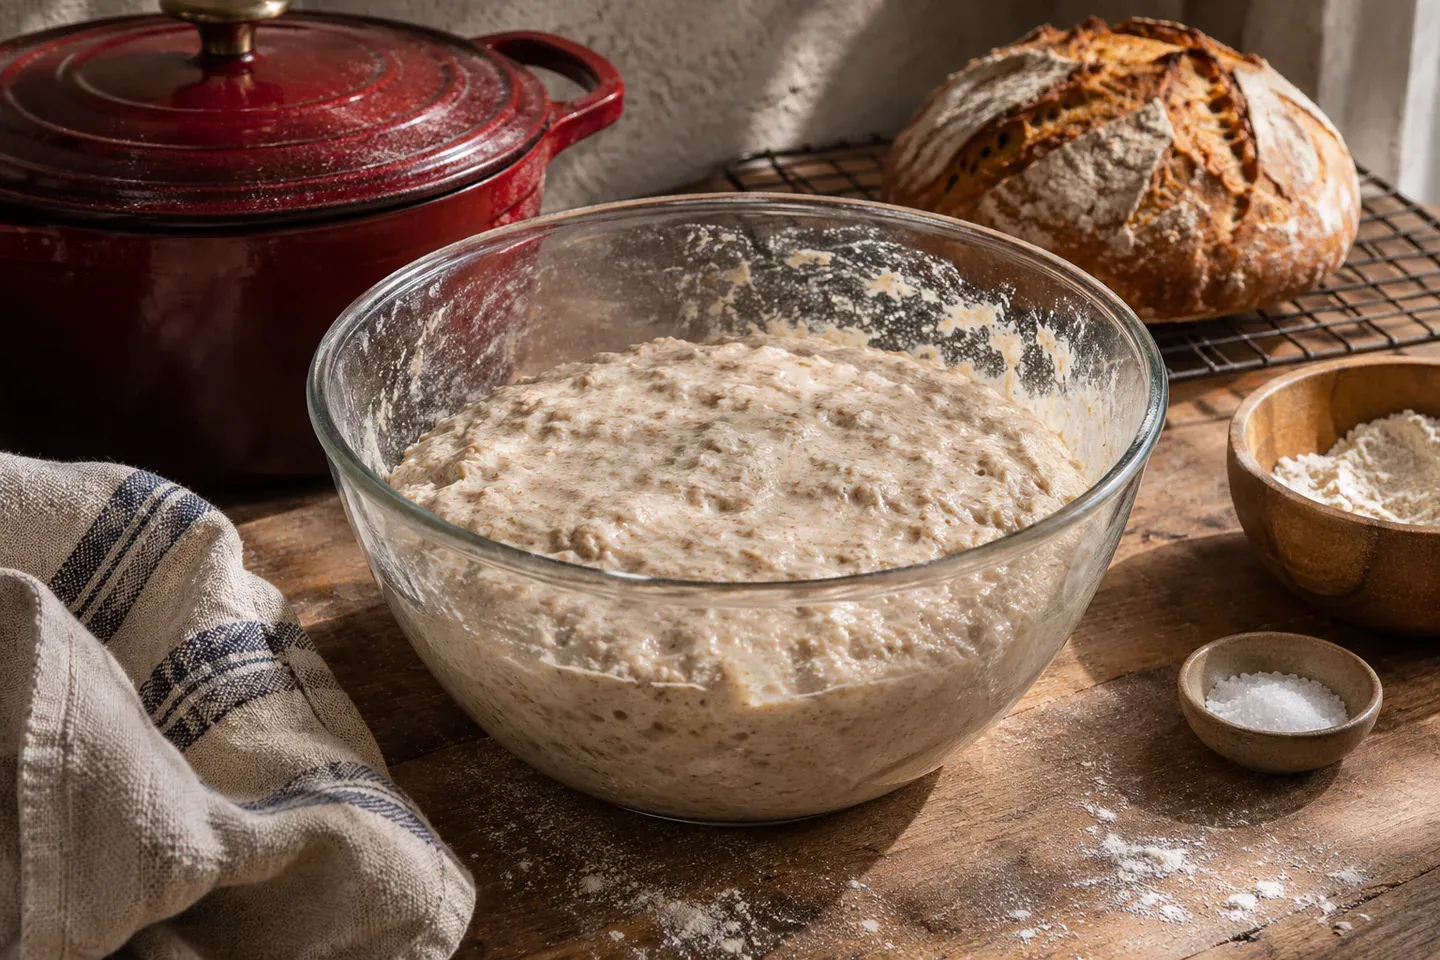
Begin checking after about twelve hours, while understanding that a cooler room may require a longer period and a warm one may shorten it. The draft working range is roughly twelve to eighteen hours, not a rule that the dough must wait until the last minute on the clock.
Look for a clearly expanded dough with bubbles across the surface and a web-like structure visible when an edge is lifted gently. The mixture should look aerated rather than simply spread out. A marked container helps you distinguish fermentation from a wet dough relaxing into a flatter shape.
If the surface has risen and then sunk dramatically, the dough may have moved beyond its best shaping point. Do not assume that additional waiting will make it stronger. Note the room temperature and consider shortening the schedule or changing the yeast quantity only after this draft has been evaluated systematically.
If little has happened, check the conditions and the yeast before discarding it automatically. A cold dough can progress slowly. The rising-time guide explains why fermentation schedules need to be interpreted with temperature and visible development.
Give the dough a gentle shape
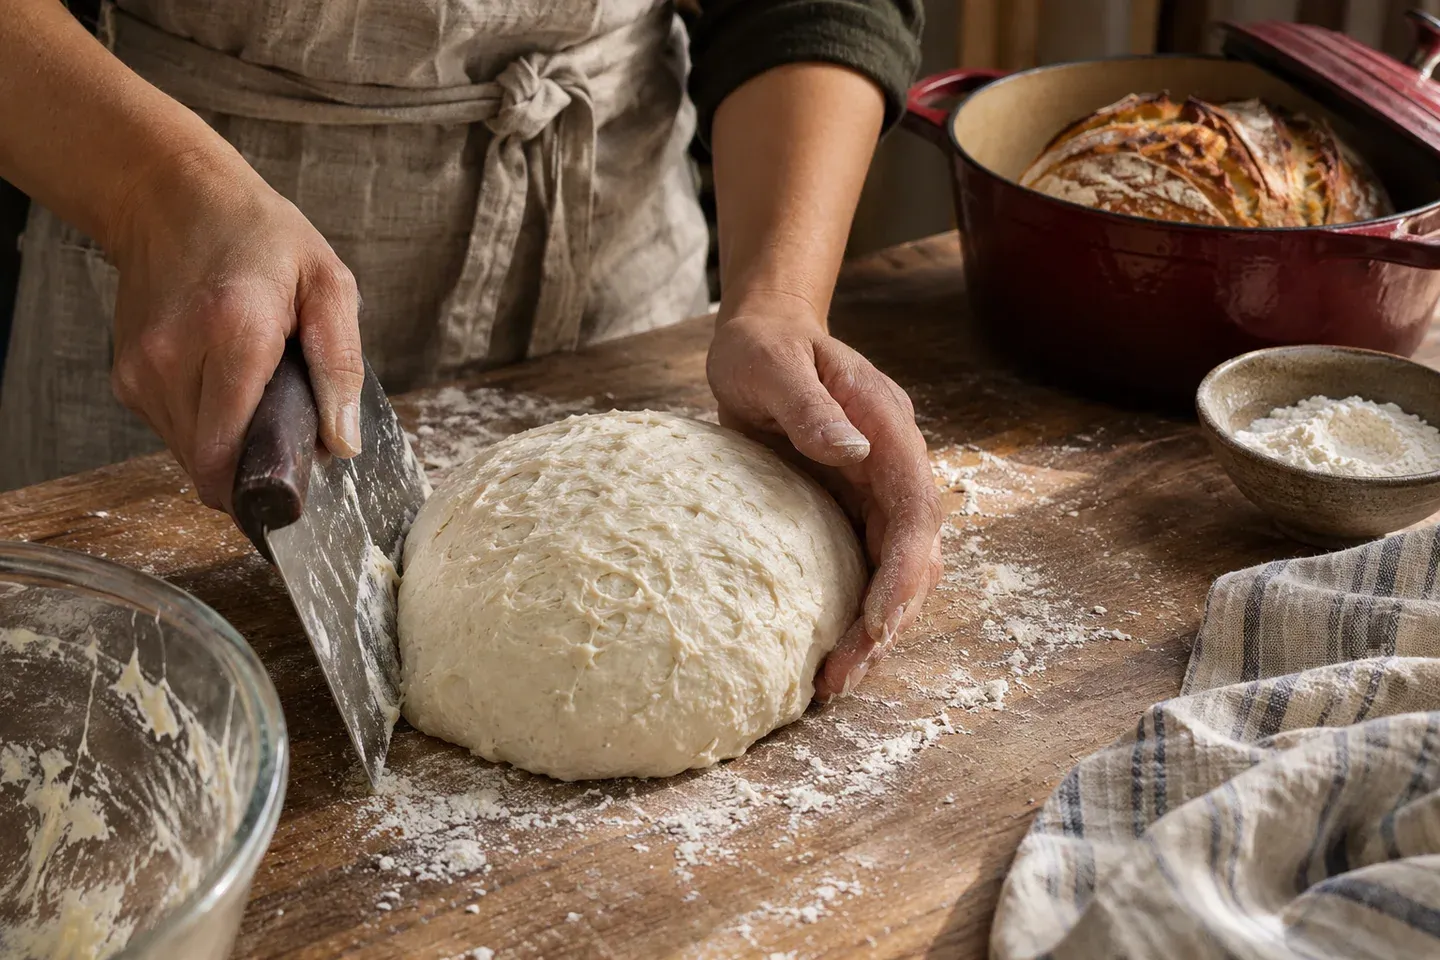
Lightly flour the work surface and turn the dough out with a scraper. Use enough flour to manage the surface, but avoid folding large amounts into the dough. This wet texture is intentional. Trying to make it feel like a firm sandwich dough changes the formula rather than improving the method.
Fold the edges toward the center, working around the dough until it forms a more coherent round. Turn it seam-side down and use the scraper to help gather the outside gently. Keep the movement controlled; the dough should retain some of the gas developed during fermentation.
If it spreads immediately and cannot hold any shape, assess whether fermentation has gone too far or whether flour and water were measured correctly. Extra flour can disguise the symptom without identifying the cause. A short rest may help a tense dough, but it will not restore a severely weakened structure.
Transfer the shaped dough to a suitable, well-floured proofing surface or to parchment rated for your baking temperature. Keep parchment clear of heating elements and follow its package instructions. A sling can help with safe transfer, but only if the material is appropriate for the oven conditions.
Prepare for a hot-pot transfer
Cover the shaped dough and allow it to become fuller during the final proof, commonly about one to two hours for this method. The exact time depends on how mature and warm the dough is. Look for a lighter, aerated round rather than demanding a fixed amount of doubling.
Where the manufacturer permits empty preheating, place the covered pot in the oven and heat to 450°F (230°C). Allow the cookware to heat according to its instructions. Arrange a stable heat-resistant landing place and have dry, suitable oven mitts ready before opening the door.
Handle the pot and lid as hot throughout the transfer. Move deliberately and keep people clear of the working area. Lower the dough with its approved sling or another method compatible with the cookware. Avoid dropping it from a height or reaching over exposed hot metal.
A shallow expansion cut can help guide opening at the surface if the dough is suited to scoring. Do not make deep decorative cuts into a slack round simply because a photograph showed a dramatic pattern. Basic control matters more than an elaborate design on an early bake.
Covered baking, then crust development
For this draft loaf, bake covered at 450°F (230°C) for about 25–30 minutes. Remove the lid carefully, directing escaping steam away from your face and hands. Continue uncovered for roughly 12–20 minutes, watching the crust develop a deep golden-brown color.
Those periods are estimates rather than a guarantee for every pot and oven. A dark, heavy pot transfers heat differently from another vessel, and a small loaf can color faster than a larger one. If the base darkens excessively, investigate the cookware and oven setup before repeating the same placement.
The uncovered stage allows moisture to leave the surface and the crust to firm. Stopping immediately when the lid comes off can leave a pale crust that softens quickly. Conversely, chasing an almost-black crust because it looks dramatic can produce an unpleasant flavor and an overbaked exterior.
Lift out the loaf with suitable tools and cool it on a rack. Do not leave it inside the hot, covered pot, where moisture remains trapped. Wait until the interior has cooled before slicing. A wet-looking slice cut while very hot does not reliably show the final crumb texture.
Keep the crust and save the extra bread
Once cool, choose storage according to whether crust texture or softness matters most for the next serving. Breathable storage can preserve a drier crust temporarily but allows the crumb to lose moisture. Sealed wrapping slows drying while softening the crust. Neither option guarantees a specific safe number of days.
Freeze portions you will not use promptly, wrapped to reduce freezer drying. Refresh a portion as needed instead of repeatedly heating the whole loaf. Our storage guide explains the trade-off between preserving crust and preventing the crumb from becoming stale.
Keep raw dough separate from ready-to-eat bread and do not taste it during fermentation. Flour is a raw ingredient, even when a recipe contains no eggs. Follow the FDA's handling guidance for preparation and cleanup.
Recipe card
Yield: 1 small round loaf. Difficulty: Intermediate handling because of the hot covered pot. Active preparation: About 20–25 minutes. First rise: Approximately 12–18 hours. Final proof: Approximately 1–2 hours. Baking: Roughly 37–50 minutes. Cooling: At least about 1 hour. Total: Roughly 15–22 hours, depending on dough development and cookware preparation.
Ingredients: 400 g bread flour; 300 g water; 8 g fine salt; 1 g instant yeast. Approximate US equivalents appear in the ingredient notes above. No oil, milk, or sugar is included in this formula.
Estimated schedule: 25 minutes active preparation; 45 minutes cooking; 18 hours total, including resting, rising, and cooling where applicable. These approximate planning figures sit within the ranges above; dough and doneness cues take priority.
- Mix dry ingredients thoroughly, add water, and stir until all flour is moistened. Cover with room for expansion.
- Ferment until visibly expanded and bubbly, checking around 12 hours and adjusting expectations to room conditions.
- Turn out gently, fold and round without incorporating excess flour, then cover for a final proof.
- Preheat an approved covered pot to 450°F (230°C) only if its manufacturer permits empty preheating. Transfer dough carefully using suitable tools and materials.
- Bake covered about 25–30 minutes, then uncovered about 12–20 minutes. Remove carefully and cool fully on a rack before slicing.
Baking tip: Read the dough and cookware instructions rather than treating the schedule as automatic. Storage: Cool before wrapping; freeze unused portions. Status: Editorial recipe draft requiring validation, without claims of testing, ratings, or nutrition analysis.