
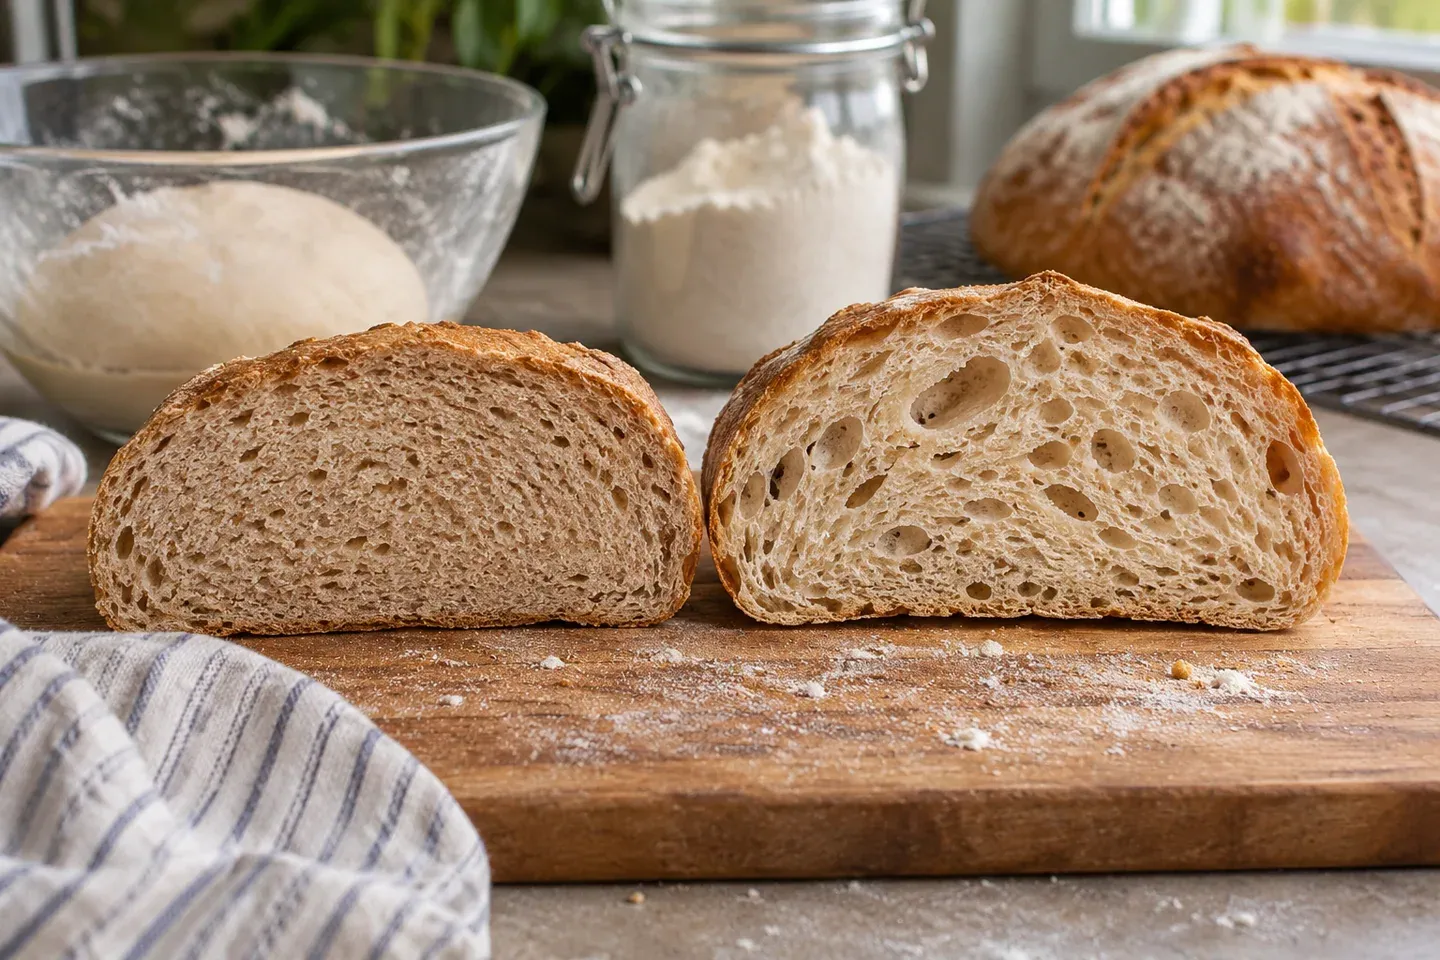
Homemade bread can turn out dense because the dough contains too much flour, has not fermented enough, cannot retain gas effectively, or was baked and sliced before its structure settled. Those causes can look similar in a finished slice. The useful first step is to identify what happened during mixing, rising, shaping, and cooling instead of adding more yeast automatically.
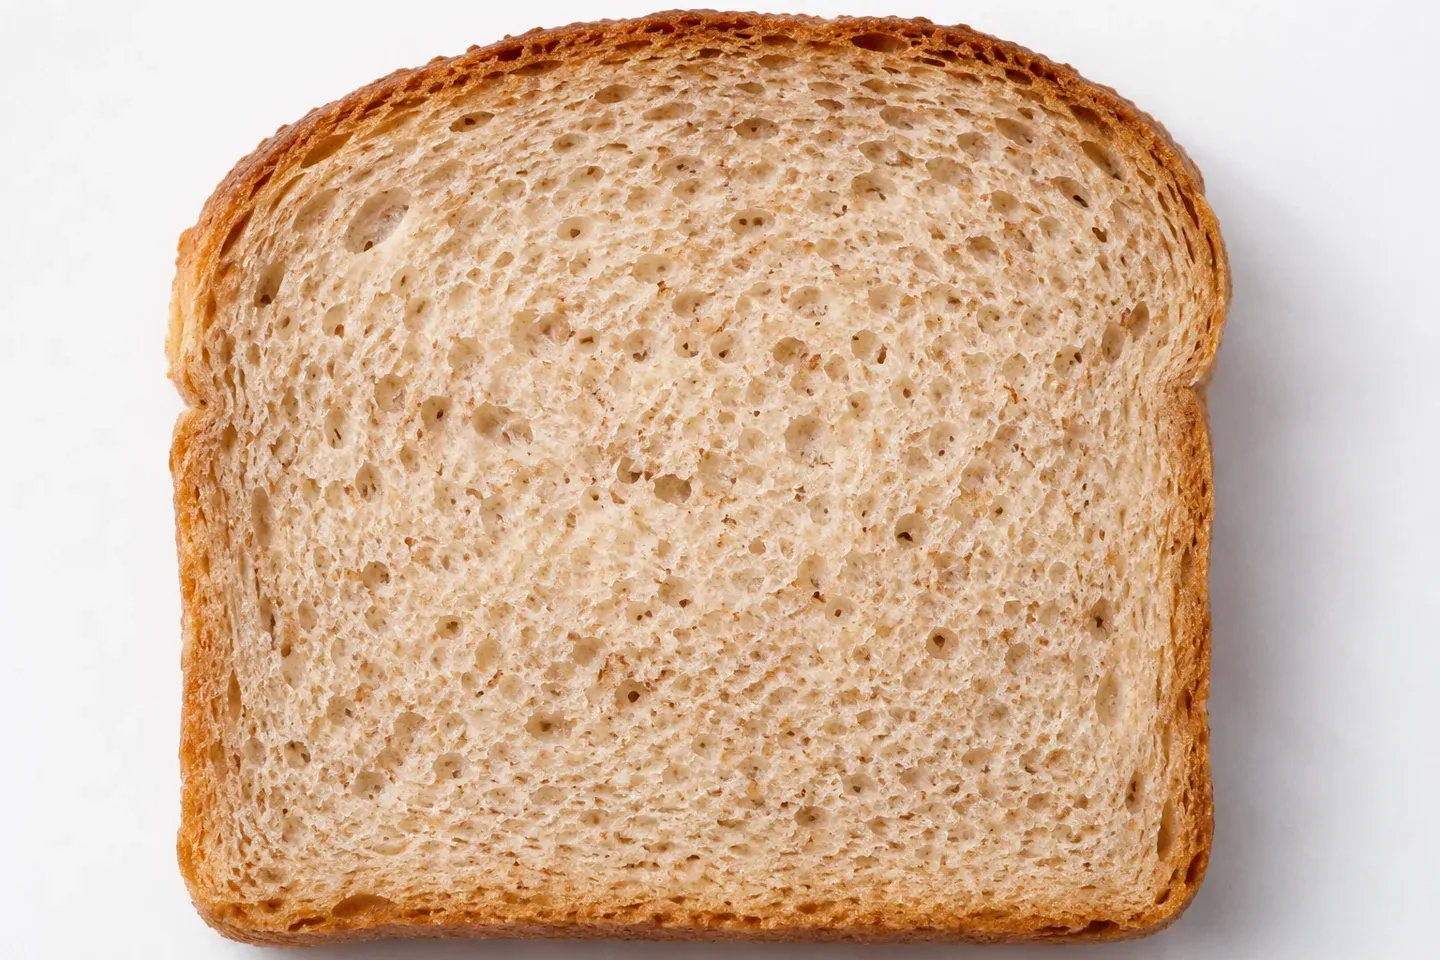
A close crumb is not always a defect. A soft sandwich loaf and a whole wheat pan bread are not meant to look like a very open artisan loaf. Diagnose the bread against its own recipe before trying to reproduce a photograph from a different flour, hydration, or method.
Describe the problem more precisely
Let the loaf cool before cutting through its center. Notice whether the crumb is uniformly tight, unusually wet near the base, separated beneath the crust, or compressed on one side. Compare a center slice with an end slice. Each observation narrows the questions you need to ask.
Also note the loaf's shape. Did it rise tall and then sink, spread sideways, or remain a compact shape throughout baking? A loaf that never expanded tells a different story from a loaf that rose substantially and later collapsed. A photo after cooling is useful, but notes from the dough stage are even better.
Avoid identifying a cause from one feature alone. A wet-looking interior can relate to insufficient baking, early slicing, or other formula and fermentation problems. The aim is a plausible sequence supported by observations, not a confident diagnosis from one crumb photograph.
Start with a short diagnostic table
| What you observed | Possible contributors | Check first |
|---|---|---|
| Firm dough and uniformly tight crumb | Excess flour, low effective hydration, limited expansion | How flour was measured and added at the counter |
| Little rise before baking | Slow or inactive leavening, cold dough, insufficient time | Yeast or starter condition and actual dough progress |
| Good expansion followed by collapse | Overextension or weak structure | Timing, development, shaping, and when sinking began |
| Damp compressed band | Incomplete baking, early slicing, or structural issues | Baking observations and whether the loaf cooled fully |
| Large cavity above a dense area | Shaping and fermentation imbalance among other causes | How the log was rolled and proofed |
The table is a starting point rather than a set of guaranteed diagnoses. Use it to choose the next observation. If several explanations remain possible, a controlled repeat of the recipe can be more informative than a collection of unrelated corrections.
Check whether extra flour entered the dough
A cup measurement can change when flour is scooped from a packed container rather than spooned loosely. Counter dusting adds more. A dough that began at the intended consistency may become noticeably firmer after repeated handfuls are worked in during kneading.
Consider a formula with 500 grams flour and 325 grams water. It begins at 65% hydration. Adding another 50 grams flour without changing water reduces that ratio to about 59%. This calculation does not prove what happened in your bowl, but it shows why casual additions can change handling substantially.
Use a scale when possible and record meaningful adjustments. Give the dough time to hydrate before deciding it needs more flour. The measuring guide explains how to reduce uncertainty at the beginning instead of trying to repair it with guesswork later.
Do not pursue a completely nonsticky dough unless the recipe expects one. Slight tackiness can be normal in a soft bread dough, and a wet artisan dough needs an appropriate handling method. Drying either one out can prevent the result the formula was intended to produce.
Determine whether fermentation actually progressed
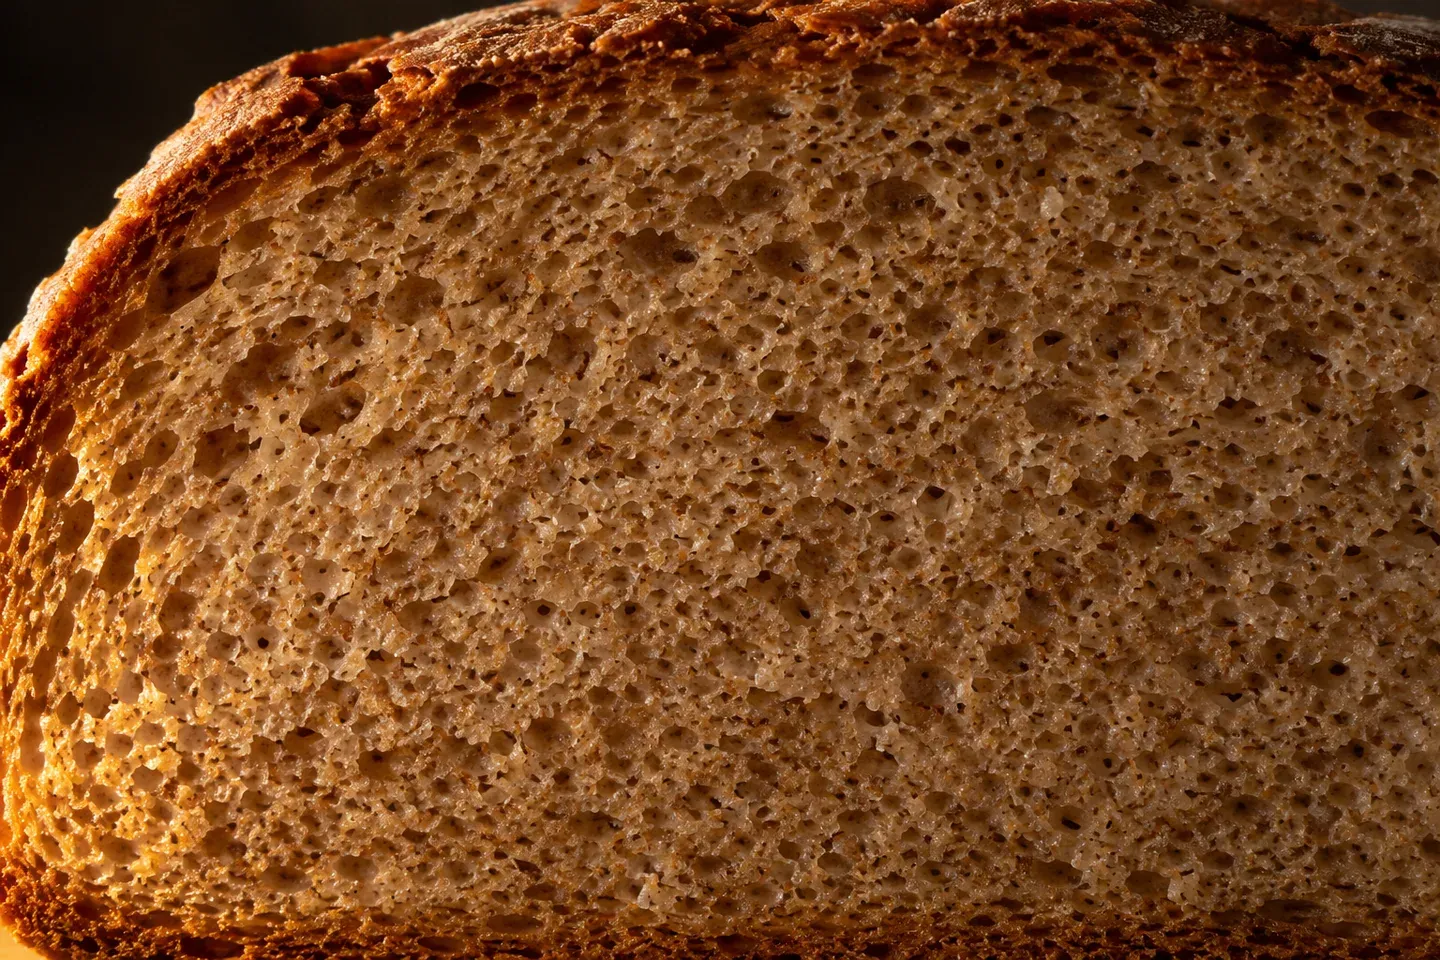
Did the dough expand during its first rise? Did it become aerated after shaping? A timer cannot answer those questions retrospectively. Marking the starting level in a suitable container makes the next attempt easier to assess.
Cold ingredients can slow the dough even in a room that feels comfortable. A small yeast quantity in an overnight recipe also behaves differently from a faster everyday loaf. Do not label the yeast dead simply because the dough did not match the schedule of another formula.
If there was truly no activity, investigate the leavener and mixing conditions. Check the yeast product and package directions or the starter's demonstrated feeding cycle. The dough-not-rising guide focuses on that earlier problem, while this article considers the finished loaf.
If the dough was clearly active but baked while still compact, insufficient fermentation may be a contributor. Plan the next attempt with room to observe development. Adding more yeast without changing how readiness is judged can reproduce the same timing mistake in a faster form.
Assess gas retention as well as gas production
Fermentation can produce gas while a poorly developed dough struggles to retain it. Mixing, kneading, folds, flour choice, and hydration all influence the structure that supports expansion. More yeast cannot substitute for every part of that development.
Look back at the dough's feel before rising. Did it become smoother and more stretchable, or did it remain rough and tear immediately? A small rested piece can provide useful information during kneading. The hand-kneading guide explains that test without requiring a perfect windowpane from every flour.
Whole wheat and rye-containing doughs need realistic expectations. Different grains and formula proportions can produce a closer crumb without indicating failure. A loaf that holds slices, has an appropriate texture, and matches the recipe's purpose should not be judged solely by the absence of large holes.
If you substituted flour, note the actual product and amount. “Flour” is not one uniform ingredient across every brand and market. A substitution can change absorption and development even when the total grams remain the same.
Review shaping and final proof together
An unevenly rolled log can trap a large cavity or leave weak seams. Press out unusually large pockets when making a close-crumb sandwich loaf, then shape with moderate, even tension. Avoid crushing all the gas out of a dough whose method calls for gentler handling.
After shaping, allow the dough to become appropriately full rather than treating the final proof as an optional rest. The loaf should show the recipe's expected development before baking. Use volume, aeration, and resilience together instead of waiting for one exact fingertip response.
Overproofing can also lead to a low or collapsed result. If the dough rose and then sank, additional waiting is not necessarily helpful. Review when it became fragile and whether the oven was ready at the appropriate moment.
Keep shaping and proofing notes separate. If you change both dramatically on the next attempt, it becomes difficult to know which adjustment mattered. A consistent method gives you a clearer comparison of the dough's condition before and after shaping.
Check the bake and cooling period
An attractive crust does not guarantee that the center has set. Enriched dough can color quickly, and a large loaf in a small pan may need different attention from a shallow one. Follow the recipe's full doneness guidance rather than using top color alone.
An appropriate food thermometer can provide another useful quality check when the recipe gives a relevant target. The baking-temperature guide separates oven settings from internal readings and explains why one number does not fit every bread style.
Cool the loaf thoroughly before diagnosing gumminess. A hot crumb compresses under the knife, and steam can make the cut surface appear wet. If the same loaf slices normally after cooling, the correction concerns patience at the slicing stage rather than changing the entire dough formula.
Do not use tasting raw dough as a way to judge whether its ingredients were correct. Flour can carry harmful germs before cooking; follow FDA guidance for handling and cleanup.
Choose one useful next experiment
Suppose your notes show a firm dough, several unmeasured flour additions, and modest expansion before baking. Start by weighing the flour accurately and limiting counter dusting while keeping the pan and yeast quantity unchanged. That tests a clear hypothesis rather than changing everything.
If your dough expanded well and then became fragile while waiting for the oven, begin preheating earlier and monitor the final proof more closely. That addresses a different sequence. Reducing water or buying a mixer would not directly test the timing problem you observed.
If the cause remains uncertain, repeat a simple recipe with a fuller record. Write ingredients, flour additions, approximate conditions, rise observations, shaping, baking, and cooling. A careful repeat can reveal a pattern that a more complicated new recipe would hide.
Dense bread questions
Should I always add more yeast next time?
No. Extra yeast does not correct excessive flour, poor structure, uneven shaping, or premature slicing. First establish whether insufficient gas production was actually part of the problem. Otherwise, it may simply shorten the schedule without improving the loaf.
Can I fix a dense loaf after baking?
You cannot restore the original dough's fermentation or structure after the bake. If the bread is appropriately cooked and otherwise suitable to eat, you may choose a use that suits its texture. Do not use toasting as a rescue for spoiled bread or assume it makes an unsafe product safe.
How will I know the next attempt improved?
Compare a cooled center slice, the loaf's shape, and your handling notes against the same formula. Useful progress can be a more even crumb or easier slicing, not necessarily a dramatic increase in holes. Judge the result by the bread you intended to make.