
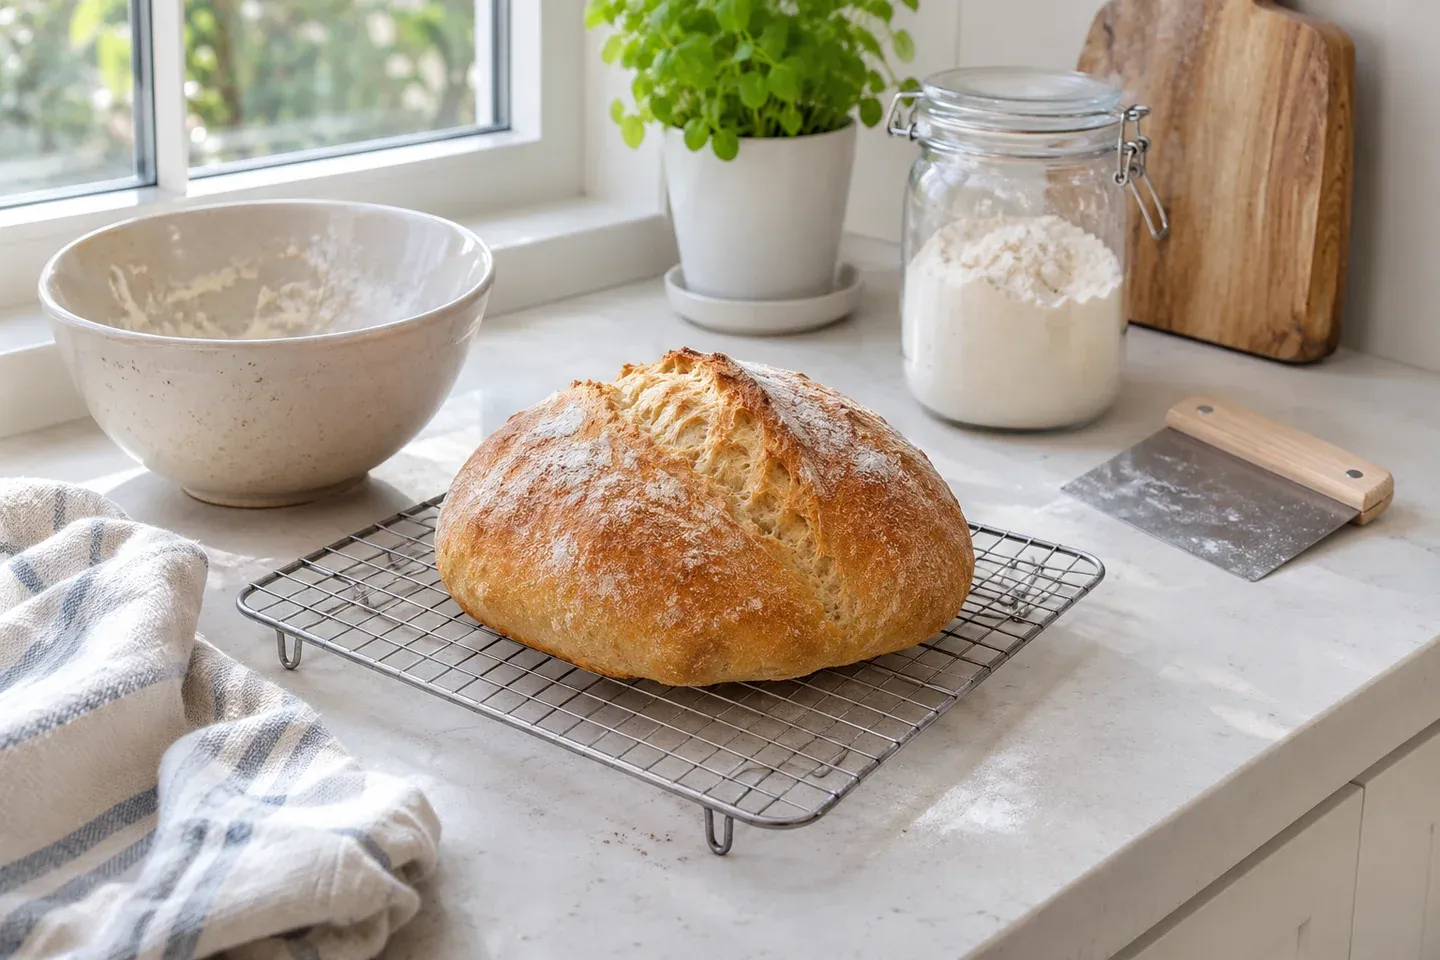
Homemade bread for beginners becomes much easier when you learn what dough should look and feel like. A timer can remind you to check the bowl, but it cannot tell you whether your flour absorbed the water, your dough developed enough strength, or your loaf finished rising. Start with one straightforward pan loaf and use those three observations to guide the process.
This guide walks through a small wheat bread dough from measuring to cooling. You do not need a stand mixer, sourdough starter, or specialized baking basket. A bowl, a scale, your hands, and a suitable loaf pan are enough. The aim is a manageable first bake, followed by notes that make your second loaf more predictable.
Begin with a manageable loaf
A bread pan supports the dough while it rises and bakes. That support makes a pan loaf a useful starting point: you can concentrate on mixing, kneading, and fermentation before learning to shape a freestanding loaf. Choose a simple wheat bread rather than a recipe loaded with seeds, fruit, or large amounts of butter.
Keep the flour choice consistent during your first few attempts. Bread flour generally develops a stronger dough, while all-purpose flour can also make a good everyday loaf. Whole wheat flour changes water absorption and dough behavior, so save major flour substitutions for a later bake. Our flour comparison explains those differences more closely.
Read the whole method before adding water. Notice whether the recipe includes two rises, whether the pan needs greasing, and how long the bread should cool. Bread making contains several waiting periods, but you still need to be available when the dough is ready. Starting shortly before leaving home makes that unnecessarily difficult.
Set up your ingredients and tools
For a small practice loaf, a useful working formula is 400 grams wheat flour, 260 grams water, 7 grams salt, 5 grams instant yeast, 10 grams sugar, and 10 grams neutral oil. This is an editorial formula for review, not a claim of a recipe tested by this publication. Use the separate white bread recipe when its complete recipe card has been reviewed.
The water equals 65% of the flour weight, a relationship bakers call hydration. That figure describes the starting formula rather than a promise that every flour will feel identical. A thirsty flour may make a firmer dough; another flour may feel softer with the same water. Measure first, mix fully, and allow a short rest before deciding anything needs adjustment.
Use a digital scale if you have one. Place the bowl on it, reset the display to zero, and weigh each ingredient separately. If you measure flour by volume, loosen it, spoon it into the cup, and level the surface. Scooping a packed cup directly from the bag can add considerably more flour than you intended.
Have a large bowl, a spoon or dough scraper, a clean work surface, a cover, and a lightly greased 8½-by-4½-inch metal loaf pan ready. The pan should hold the shaped dough without forcing it into a cramped space. A cooling rack is helpful because it lets steam escape beneath the finished loaf.
Mix until no dry flour remains
Combine the flour, instant yeast, sugar, and salt, then add the water and oil. Use comfortably lukewarm water rather than very hot water. If your yeast package specifies a water temperature or a different mixing method, follow those instructions. Active dry yeast may have different package directions, so do not assume every yeast product behaves identically.
Stir and scrape around the bowl until the ingredients form a rough mass. Pay particular attention to flour hiding underneath the dough. At this stage, the mixture may look uneven and feel sticky. That alone does not mean the formula is wrong. Newly mixed flour needs time to hydrate before its eventual consistency becomes clear.
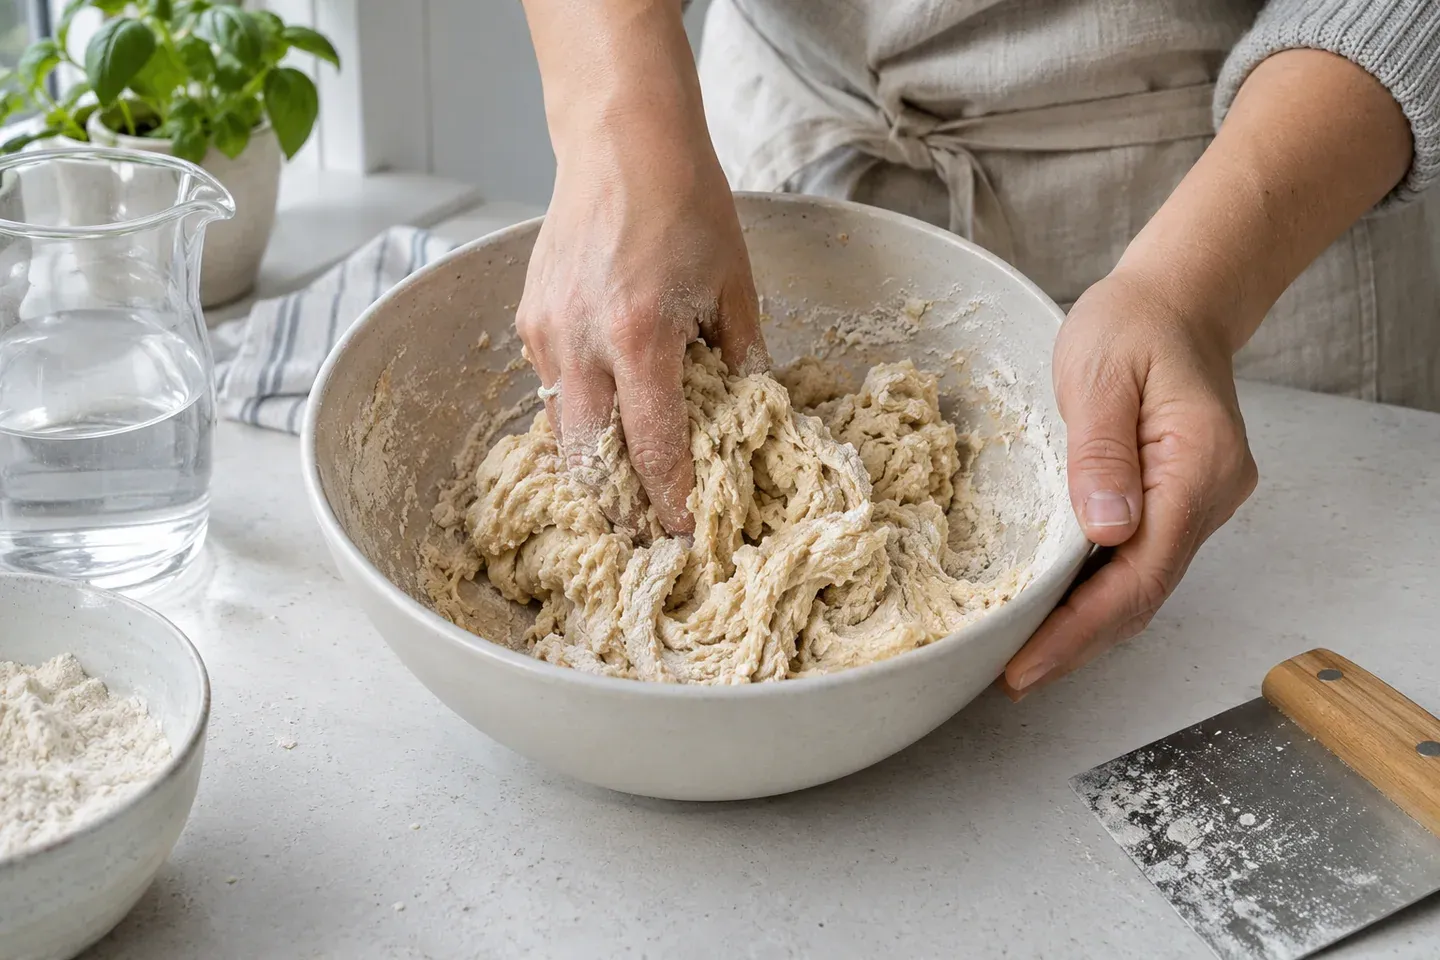
Cover the bowl and leave the dough for about 10 minutes. This short rest makes hand kneading less frustrating because the flour has more opportunity to absorb water. Afterward, lift and fold the dough a few times. Judge the whole mass rather than the sticky residue on one fingertip.
If dry crumbs still will not join, work in water a teaspoon at a time. If the dough is merely tacky, resist adding flour immediately. A little sticking can be managed with a scraper. Repeatedly dusting the counter until nothing sticks can turn a soft bread dough into a dry, heavy one.
Knead for strength, not a perfect clock reading
Turn the dough onto a clean surface. Push it forward gently with the heel of one hand, fold it back over itself, rotate it slightly, and repeat. Keep the movement controlled. You are stretching and organizing the dough, not grinding it into the counter or tearing it into separate pieces.
Expect a change from rough and uneven to smoother and more elastic. Many straightforward doughs need several minutes of hand kneading, but an exact duration is less useful than the result. Pausing briefly when the dough resists stretching is often more productive than pulling harder. Our hand-kneading guide separates those movements in detail.
To check development, let a small piece relax and stretch it gently between your fingers. A reasonably thin membrane indicates that the dough has gained strength. A dough that immediately splits into a ragged opening may need more work or another rest. Do not keep kneading solely to achieve a photograph-perfect windowpane with every flour.
The finished dough should hold together as a soft ball and feel supple. It can still be slightly tacky. If it smears across the counter, gather it with a scraper and rest it before making a large flour adjustment. If it feels hard and cracks when folded, consider whether too much flour entered during measuring or kneading.
Give the first rise room to develop
Place the dough in a lightly oiled bowl and cover it so the surface does not dry out. Choose a reasonably comfortable, draft-free room. Avoid balancing the bowl over a hot radiator or placing it in an oven that might accidentally be switched on. More heat is not automatically a better way to help bread rise.
Mark the starting level on a straight-sided container if possible. Look for a clear increase in volume, a slightly domed surface, and a lighter feel. Many simple yeast doughs approach double their original volume during this stage, but the recipe's own target matters. A cold room can extend the wait without indicating that the dough has failed.
Check periodically rather than disturbing the dough constantly. If little happens, consider the temperature, the yeast's condition, and whether the formula was followed. Adding more flour will not solve inactive yeast. The rising-time guide explains why two bowls mixed at the same time can progress differently.
Shape, then watch the final proof
Turn out the risen dough and press it gently into a rough rectangle. Release large pockets without trying to squeeze out every trace of gas. Fold the sides inward if necessary, then roll the dough into a log with moderate surface tension. Pinch the seam and place the log seam-side down in the prepared pan.
Aim for an even thickness from one end to the other. A tight knot at one end and a thin tail at the other will not become an evenly shaped sandwich loaf in the oven. If the dough shrinks sharply while you shape, cover it briefly and let it relax before finishing.
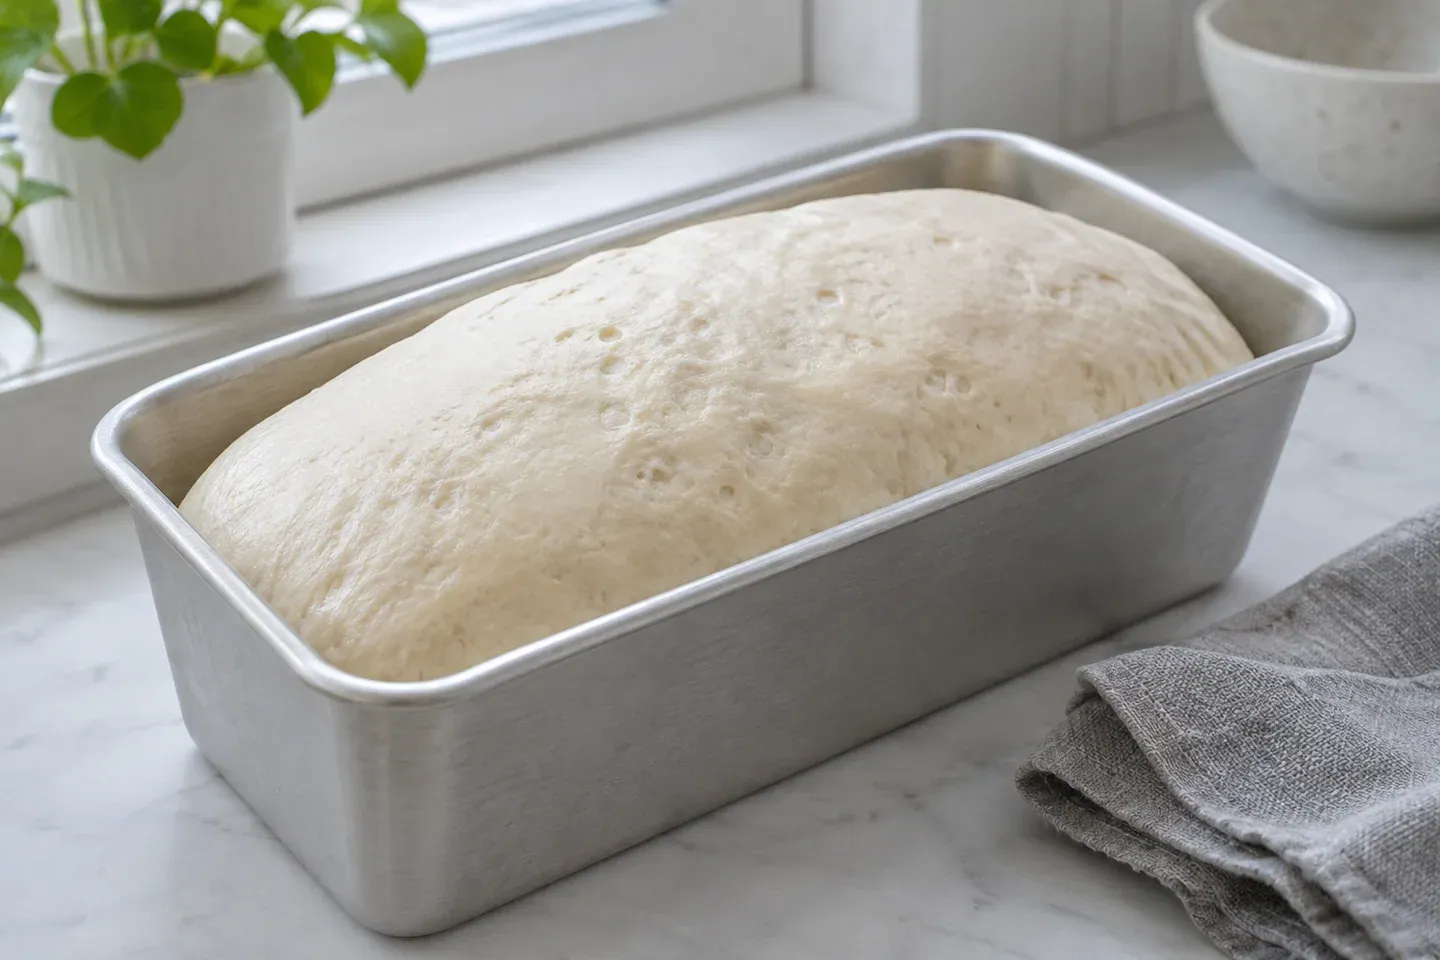
Cover the pan and allow the shaped dough to expand again. It should become visibly fuller and feel aerated rather than dense. A gentle fingertip indentation that returns slowly can help you judge progress, but it is only one clue. The dough's temperature, enrichment, and surface condition affect that response.
Begin preheating before the loaf reaches its final target. If the dough is ready while the oven is still cold, it must keep fermenting while you wait. Letting it rise indefinitely does not guarantee a larger loaf; an overstretched structure can become fragile and collapse.
Bake with an oven that is ready
For the practice loaf described here, a conventional oven around 350°F (175°C) is a reasonable draft starting point, with roughly 30–40 minutes of baking. Actual timing depends on the pan, oven, and final loaf size. These estimates need recipe validation; they are not a universal setting for all bread styles.
Place the pan near the middle of the oven with space for air to circulate. Look for even browning and a loaf whose sides have set. If the top colors much faster than the rest, a loose foil tent can slow further browning. Keep foil clear of heating elements and follow your oven's instructions.
Do not treat a hollow tapping sound as the only doneness test. Crust color, the condition of the sides, baking time, and the center's texture all matter. If you use a thermometer, follow the recipe's finished-temperature guidance. A warm exterior can conceal an underbaked interior, particularly in a loaf removed too early.
Cool before judging your results
Turn the loaf out carefully and let it cool on a rack. Steam needs a route out, and the crumb continues to settle as the bread cools. Cutting immediately can compress the interior and leave the knife sticky. That does not provide a fair picture of the finished crumb.
Once cool, cut a slice from the middle and examine it. A useful everyday loaf has enough structure to hold a slice without a dense, wet strip near the bottom. Compare the center with the edges. If something went wrong, those differences are more informative than simply deciding the entire loaf was a failure.
Record flour weight, water weight, room conditions, approximate rise times, and the point when you baked. Change one variable on the next attempt. For example, if the dough was firm and the crumb uniformly tight, check measuring before buying different equipment. If it rose well and then collapsed, investigate the final proof instead.
Questions that come up on the first bake
Can I make bread without a mixer?
Yes. A small dough is manageable by hand, and short rests can make the work easier. A mixer offers convenience, not a requirement for success. Follow a suitable hand-mixing method rather than trying to imitate a machine's speed.
Should I add flour until my hands stay clean?
No. Slight tackiness can be normal. Give the dough time to hydrate, use a scraper, and assess its strength before changing the formula. Flour added casually at the counter still counts toward the total flour in your loaf.
Can I taste the dough to check the salt?
Do not taste uncooked bread dough. Flour is a raw ingredient and can carry harmful germs. The FDA's flour-handling guidance explains why cooking and careful cleanup matter even when dough contains no eggs.
What should I practice next?
Repeat the same loaf once before adding difficult variations. A second attempt helps you recognize normal dough behavior. Then choose one focused improvement, such as more accurate flour measuring or more even shaping, and carry that observation into your next bake.